
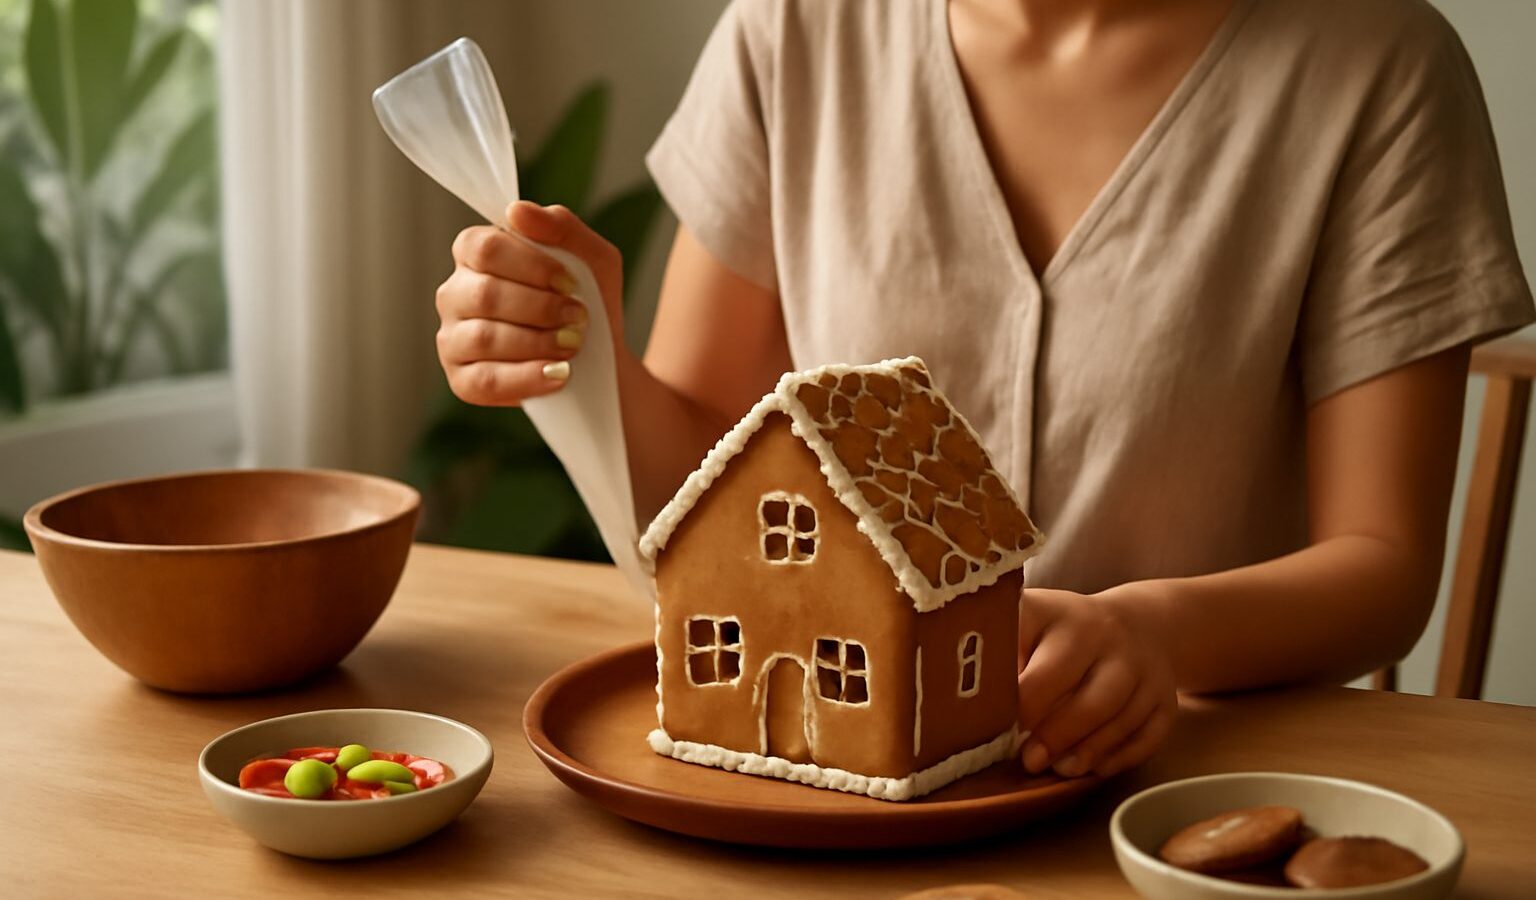
In colder countries, a gingerbread house can sit on the table for weeks. In Singapore, the same house can start sagging within days, the icing refuses to set, and the roof slides off just as the kids add the last sweet. The culprit is humidity. Gingerbread and sugar both absorb moisture from the air, and our climate has plenty of it. The good news is that a gingerbread house in Singapore is very achievable with a few adjustments to the dough, the icing, the assembly and the storage. This guide is written for parents who want a fun, low-tears project with children.

Why Humidity Ruins Gingerbread Houses
Two things hold a gingerbread house together: firm, dry biscuit walls and royal icing that hardens like glue. Both are sensitive to moisture.
- Gingerbread contains sugar and syrup, which draw water from the air. Walls that were crisp when they came out of the oven slowly soften and bend.
- Royal icing (icing sugar mixed with egg white or meringue powder) sets by drying out. In damp air, it dries slowly and can stay soft for a long time.
- Sweets and candy decorations can turn sticky and start to bleed colour.
The fixes are about removing as much moisture as possible, giving everything more time to set, and using air conditioning to your advantage. For broader tips on living with the damp, see our guide to dealing with the humidity.
Homemade Dough or a Ready-Made Kit?
Many supermarkets, baking supply shops and online stores sell gingerbread house kits in December, with pre-baked walls and icing mix. Homemade is more work but lets you control thickness and bake time.
| Approach | Pros | Cons in Singapore’s climate | Best for |
|---|---|---|---|
| Pre-baked kit | Quick, consistent pieces, less mess | Pieces may already have absorbed moisture; check the seal is intact | Younger kids, busy parents |
| Homemade from scratch | Thicker, sturdier walls; custom shapes | More oven time; must be fully baked and cooled in dry conditions | Older kids, keen bakers |
| Mini houses from biscuits or graham crackers | Very easy, small and stable | Less dramatic, softens if left out | Toddlers and large groups of children |
| Cardboard base house with gingerbread facade | Most humidity resistant structure | Not fully edible | Display pieces that need to last |
If you buy a kit, open it in an air-conditioned room and assemble soon after opening.
Baking Walls That Stay Firm
If you are making your own, adjust a standard gingerbread house recipe for strength, not softness.
- Choose a construction recipe. Gingerbread house dough is usually firmer and less puffy than gingerbread cookies. Look for one described as suitable for construction.
- Roll evenly and a little thicker. Use guides or two chopsticks on either side of the rolling pin to keep the thickness even. Thicker walls resist bending.
- Chill the cut shapes before baking to stop them spreading.
- Bake fully. Under-baked pieces stay soft and will bow. Bake until firm and evenly coloured at the edges, following your recipe and watching your oven.
- Trim while warm. Place your paper templates back on the hot pieces and trim the edges straight with a knife. Straight edges join much better.
- Cool and dry in air conditioning. Leave the pieces flat on a rack in an air-conditioned room, ideally overnight. If the room has a dehumidifier, even better.
Mixing Icing That Actually Sets
Royal icing is your cement. In humid weather:
- Make it stiff. For assembly, the icing should hold a firm peak. Add icing sugar gradually until it does. Save a looser batch for decorating.
- Use meringue powder if you prefer. It gives consistent results and avoids raw egg whites, which some parents prefer for young children.
- Keep it covered. Put a damp cloth or cling film directly on the surface of the bowl so it does not crust, and only spoon out what you need.
- Give it time. Plan for the structure to set longer than overseas recipes suggest. Air conditioning and a fan help.
If anyone in the family has an egg allergy, use an egg-free icing recipe and check all sweets and decorations for allergen labels.
Assembling in Stages With Kids
The biggest source of tears is trying to build and decorate in one sitting. Split it up:
Stage one, adults build the shell. Pipe thick lines of icing along the base and edges, press the walls together and support them with cans or small jars while they set. Leave the four walls to firm up for a few hours before adding the roof.
Stage two, add the roof. Pipe icing along the top edges, place the roof pieces and hold them for a minute. Support them again and let the whole house set, preferably overnight in air conditioning.
Stage three, kids decorate. Once the house is solid, children can add sweets, icing snow and decorations. Some tips for a calmer session:
- Put the house on a cake board or tray so it can be moved without touching it.
- Pre-fill piping bags and twist the ends so little hands do not squeeze icing out of the top.
- Give each child a small bowl of decorations so they are not grabbing from one pile.
- Decorate flat pieces such as a door or a fence on the table first, then attach them.
- Lay out a plastic tablecloth for easy cleanup.
Younger children may prefer decorating a flat gingerbread biscuit “house front” rather than a 3D house. It is still fun and much less frustrating.
Storing and Displaying Your Gingerbread House
Once finished, the aim is to keep moisture away for as long as you want to display it.
- Display in an air-conditioned room, away from windows, the kitchen and the bathroom.
- Avoid the fridge. Taking it in and out causes condensation, which softens the house quickly.
- Cover it with a large clear container or cake dome when you are not looking at it, to reduce exposure to damp air and ants.
- Watch for ants. Sugar attracts them fast. Keep the tray clean and check daily.
- Decide early whether it will be eaten. A house that has been out for days, handled by many hands and exposed to dust is better as a decoration than a snack. If you want to eat some, set aside a few decorated biscuits in an airtight container.
Expect a gingerbread house in our climate to look its best for days rather than weeks. Take photos early, and enjoy it as part of the festive build-up. If you are new to Singapore’s climate in general, our newcomer’s guide to surviving the heat and humidity explains what to expect year-round.
Frequently Asked Questions
Can I use a dehumidifier or fan to help my gingerbread house set faster? Yes, in an air-conditioned room both can help, as the aim is to remove moisture and give the icing more time to harden. Keep the fan gentle so it does not dry the icing in the piping bag, and leave the house to set undisturbed, ideally overnight.
Can I eat a gingerbread house after days on display? It is better treated as a decoration. After days out, handled by many hands and exposed to dust, damp air and ants, it is not a good snack. If you want to eat some, bake extra decorated biscuits and keep them in an airtight container.
What can I use instead of royal icing with raw egg white for young kids? Meringue powder is a common choice, as it gives reliable results without raw egg whites. If someone has an egg allergy, look for an egg-free icing recipe and read the labels on all sweets and decorations.
My gingerbread house collapsed. How do I fix it? Let it dry in air conditioning, then rebuild the weak joins with stiffer icing and support the walls with cans or jars while they set. If the pieces have gone soft, treat them as decoration and use fresh biscuits for the walls.
How do I keep ants away from a gingerbread house at home? Sugar attracts ants quickly, so keep the house on a clean tray and under a clear cover, away from kitchen and window areas. Check it daily and wipe away crumbs and sticky spots around it.