
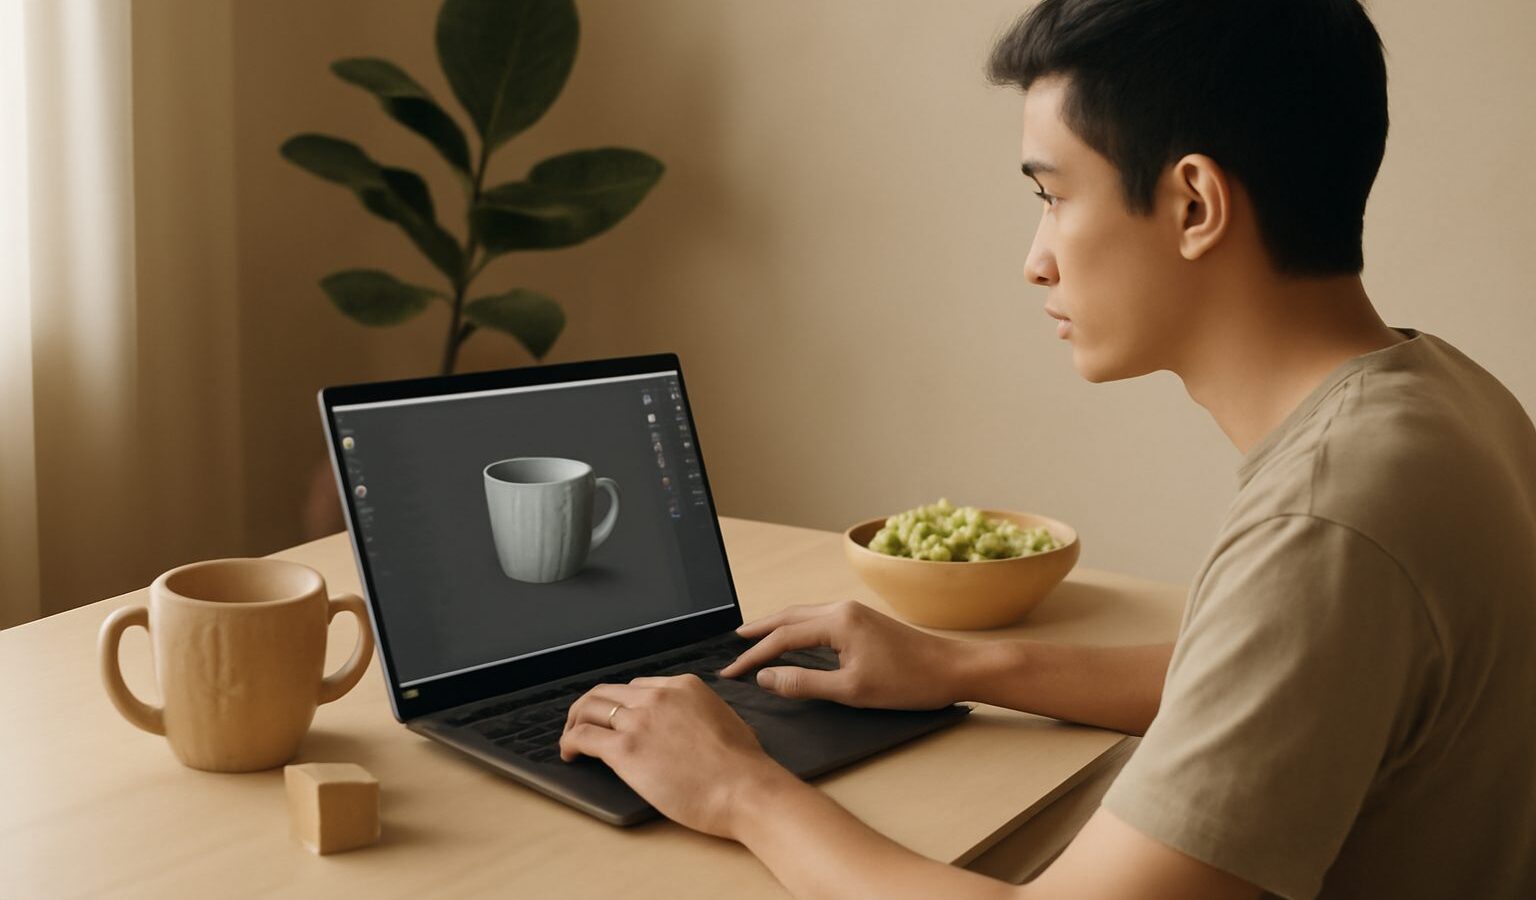
If you have ever admired an animated short, a stylised game character or a tiny digital diorama and wondered how it was made, Blender is a great place to start. It is free, open-source software that can handle modelling, sculpting, texturing, lighting, animation and rendering. This blender 3d modelling beginner guide covers what you need to get going, how to avoid the classic early frustrations, which first projects build real skill, and where to keep learning in Singapore.
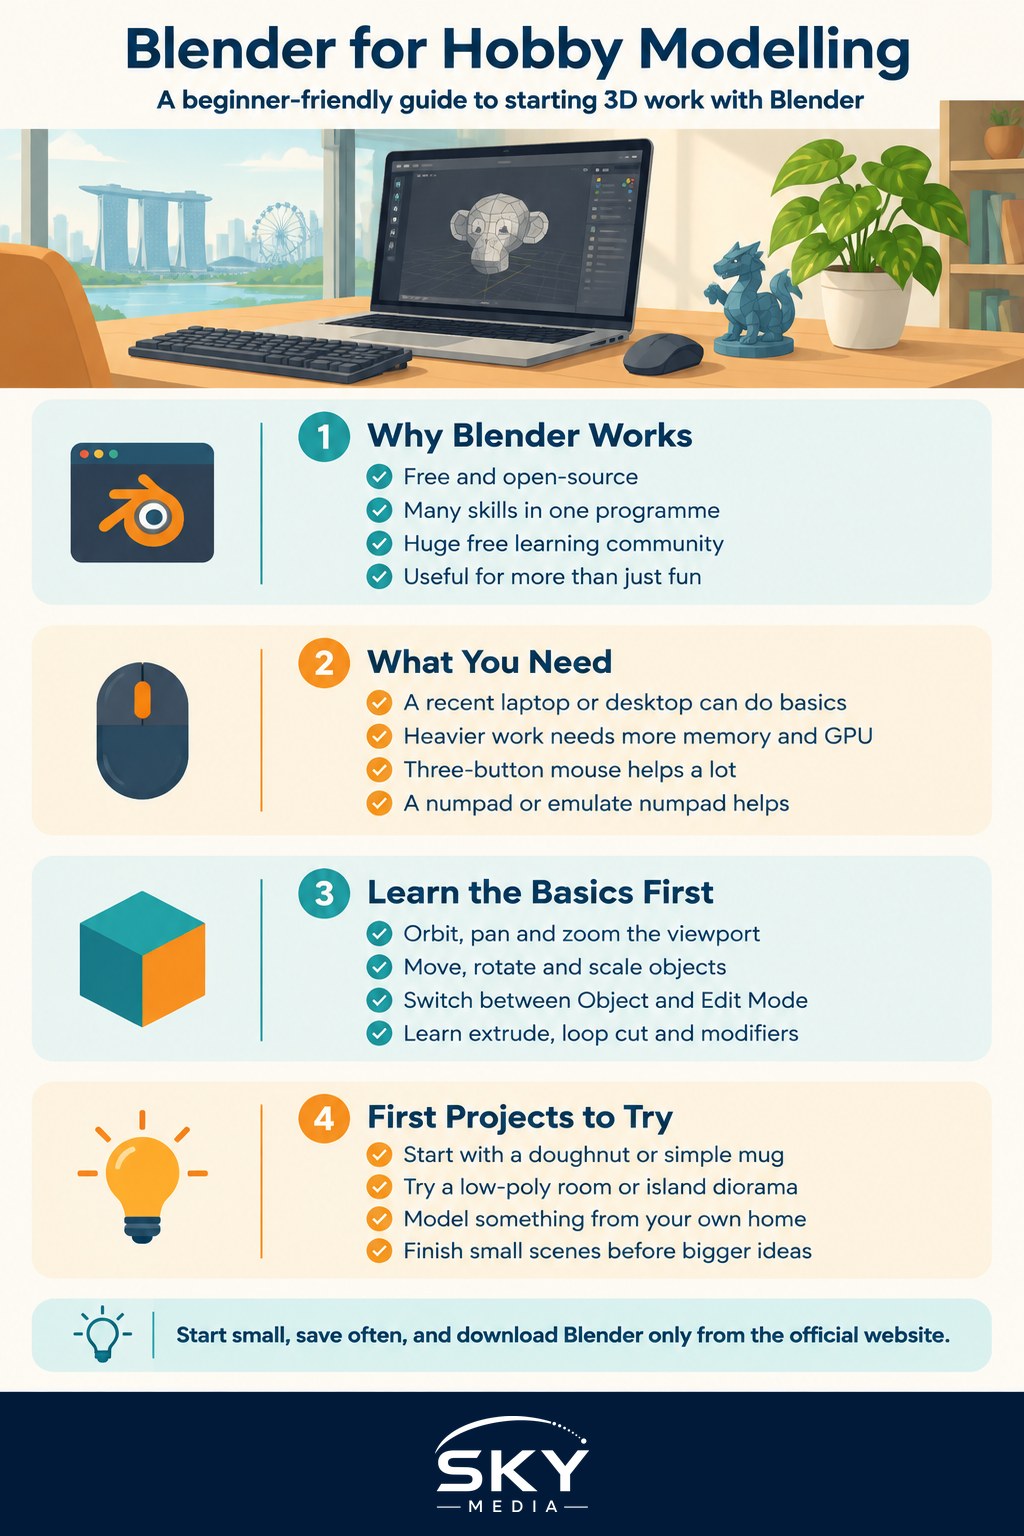
Why Blender Is a Good Hobby Choice
Blender is developed by the Blender Foundation and a large community of contributors, and it is free to download from the official blender.org website for Windows, macOS and Linux. There are no subscriptions or paid tiers, which makes it ideal for a hobby you want to try without commitment.
What makes it rewarding:
- One program, many skills. You can move from modelling a mug to sculpting a character to making a short animation without switching software.
- Huge learning community. There are countless free tutorials, forums and challenges online.
- Satisfying, visible progress. Even your first week can produce a render you are proud of.
- Useful beyond fun. Skills carry over to 3D printing, product visualisation, game modding and motion graphics.
Always download Blender from the official website rather than third-party sites, to avoid bundled malware.
What You Need Before You Start
You do not need a high-end workstation to begin. A reasonably recent laptop or desktop can handle simple modelling and basic renders. Heavier work, such as detailed sculpting, complex scenes and long animations, benefits from more memory and a capable graphics card. Check the current minimum and recommended specifications on blender.org, as they change between versions.
Helpful extras:
- A three-button mouse. Blender relies heavily on the middle mouse button to orbit the view. Trackpads work but are much harder for beginners.
- A full keyboard with a number pad, or turning on the “emulate numpad” option in preferences if your laptop lacks one.
- A drawing tablet (optional). Useful later if you get into sculpting or texture painting, but not essential.
- Patience with the interface. Blender has many panels and shortcuts. Everyone feels lost in the first few hours.
In Singapore’s humid climate, long renders can push laptops hard. Use your laptop on a hard, flat surface with good airflow, and keep the room cool when rendering for long periods.
Learning the Interface Without Getting Overwhelmed
The biggest hurdle for beginners is the interface, not artistic talent. Focus on a handful of core actions first:
- Navigating the viewport: orbiting, panning and zooming the camera
- Selecting and transforming: moving (G), rotating (R) and scaling (S) objects
- Edit Mode vs Object Mode: switching with Tab to work on vertices, edges and faces
- Extrude and loop cut: two tools that build most simple shapes
- Modifiers: non-destructive tools such as Subdivision Surface, Mirror and Bevel
Learn these well before touching sculpting, geometry nodes or simulations. Tutorials made for older Blender versions can be confusing, as menus moved significantly over the years, so look for recent tutorials that match your version.
First Projects That Build Real Skill
Small, finished projects teach more than one huge unfinished dream scene. The table suggests a sensible progression.
| Project | What you practise | Roughly where it fits |
|---|---|---|
| Classic doughnut or simple mug | Navigation, basic modelling, modifiers, materials | Your very first week |
| Low-poly room or island diorama | Scene building, lighting, simple colour palettes | After the basics feel comfortable |
| Everyday object from your home | Using reference photos, proportions, bevels | When you want realism practice |
| Stylised character head | Sculpting or box modelling, topology basics | Once you are confident with Edit Mode |
| Short turntable animation | Keyframes, camera work, rendering frames | After a few finished still renders |
Local inspiration can make projects more fun. Try modelling a kopitiam stool, an HDB block in low-poly style, a hawker centre tray, or a void deck bench. Using objects you know well makes it easier to judge whether your proportions look right.
Tips for finishing projects:
- Set a small scope, such as one object or one room.
- Collect reference photos before you start modelling.
- Save often, and use “Save As” with version numbers.
- Render and share even imperfect work. Feedback speeds up learning.
Free and Paid Learning Resources
You can go a long way on free material:
- The official Blender Manual on blender.org, useful for looking up what a tool does
- Blender Studio resources from the Blender Foundation, including some free training and open movie files
- Video tutorials from well-known Blender educators on YouTube, especially beginner series that walk through one project from start to finish
- Community forums and subreddits, where you can ask questions and post work for critique
If you want more structure, consider paid online courses, or check whether community centres, polytechnic continuing education programmes or private studios in Singapore run 3D modelling or animation classes. Singaporeans may be able to use SkillsFuture Credit for eligible courses. Check course eligibility and current terms on the official SkillsFuture website before signing up, as not every course qualifies.
Turning Models Into Physical Objects
One of the most satisfying paths for Blender hobbyists is printing what you model. Blender can export files in formats that slicing software for 3D printers can read, though models must be “watertight” (no holes or loose faces) and sized correctly to print well. Blender’s 3D-Print Toolbox add-on can help check common problems.
If that interests you, our guide to 3D printing as a hobby covers the hardware side, and choosing a 3D printer for beginners helps you pick a first machine. You can also use print-on-demand services or makerspaces if you are not ready to buy a printer.
Staying Motivated as a Beginner
Like any creative hobby, Blender has a learning curve. A few habits help you stick with it:
- Practise little and often. Twenty minutes a few times a week beats one long weekend session a month.
- Join challenges. Online communities run themed weekly or monthly challenges that give you a reason to finish something.
- Compare with your past self, not with professionals who have years of experience.
- Keep a folder of renders so you can see your progress over months.
- Find a buddy or group. Look for online communities or local meetups for 3D artists and game developers.
Blender rewards curiosity and persistence. Start with the basics, finish small projects, and in a few months you may be surprised by the worlds you can build from your own desk.
Further reading: Pixel Art as a Hobby: A Guide to Pixel Art for Beginners