
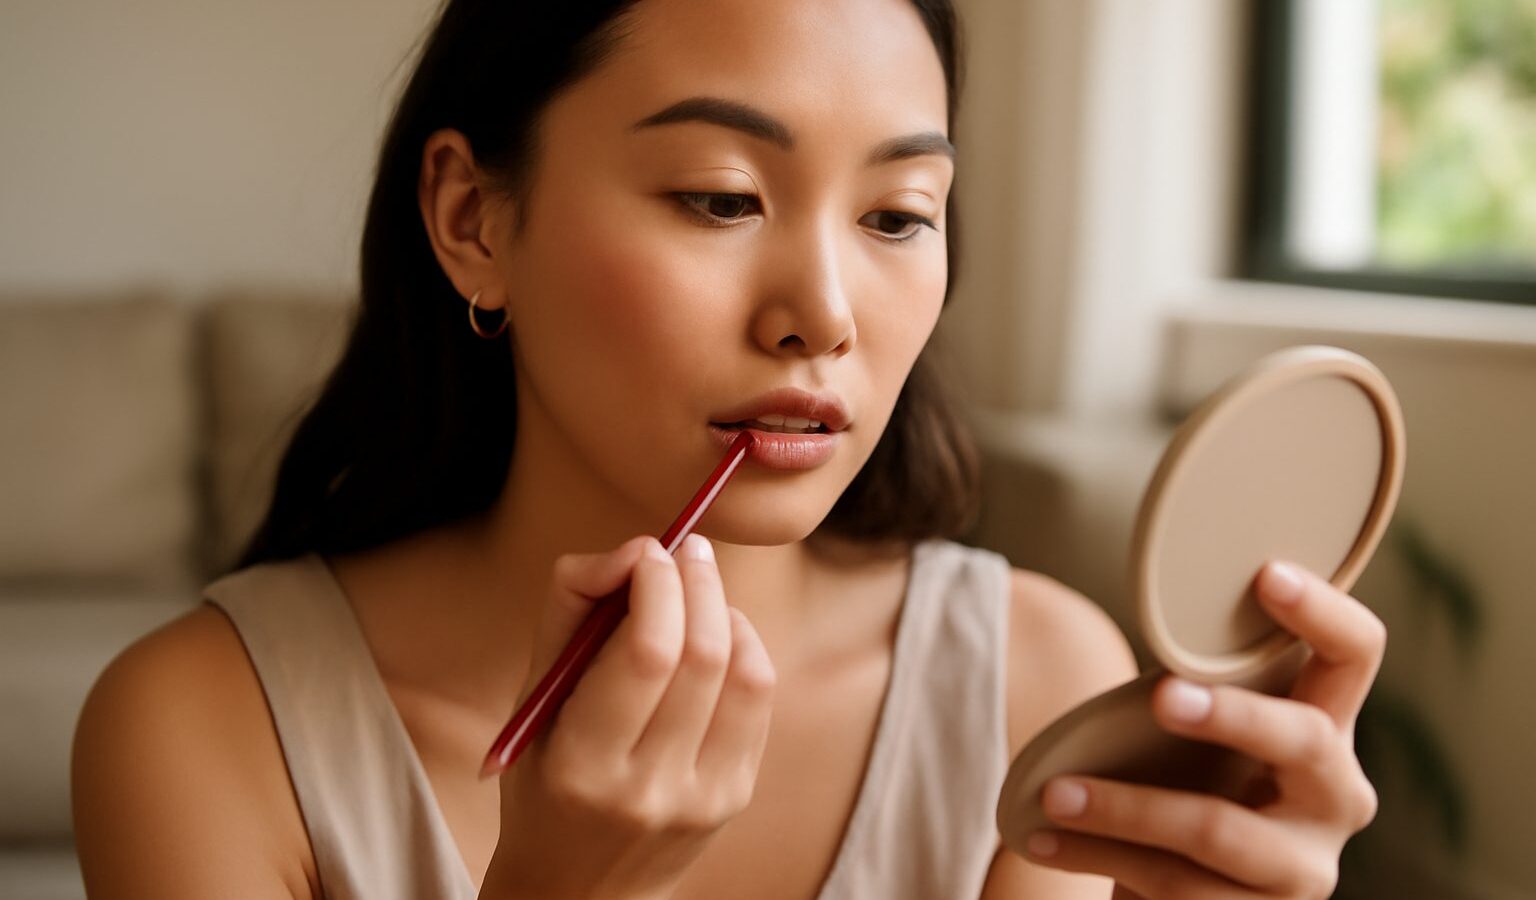
A good lip can pull a whole look together, and the quiet hero behind it is often a pencil most people overlook. A lip liner singapore makeup lovers keep in their kit does far more than draw a hard outline. Used well, it defines your natural shape, balances lips that are uneven, stops lipstick from bleeding in the heat, and makes colour last through a long day. Once you understand a few basics, it becomes one of the most useful tools you own.
This is general beauty guidance, not medical advice. If you have persistent dryness, cracking or irritation on your lips, see a doctor rather than covering it with product.
What Lip Liner Is For
At its simplest, lip liner is a pencil of waxy, pigmented product you use to trace and refine the edge of your lips. That outline does three jobs. It creates a crisp border so lipstick looks neat. It acts as a barrier that slows colour from feathering into the fine lines around the mouth. And it can gently reshape how your lips read, making them look fuller, more balanced or more defined without any needles or treatments.
You can also fill in the whole lip with liner before applying lipstick or gloss on top. This gives the colour something to hold onto, so it fades more evenly and clings on longer. In our climate, where drinks, meals and sweat wear makeup down quickly, that base layer is one of the simplest tricks for staying put.
Liners come in a few finishes. A classic pencil is easy to control and widely available. Retractable or twist up liners save you sharpening. Some liners are creamy and glide easily, which suits dry lips, while firmer ones give sharper edges. There is no single best type, only the one that matches your lips and how much precision you want.
Shaping and Balancing Your Lips
The heart of lip shaping is subtlety. The goal is to enhance your own lips, not to draw a completely different mouth over them. Start by resting the pencil right at your natural lip line and following its curve rather than fighting it.
To make lips look a little fuller, you can trace just along the outer edge of your natural line, staying within a hair of it rather than way outside. Concentrate a touch of extra fullness at the centre of the top lip, around the cupid’s bow, and the middle of the bottom lip, since that is where light naturally catches. Blend the liner slightly inward with a brush or fingertip so there is no obvious ring, then apply lipstick over the top. The effect should look like your lips on a good day, not an outline sitting apart from the colour.
If your lips are uneven, liner is a gentle way to bring them into balance. Where one side sits higher or thinner, you can follow the fuller side as your guide and softly even the other to match. Small adjustments read as natural, while big ones look drawn on, so go slowly and check both sides in good light.
The table below matches common goals to a simple approach so you can find your starting point.
| Goal | Where to focus | Quick tip |
|---|---|---|
| Fuller looking lips | Cupid’s bow and centre of lower lip | Trace just outside the line, then blend inward |
| More definition | The full natural lip edge | Sharp pencil, light hand, follow your own curve |
| Even, balanced lips | The thinner or lower side | Match to the fuller side in small steps |
| Longer lasting colour | The whole lip | Fill in fully as a base before lipstick |
Whatever your aim, blend the hard line away. A visible outline with a different shade inside is the classic dated look. Softening the border where the liner meets the lipstick keeps everything looking seamless.
Choosing the Right Shade
Shade choice makes or breaks the result. As a safe default, pick a liner close to your natural lip colour or to the lipstick you wear most. A nude or my lips but better tone works under almost anything and never looks harsh if the lipstick wears away through the day, since you are not left with a dark ring around bare lips.
If you want to match a specific lipstick, choose a liner in the same family a shade deeper, and fill the whole lip so any fading stays even. For bold or dark lipsticks, matching the liner closely to the colour matters even more, because a mismatch shows quickly once you eat or drink. Think about your undertone too. Warmer, peachy or brick nudes flatter some people, while cooler, rosier or mauve nudes suit others, and testing on your own lips beats guessing from the pencil.
Making It Last in the Heat
Longevity comes down to a little preparation. Start with lips that are smooth and not overly slick. If they are flaky, gently smooth them and let any lip balm sink in and dry before you begin, since a wet, greasy surface makes liner skid and lipstick slide. Line and fill the lips, apply your lipstick, then blot once with a tissue and, if you want more staying power, add a second thin layer.
For our humidity and long days, a longwear or transfer resistant liner and lipstick combination holds up best through meals and commutes. Keep the pencil in your bag for a quick touch up, and reline the edges before reapplying colour if things have worn unevenly. Avoid piling on layer after layer, which can look heavy and settle into lines. Thin, built up coats always wear more gracefully than one thick one.
Lip liner rewards a light hand and a bit of practice. Follow your natural shape, blend the edges, match the shade sensibly and prep your lips, and you will have a fuller, more polished mouth that lasts, without ever looking like you tried too hard.
Explore more
Lipstick and Lip Products Guide
Makeup for Beginners in Singapore
Understanding Undertones and Colour Matching
Makeup That Lasts in Singapore’s Humidity