
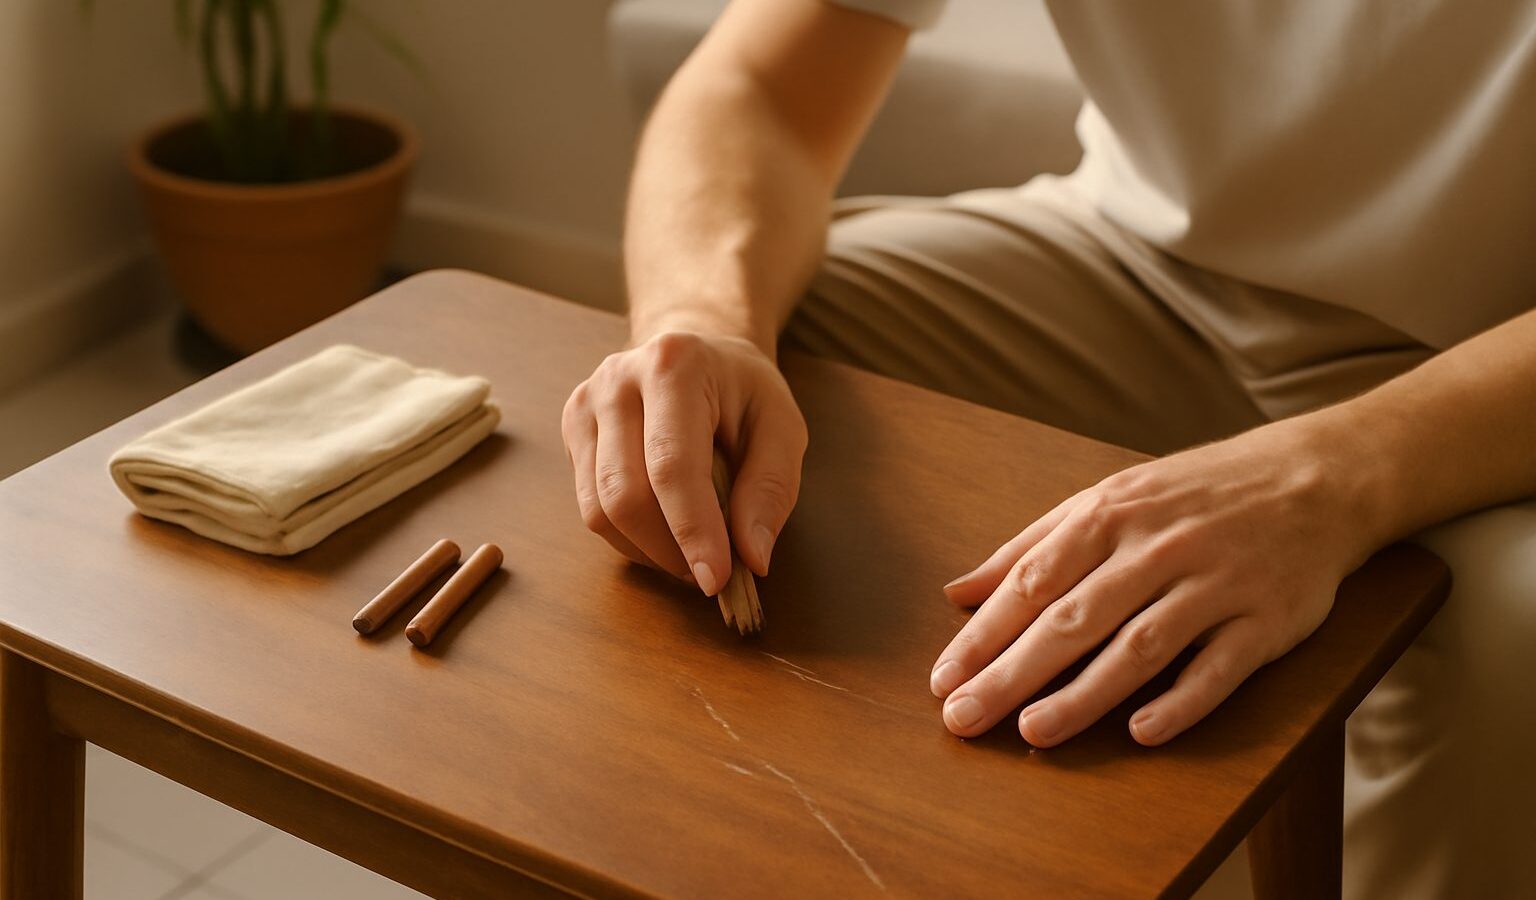
Scratches on a table top, a scuffed cabinet door or a gouge in the parquet are almost unavoidable in a busy home. The instinct is to live with them, but repairing scratched wood is one of the most rewarding beginner DIY jobs there is. With a few cheap materials and a little patience, most marks can be made to vanish or fade so far that no one notices them.
The trick is to match your method to how deep the damage goes. A surface scuff needs almost nothing, while a deep gouge needs filling and finishing. This guide takes you from the lightest marks to the deepest, so you can start at the right point and avoid overdoing it.
Work Out How Deep the Scratch Goes
Before touching anything, run your fingernail gently across the mark. This simple test tells you what you are dealing with.
- Your nail glides over it: the scratch is only in the surface finish, not the wood. These are the easiest to fix.
- Your nail catches slightly: the finish is broken and the wood underneath may be lightly marked.
- Your nail drops into a groove: this is a deep scratch or gouge that will need filling.
It also helps to know what your furniture is made of. Most affordable HDB furniture is not solid timber but laminate or veneer, which is a thin decorative layer over a board core. Solid wood can be sanded and refinished freely, but laminate and veneer are thin, so you must never sand hard or you will cut straight through the picture layer. When in doubt, treat the piece as delicate and use the gentlest method that works.
Fixing Light Surface Scratches
Shallow marks that sit only in the finish often respond to surprisingly humble household tricks. Clean the area first with a barely damp cloth and let it dry, then try these in order.
- A wax-based scratch cover. Furniture wax or a dedicated scratch-repair stick rubbed over the mark fills the fine groove and blends it in. Buff off the excess with a soft cloth.
- A blending pen or marker. Wood touch-up pens come in common shades. Choose one a touch lighter than your furniture, colour the scratch, then wipe gently so it does not go too dark.
- The gentle heat trick for water rings. A cloudy white ring from a hot cup often sits in the finish, not the wood. Lay a clean dry cloth over it and pass a warm iron on a low, no-steam setting over the cloth for a few seconds at a time until the haze lifts.
Always test any product on a hidden spot first, such as the underside or the back, so you can check the colour before working where it shows.
Repairing Deeper Scratches and Gouges
When your nail drops into the groove, the scratch needs filling so the surface is level again. This is still a beginner job, just a slower one.
- Clean and lightly key the area. Wipe away dust. On solid wood you can rub very fine sandpaper along the grain around the gouge; on veneer or laminate, skip heavy sanding.
- Fill the groove. Press wood filler or a matching wax filler stick into the gouge with a small flat tool or an old plastic card. For wax sticks, warm and rub the wax in, layering until it stands slightly proud.
- Level it off. Scrape away the excess so the filler sits flush with the surface. With water-based wood filler, let it dry fully first, then sand it flush with fine paper, keeping to the damaged spot.
- Colour and blend. If the filler does not match, use a touch-up pen to add grain lines, then feather the colour into the surrounding wood so the repair disappears.
- Seal the repair. Brush or wipe a thin coat of clear finish over the filled area so it is protected and matches the sheen of the rest of the piece.
Take your time with the colour step. A well-matched repair that you can only find by looking hard is a genuine win.
Choosing the Right Method for the Damage
Different marks call for different products. This table pairs the type of damage with a sensible first approach.
| Type of damage | Best on | First method to try |
|---|---|---|
| Faint surface scuff | Any finish | Furniture wax or scratch-cover stick |
| Broken finish, light mark | Solid wood, veneer | Touch-up pen, then buff and wax |
| Deep gouge you can feel | Solid wood | Wood filler, sand flush, colour, seal |
| Deep mark in thin veneer | Veneer, laminate | Wax filler stick, colour, seal (no sanding) |
| Cloudy white heat ring | Sealed finishes | Gentle warm-iron trick through a cloth |
Restoring a Whole Tired Finish
Sometimes a piece is not just scratched but generally dull, faded or covered in fine marks all over. Before any drastic action, try cleaning it thoroughly and applying a coat of furniture wax or polish, which can bring back a surprising amount of life. If the finish is genuinely worn through on solid wood, you can sand it back and reapply a clear finish, but do this only on solid timber, never on thin veneer or laminate, and always wear a dust mask and work in a ventilated spot. Our humidity means bare timber should be sealed promptly so it does not swell or attract mould. Keep furniture out of constant direct sun near windows, as strong light fades finishes over time.
When to Leave It to a Professional
Home repairs suit everyday furniture beautifully, but a few situations are worth handing over:
- Antiques or valuable pieces, where an amateur repair can lower the value. A specialist restorer is the safer choice.
- Large or structural damage, such as split solid tops or lifting veneer over a wide area.
- French-polished or specialist finishes, which need particular skills to match.
For most scuffed coffee tables, cabinet doors and bookshelves in a typical flat, though, repairing scratched wood is well within reach. Start gentle, test in a hidden spot, and build up slowly. You will be surprised how often a mark you thought was permanent simply disappears.
Explore more
- /fixing-wobbly-or-broken-furniture/
- /fixing-a-drawer-that-wont-slide/
- /patching-small-holes-and-cracks-in-walls/
- /fixing-squeaky-doors-and-hinges/
- /fixing-a-sticking-or-jammed-door/