
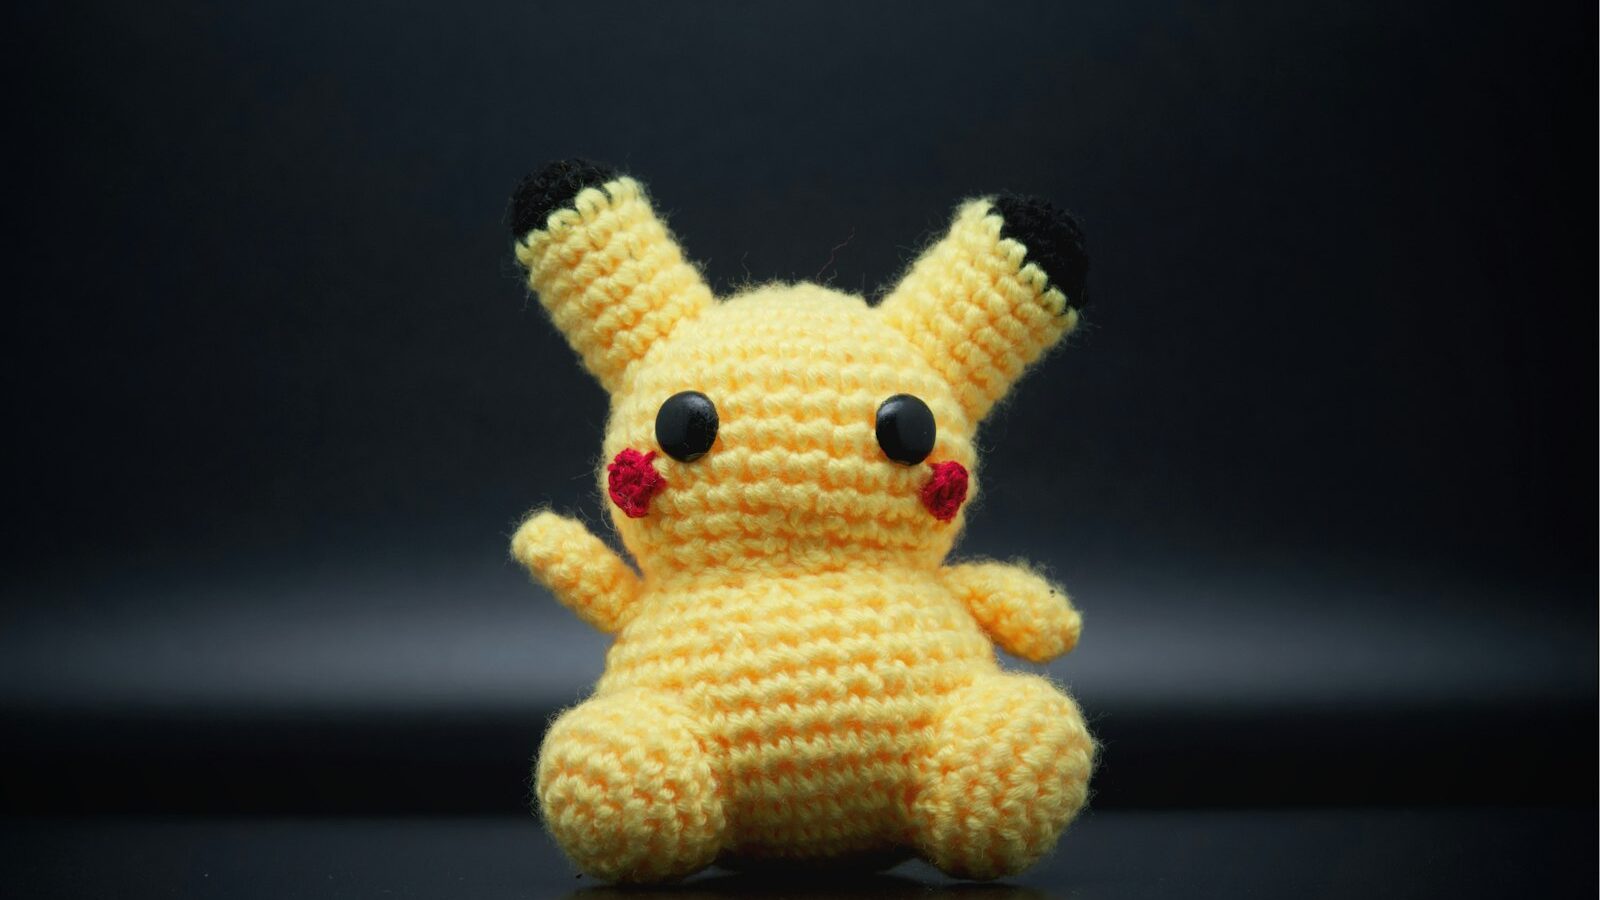
There is something quietly magical about turning a single strand of yarn into a plump little octopus, a sleepy cat or a smiling strawberry that fits in your palm. That is amigurumi, the Japanese craft of crocheting small stuffed toys, and it has become one of the friendliest ways to fall in love with yarn. You do not need artistic talent, expensive tools or much space, which makes it a lovely fit for life in a Singapore flat. If you have ever wanted a hobby you can carry in a small pouch, this is it.
This guide walks you through what amigurumi actually is, what to buy, your first few stitches and projects, the mistakes almost everyone makes, and where to find yarn and fellow crafters here.
What Amigurumi Is and Why It Is So Loved
The word amigurumi combines the Japanese for “crocheted” and “stuffed doll”. In practice it means working crochet stitches in a tight spiral to form a firm, rounded fabric, then stuffing it so it holds a cuddly three-dimensional shape. Most pieces are small, from a keychain-sized charm to a toy that sits in two hands.
The appeal is easy to understand. It is repetitive in a soothing, almost meditative way, so it calms a busy mind after work. Progress is fast: a simple ball or a little creature can be finished in an evening, which is deeply satisfying when you are used to hobbies that take weeks. The results are genuinely giftable, and few presents feel as personal as a handmade toy. Because everything is small, it travels and stores easily, a plus when cupboard space is tight.
If you enjoy this kind of slow, tactile handwork, you may also like the cousin crafts of tatting and lace making or the older fibre art of hand-spinning yarn, which pairs beautifully once you are hooked on working with wool.
What You Need to Start
Amigurumi is refreshingly cheap to begin, and you can gather everything from a single craft shop trip. Here is the honest starter list.
- A crochet hook. A metal hook around 2.5mm to 3.5mm suits most toy yarns. Many beginners find a hook with a soft, cushioned handle far kinder on the hand.
- Yarn. Smooth cotton or acrylic in a light or medium weight is ideal because the stitches show clearly. Avoid fuzzy or dark yarn at first, as it hides your stitches and makes counting a headache.
- Polyester toy stuffing. A small bag goes a long way. Do not substitute rice or beans, which attract pests and cannot be washed.
- A blunt yarn needle for sewing parts together and weaving in ends.
- Stitch markers (even a scrap of contrasting yarn works) to mark where each round begins.
- Small scissors.
- Eyes. Plastic “safety eyes” click in neatly, but see the safety note below before using them.
That is a complete kit for a modest outlay. You do not need pattern books to start, as thousands of free written and video patterns exist online.
Your First Stitches and Simple Projects
Nearly all amigurumi rests on one stitch: the single crochet, worked round and round. Master a handful of building blocks and you can make almost anything.
- The magic ring. This adjustable loop lets you start a tight circle with no hole in the middle. It feels fiddly for the first day, then suddenly clicks.
- Single crochet. The workhorse stitch that forms the firm fabric.
- Increases and decreases. Adding or removing stitches in a round is how a flat circle becomes a dome, a ball or a pear shape. This shaping is the whole secret to amigurumi.
- Working in a spiral. Unlike a granny square, you do not join each round, you simply keep going, which is why stitch markers matter.
For a first project, make a plain ball. It teaches the magic ring, increasing, decreasing and stuffing all at once, and it is forgiving. From there, a simple octopus, a ball-shaped chick or a round cat are classic confidence builders. Keep early projects small so you finish them and feel the win.
A Safe, Cuddly Toy: Choosing Eyes and Materials
If your toy is destined for a baby or a young child, safety comes first. Plastic safety eyes and small sewn-on parts can become choking hazards. For anyone under three, skip plastic eyes entirely and embroider the eyes and features directly with yarn, and stitch every part on firmly with no loose beads or buttons. Stuff toys densely so nothing works loose, and choose a washable yarn and stuffing so the toy can be cleaned. Keep hooks, scissors, safety eyes and stuffing well away from children and pets while you work, as small components are easy to swallow. None of this is complicated, it just means thinking about who will actually hug the finished toy.
Common Beginner Mistakes and How to Avoid Them
Everyone stumbles on the same few things, so you are in good company.
- Loose, gappy stitches let the stuffing peek through. Work more tightly than feels natural, or drop down a hook size.
- Losing count of rounds. Always mark the first stitch of each round and jot down where you are before you put the work down.
- Understuffing or overstuffing. Too little looks saggy, too much strains the stitches and shows gaps. Aim for firm but squeezable.
- Choosing hard yarn first. Fuzzy, black or very thin yarn punishes beginners. Start pale and smooth.
- Rushing the assembly. Sewing parts on straight and symmetrical takes patience. Pin first, step back, then stitch.
The learning curve is real but short, and most people go from all thumbs to a finished creature within a weekend or two.
Cost, Space and the Local Reality
Amigurumi is one of the kindest hobbies on the wallet and on your HDB storage. A starter kit is inexpensive, and a single ball of yarn makes several small toys. Everything fits in a shoebox or a drawer, there is no mess, no fumes and no noise, so late-night stitching will not bother the neighbours. The tropics bring one quirk: cotton and acrylic cope well with our humidity, but any wool blends should be stored with a little air flow to avoid mustiness.
The table below compares a bare-bones starter setup with a comfortable upgrade once you know you enjoy it.
| Item | Budget starter | Comfortable upgrade |
|---|---|---|
| Hook | One basic metal hook | Ergonomic cushioned-handle set in several sizes |
| Yarn | One or two balls of smooth cotton | A small colour palette for detailed toys |
| Eyes and details | Embroidered with yarn | Assorted safety eyes and a felt-and-thread kit |
| Extras | Scrap-yarn stitch markers | Proper stitch markers, row counter, storage tin |
Neither column is “correct”. Plenty of experienced makers happily stay in the budget column for years.
Improving and Finding Your People in Singapore
Once you can make a ball and a simple animal, growth comes from tackling patterns with more shaping, colour changes and separately sewn limbs. Read patterns slowly, and do not fear frogging (unravelling) a bad section, as it is simply part of the craft.
For yarn and hooks, general craft and hobby shops, department store craft sections and neighbourhood haberdashery stalls all carry the basics, so compare in person to feel the yarn before buying. Community centres and libraries sometimes run crochet or general craft sessions, and hobby groups on local social media and messaging apps organise casual stitch-and-natter meetups where beginners are genuinely welcome. Sitting with others for an afternoon will teach you more than a week of solo videos.
A gentle word on selling: if your little toys attract admirers and you start taking orders, that is wonderful, but treat this as general information and not business advice. Once a hobby becomes a real income stream you may need to register a business with ACRA and check your tax position with IRAS, so look up the current requirements before you scale up.
Start with a single ball of yarn and one plain ball of a toy. Keep it small and playful, and soon you will have a shelf of squishy little characters made stitch by stitch, from nothing but string.