

Few things test your patience quite like a big cardboard box of flat-pack furniture, a thin instruction booklet with no words, and a floor covered in identical little bags of screws. Yet millions of wardrobes, shelves and beds go together this way every year, and there is nothing about the job that a careful beginner cannot handle. Flat-pack furniture is simply furniture that ships in pieces so it is cheaper to transport and easier to carry up to your flat, then assembled at home. Get your approach right and it becomes a calm, oddly satisfying afternoon rather than a fight.
This guide is for the total beginner in Singapore, including renters who want sturdy, good-looking pieces without paying for assembly every time. The secret is not strength or skill. It is preparation, patience and doing things in the right order.
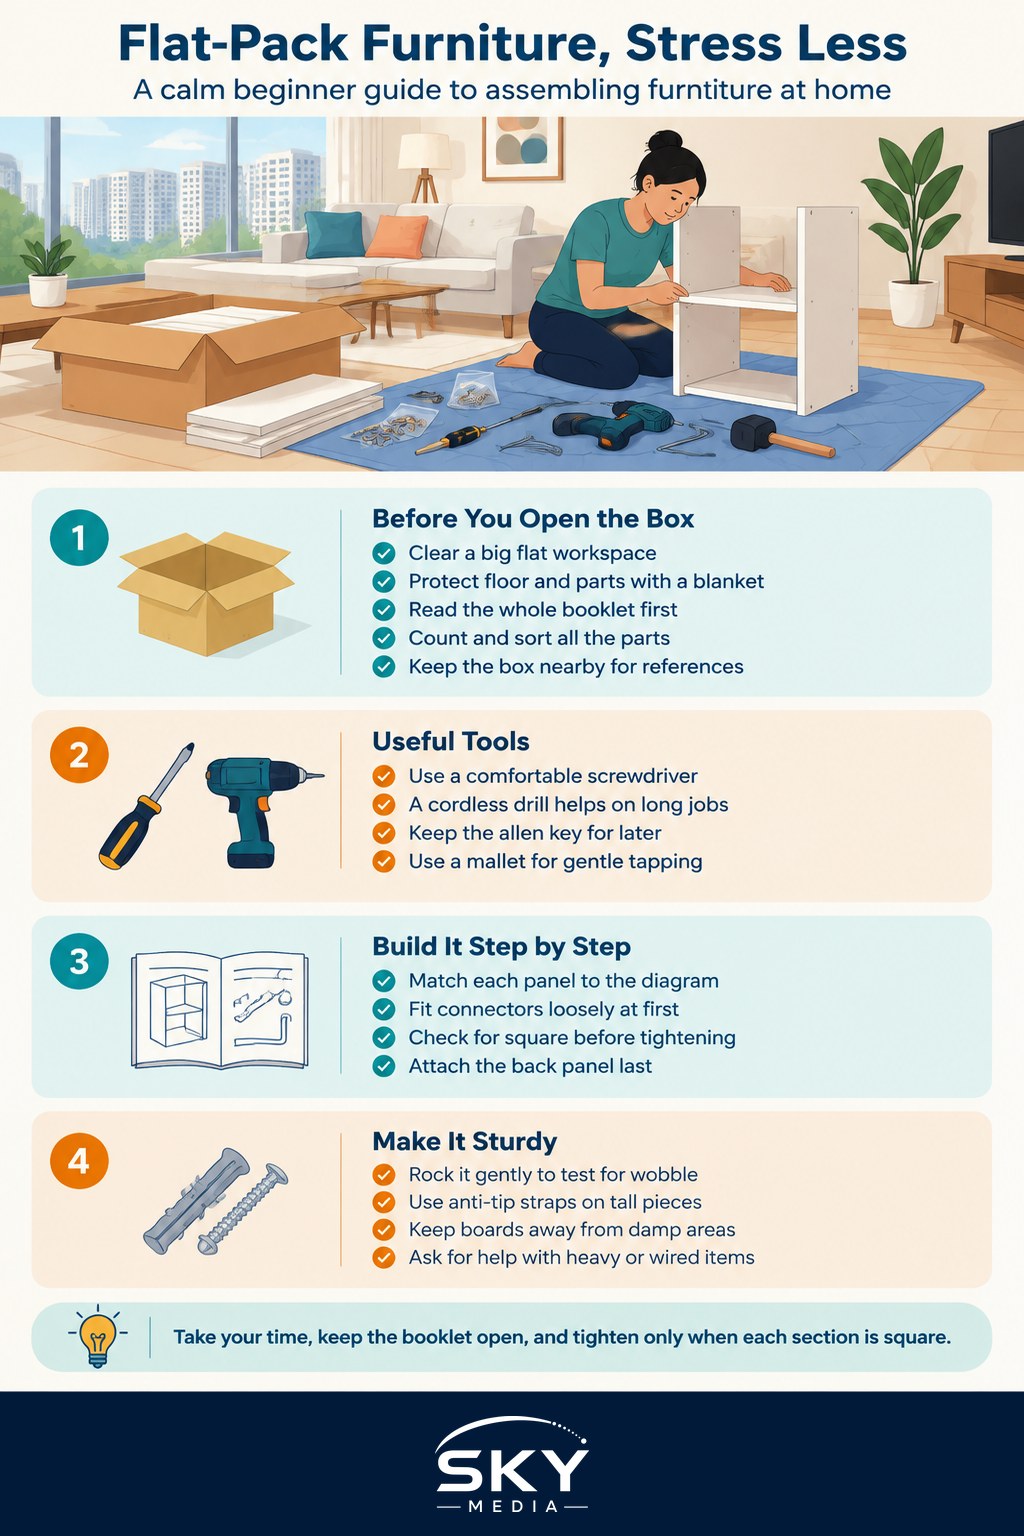
Before You Open the Box
The temptation is to tear everything open and start immediately. Resist it. A few minutes of setting up will save you an hour of frustration later.
- Clear a big, flat space. You need more room than you think, ideally on a soft surface. Lay the flattened cardboard box or an old blanket on the floor to protect both the parts and your tiles or laminate from scratches.
- Read the whole booklet first. Flip through every page before you touch a screw. You are looking for the overall shape of the job, which way panels face, and any step that says two people are needed.
- Count and sort the parts. Tip out the fittings and group them into small bowls or the sections of an egg carton: screws here, wooden dowels there, cam locks in another. Check the parts list against what you actually have before you begin, so a missing piece is a phone call and not a half-built disaster.
- Keep the box nearby. The order number and part references printed on it are what you will need if you have to request a replacement fitting.
Work near a power point if your kit includes anything electrical, such as a lit dressing mirror, but leave that plug-in step for the very end and never modify the wiring.
The Tools That Make It Easier
Most flat-pack furniture is designed to go together with the small tools included in the box, but a few extras make the whole thing far gentler on your hands and your temper.
- A screwdriver with a comfortable handle, or better still a screwdriver bit set, so you are not relying on the tiny folded metal key for every screw.
- A cordless drill or driver, used gently. It speeds up long jobs like bed slats enormously, but set it to a low torque so you do not strip the screw heads or split the board. Do the final tightening by hand.
- The allen key provided. This is the small L-shaped hex key that turns the bolts common in flat-pack designs. Keep it; you will want it again for tightening things months later.
- A rubber mallet or a hammer with a cloth over the head, for tapping wooden dowels and back panels home without denting the surface.
You do not need to buy anything exotic. A basic screwdriver and a willingness to go slowly will see most jobs through. If you assemble furniture more than once or twice a year, a modest cordless driver from any local hardware shop is the single upgrade that removes the most strain.
A Calm, Step by Step Method
Good assembly is really just good sequencing. Follow the booklet in order and trust it, even when a step seems pointless.
- Lay out the panels for the current step and identify the front, back, top and bottom of each. Many panels look almost identical but have holes drilled in slightly different places, so match them to the diagram before fixing anything.
- Fit the connectors loosely first. Cam locks, the round metal discs that pull two panels together when you turn them, and dowels, the small wooden pegs that keep panels aligned, should be started but not fully tightened until the section is square.
- Check for square as you go. Once a box shape is loosely together, make sure the corners are true before you tighten everything. A piece tightened while skewed will wobble forever.
- Tighten fully only when a section is correct. Then move to the next stage. Snug is the goal, not brutal force; overtightening can crack the board or spin the screw uselessly.
- Attach back panels last. The thin hardboard back is often what makes a wardrobe or shelf rigid, so lining it up squarely and pinning it evenly matters more than it looks.
Take breaks, keep the booklet open beside you, and do not skip ahead. Rushing a single step is the most common way a project goes wrong.
Common Mistakes and How to Avoid Them
Almost every flat-pack mishap comes from a handful of avoidable habits. Knowing them in advance is half the battle.
| Common mistake | Why it causes trouble | What to do instead |
|---|---|---|
| Fully tightening each screw as you go | Panels lock in slightly off, so nothing lines up later | Fit everything loosely, square it up, then tighten |
| Fitting a panel the wrong way round | Holes end up facing out or the grain looks odd | Match front, back and holes to the diagram first |
| Forcing a dowel or screw that resists | Splits the board or strips the thread | Stop, check alignment, and ease it in gently |
| Using a drill at full power | Strips heads and cracks the surface | Low torque with the drill, final turns by hand |
| Skipping the back panel or fitting it loose | The whole piece wobbles and racks over time | Square and pin the back evenly before finishing |
If you strip a screw hole so it no longer grips, a common fix is to push a couple of wooden matchsticks or a sliver of dowel with a little wood glue into the hole, let it set, then drive the screw again into the fresh material.
Making It Sturdy and Keeping It That Way
A well-built piece should feel solid, not shaky. Once assembled, give it a gentle rock. Any wobble usually means a connector needs tightening or the back panel is not square, so go back and check rather than living with it.
Tall furniture deserves special care. Wardrobes, bookcases and tall drawers can tip, which is a real danger in a home with children. Most kits include an anti-tip strap or bracket meant to secure the top of the piece to the wall. Use it. In an HDB or condo flat, fixing into a solid concrete or reinforced wall gives the strongest hold, so pick a spot away from any concealed wiring or pipes and use the right wall plug for the surface. Renters should ask the landlord before drilling and can consider heavy-duty adhesive anchors as a less permanent option for lighter pieces.
Singapore’s humidity is the long-term enemy of flat-pack board, which is often made of engineered wood that swells if it gets damp. Keep pieces away from wet walls and windows that let rain in, wipe up spills quickly, and let air circulate around the back so trapped moisture does not build up.
When It Is Worth Getting Help
There is no shame in calling for a second pair of hands. Large wardrobes, bed frames and anything you have to lift and hold upright while fixing are genuinely two-person jobs, and trying alone risks a dropped panel or a strained back. If a piece must be anchored into a wall and you are unsure about drilling, or if it includes mains-powered lighting, bring in a professional for that part and keep yourself safe.
For most shelves, drawers and side tables, though, you now have everything you need: a clear space, sorted parts, the right order of work and a bit of patience. Take your time, and enjoy the quiet pride of a piece you built yourself.
Explore more
- Building Simple DIY Storage
- Putting Up Shelves That Hold
- Beginner Woodworking Projects for the Home
- How to Mount a TV on the Wall
- DIY Cable Management at Home
Further reading: Buying Furniture From Taobao: Shipping, Assembly and Risks