

There is a particular sinking feeling that comes from watching a freshly hung shelf peel away from the wall, spilling books and mugs across the floor. Almost always the cause is not bad luck but a mismatch: the wrong fixing for the wall, too much weight on too little support, or a hole drilled in the wrong place. Putting up shelves that actually hold is well within reach for a total beginner, provided you slow down for the parts that matter. This guide walks through choosing shelves, reading your wall, using the right anchors, and doing the whole job safely in an HDB or condo flat.
The good news is that most shelf failures are preventable. Once you understand why a fixing grips, and how to spread a load across the wall, you can hang shelves with real confidence rather than crossed fingers.
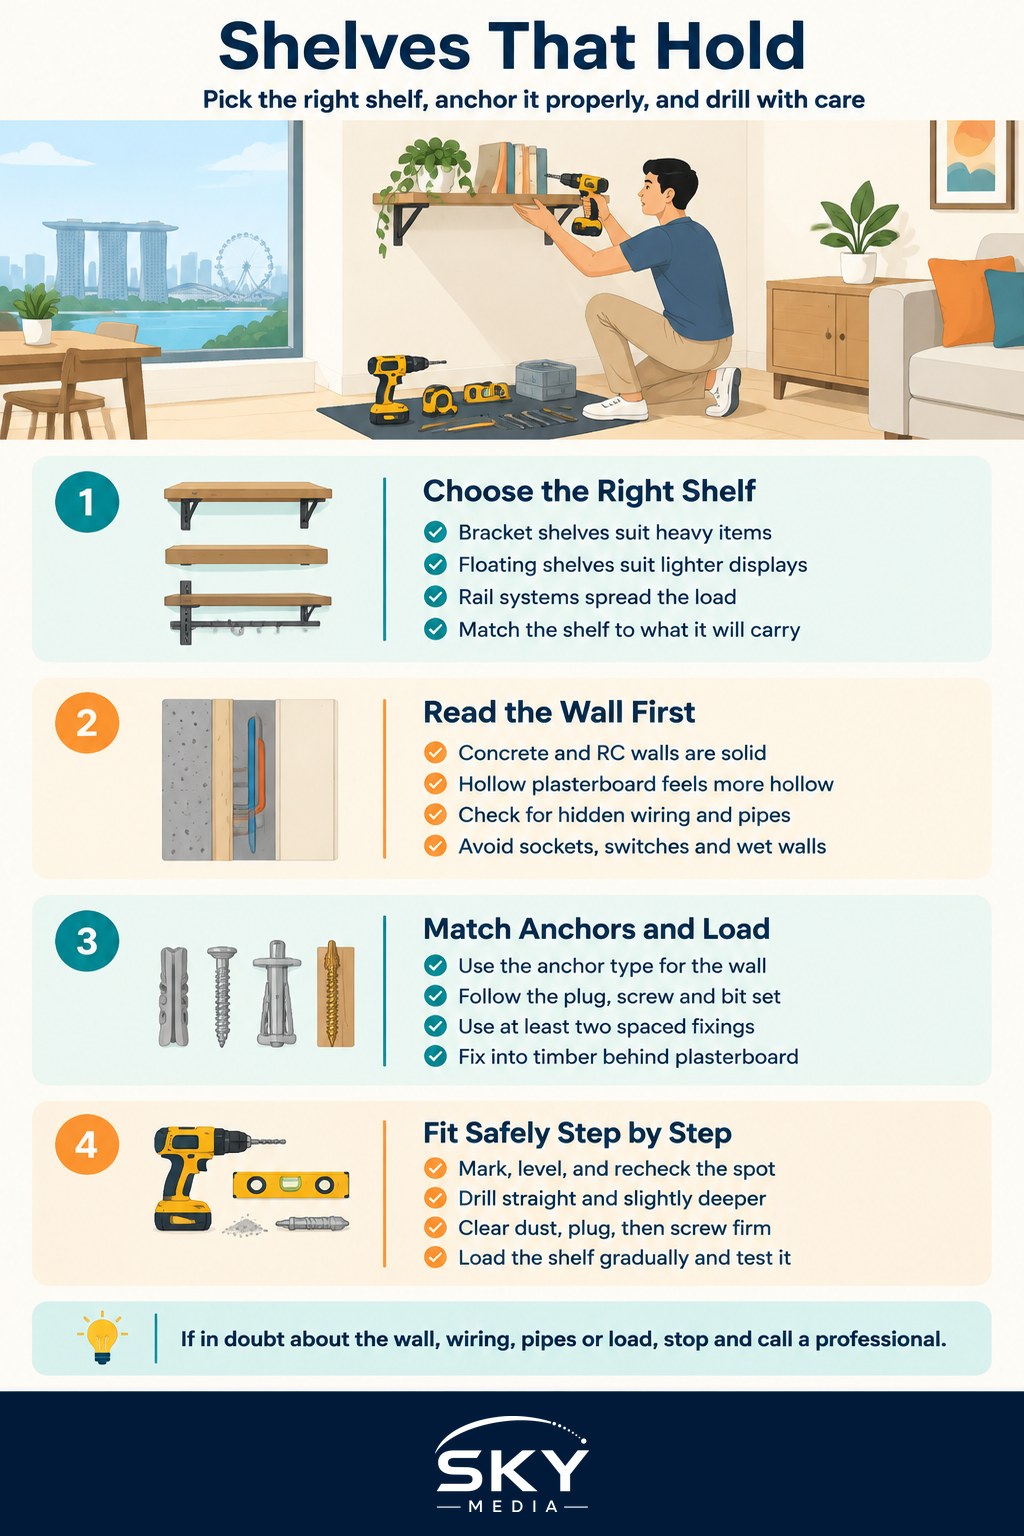
Choose the Right Shelf for the Job
Before you touch a drill, be honest about what the shelf will carry. A row of paperbacks, a stack of plates or a few potted plants add up faster than people expect, and the shelf and its fixings have to match that load.
- Bracket shelves use L-shaped brackets screwed to the wall, with the board resting on top. They are the strongest and most forgiving option for heavy items, because the load transfers down through the bracket into several fixings.
- Floating shelves hide their supports inside the shelf, giving a clean look. They can be strong, but only if the concealed bracket is fixed properly and you respect the maker’s weight limit. They are less forgiving of a weak fixing.
- Rail or track systems use a wall-mounted rail with adjustable brackets. These spread the load across many fixing points and suit a growing collection or a home office.
For anything heavy, favour brackets or a rail system with multiple fixings. Save floating shelves for lighter, tidier displays unless you are confident about the wall and the anchors.
Read Your Wall Before You Drill
The wall decides everything, so identify it first. Most HDB and condo homes have hard, solid walls of concrete or reinforced concrete (RC), especially the structural ones. These are strong but need a masonry bit and usually a hammer drill. Some internal partitions and boxed-in areas are hollow plasterboard, also called drywall, which is a thin panel with empty space behind it.
Tap the wall with a knuckle. A solid concrete wall feels dead and dull; a hollow partition sounds lighter and slightly drum-like. This matters because a plug meant for concrete has nothing to grip in a hollow wall, and a shelf hung on the wrong anchor is a shelf waiting to fall.
Now the safety-critical step, and there is no skipping it. Before drilling, check for concealed wiring and pipes. Avoid drilling directly above or below sockets and switches, since cables often run vertically from them, and steer clear of wet walls in kitchens and bathrooms where pipes hide. An inexpensive cable and pipe detector is a sensible buy, and never drill into or hack a structural or RC wall beyond simple fixings. If you have any doubt about what is behind the wall, stop and ask a professional.
Match Anchors to the Wall and the Weight
A wall plug is a small sleeve, usually plastic, that you push into a drilled hole so a screw has something to grip; as the screw goes in, the plug expands and locks against the sides. The plug, the screw and the drill bit are a matched set, and the packet states the correct combination. Follow it rather than guessing.
| Wall type | Load | Suitable anchor | Fixing tip |
|---|---|---|---|
| Concrete or RC | Heavy shelf | Expansion plug or masonry bolt | Use a masonry bit and hammer drill |
| Concrete or RC | Light shelf | Expansion plug | Two or more spaced fixings |
| Plasterboard | Light shelf | Cavity or toggle anchor | Never a bare plastic plug |
| Plasterboard | Heavy shelf | Fix into the timber behind, or reconsider | Find the framing first |
Two principles keep shelves up. First, respect the weight limits printed on the anchor packet and the shelf, because they are realistic. Second, spread the load: use at least two well-spaced fixings for any real shelf, so no single point carries everything. On a hollow wall, hitting the timber framing behind the board, sometimes called a stud, gives a far stronger hold than the board alone.
Fit the Shelf Step by Step
With the right parts ready, the method for a solid wall is straightforward. Wear eye protection and a dust mask, as concrete throws out fine dust.
- Mark and level. Hold the shelf or bracket in place, use a spirit level, and mark the screw holes with a pencil. A shelf that is even slightly off will look wrong and let items slide.
- Recheck the spot. Confirm the marks are clear of wiring and pipes before you drill.
- Drill the holes. Fit a masonry bit that matches the plug, keep the drill straight, and go slightly deeper than the plug length. Masking tape on the bit makes a simple depth marker.
- Clear and plug. Brush or blow out the dust, then push each plug in until flush with the wall.
- Fix the brackets. Drive the screws through the bracket into the plugs until firm. Stop when snug; overtightening can strip the plug or crack the wall face.
- Fit the board and test. Set the board on the brackets and fix it if the design requires. Press down gently to check it feels solid, then load it gradually rather than all at once.
For a floating shelf, fix its concealed bracket to the wall exactly as above, checking it is level, then slide the shelf on. The whole shelf depends on that hidden bracket, so take extra care with the fixings.
Renters, Weight Limits and When to Stop
If you rent, drilling is a permanent change, so get your landlord’s permission first, and keep to HDB renovation rules and permitted hours. For lighter displays, damage-free options such as strong adhesive shelves and hooks avoid holes altogether, though they carry far less weight, so read their limits honestly.
Know when a job has outgrown a beginner. Call a professional if the shelf is large and heavy, if it sits above a bed or a cot where a fall could hurt someone, or if you keep hitting something hard and hidden in the wall. Stop straight away if a hole crumbles, if the anchor spins without gripping, or if you suspect wiring or pipes. There is no shame in handing over the tricky jobs; the goal is a shelf that holds for years, not a story about the one that came down.