
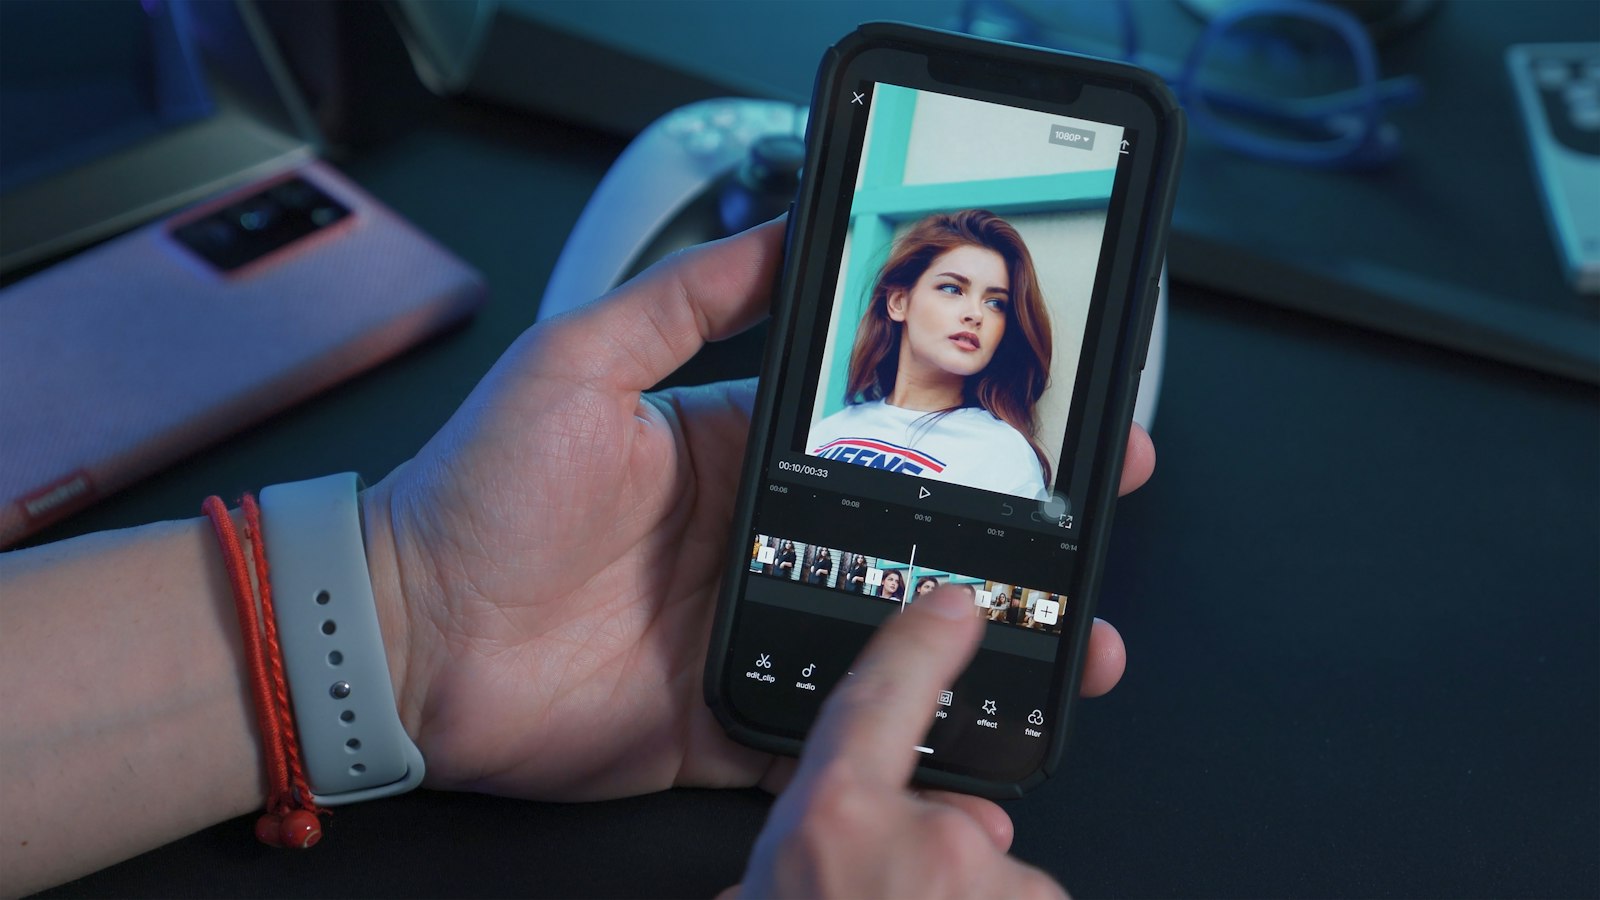
CapCut is one of the most popular free video editors for short-form content, and it is easy to see why. It runs on phones, tablets and computers, it has automatic captions, and its templates can turn a handful of clips into something polished in minutes. This CapCut tutorial for beginners walks you through your first edit step by step, from importing clips to exporting a finished video for TikTok, Instagram Reels or YouTube Shorts.
App layouts change with updates, so a button may move or be renamed. The underlying steps stay the same, and if something looks different, check the app’s built-in help or search the feature name.

Before You Start: Setting Up Your Project
- Install the official app from the App Store, Google Play or the official CapCut website for desktop. Avoid modified versions from unofficial sites.
- Decide where the video will be posted. Vertical 9:16 suits TikTok, Reels and Shorts. Horizontal 16:9 suits YouTube and presentations. Square 1:1 still works on some feeds.
- Gather your clips into one album on your phone so they are easy to find.
- Check your storage. Video projects take space, and exports fail if your phone is nearly full.
Tap New project, select your clips in the order you want them, and tap Add. CapCut places them on the timeline, the strip along the bottom where your edit lives.
Step 1: Cuts, Trims and Splits
Most of editing is simply removing what you do not need.
- Trim: Tap a clip on the timeline to select it. Drag the white handles at either end inwards to cut the start or finish.
- Split: Move the white playhead line to where you want a cut, select the clip and tap Split. You now have two clips, and you can delete the unwanted part.
- Delete: Select a clip and tap Delete.
- Reorder: Press and hold a clip, then drag it to a new position.
- Ratio: Tap Ratio in the bottom menu to set 9:16, 16:9 or 1:1. Pinch a clip in the preview window to reposition or zoom it.
A good habit is a “rough cut” first: get the clips in order and remove obvious dead time, like the seconds before you start talking. Then go back and tighten. Short-form viewers scroll away quickly, so keep the opening seconds strong.
Speed: Select a clip and tap Speed to make a normal speed change or a curve, which ramps the speed up and down for a more dynamic feel.
Transitions: Tap the small white square between two clips to add a transition. Use them sparingly. A simple cut is often cleaner than a spinning effect.
Step 2: Captions and Text
Many people watch with the sound off, especially on public transport, so captions matter.
Auto captions:
1. Tap Text, then Auto captions.
2. Choose the spoken language and the audio source (the video’s original sound, a voiceover or both).
3. Let CapCut generate the captions, then play the whole video and correct mistakes. Singlish, mixed languages, names and place names are often misheard.
4. Tap a caption to edit the wording, or use the batch edit option to fix several at once.
5. Style them with a clear font, a contrasting colour and an outline or background so they are readable on any footage.
Manual text: Tap Text, then Add text for titles, labels or calls to action. Drag the text layer on the timeline to control when it appears and how long it stays.
Keep text away from the very bottom and right edge of vertical videos, where platform buttons and descriptions sit on top of your video.
Step 3: Templates and Effects
Templates are pre-built edits with music, cuts and effects already timed. You swap in your own clips.
- Open the Templates tab and browse or search by mood or trend.
- Check how many clips the template needs and how long each one is.
- Tap Use template, choose your clips, and preview.
- Some templates let you edit text and replace individual clips afterwards.
Templates are great for quick, trend-style posts, but they offer less control than editing from scratch. Use them when speed matters, and build your own edit when you want a specific story.
Filters and adjustments: Tap Filters for a quick look, or Adjust to change brightness, contrast, saturation and warmth yourself. Apply the same settings across clips so the colour stays consistent.
Effects and stickers: Use these lightly. A few well-placed effects add energy; too many distract from your message.
Choosing Your Editing Approach
| Approach | Best for | Control | Time needed |
|---|---|---|---|
| Templates | Trend posts, quick montages, travel highlights | Low, most choices are preset | A few minutes |
| Manual edit on phone | Talking-to-camera videos, tutorials, vlogs | Medium to high | Moderate |
| Desktop CapCut | Longer videos, many clips, detailed captions | High, with a bigger screen | Longer, but more precise |
| Auto features (captions, cutouts) | Saving time on repetitive tasks | Depends on how well you check the results | Fast, plus checking |
Step 4: Sound and Music
Audio quality often matters more than picture quality.
- Background music: Tap Audio, then Sounds to browse the library, or import your own. Be aware that music licensing differs by platform and by use. Music that is fine in a personal post may not be cleared for commercial or business accounts, so check the terms before you post brand content.
- Volume: Select a clip or audio track and tap Volume. Lower the music under speech so voices stay clear.
- Fade: Add a fade in and fade out to music so it does not start or stop abruptly.
- Voiceover: Tap Audio, then Voiceover, and record while watching the video. A quiet room and holding the phone close make a big difference.
- Noise reduction: Many versions include a noise reduction toggle for clips with background hum, such as air-conditioner noise.
Step 5: Export and Share
- Tap the resolution setting near the top before exporting. 1080p is a good default for social media. Higher settings create bigger files.
- Choose a frame rate that matches your footage, typically 30fps, or 60fps for fast motion.
- Tap Export and keep the app open until it finishes.
- Watch the exported file once on your phone before posting to catch any errors.
Free plans may add an ending clip or watermark depending on the version; you can usually remove the default ending clip on the timeline. Some features are part of a paid plan, so check what is included before relying on them.
Beginner Mistakes to Avoid
- Forgetting to set the ratio until the end, then having to reframe everything
- Trusting auto captions without proofreading
- Music drowning out speech
- Too many transitions and effects
- Text hidden behind platform buttons
- Not saving or backing up projects you care about
Where to Go From Here
Once you are comfortable with these steps, try planning your next video before you film it, so the edit is easier. Our guide on how to shoot a tutorial video covers framing and sound at the recording stage. If you want to understand editing principles that apply in any app, read basic video editing for beginners, and when you outgrow a phone app, choosing video editing software helps you compare your next step.
Your first CapCut video will not be perfect, and that is fine. Edit, export, post and learn. By your fifth or sixth project, cuts, captions and audio levels will feel second nature.
Frequently Asked Questions
Is CapCut completely free to use? The basic editor is free, but the free plan may add an ending clip or watermark depending on the version, and you can usually remove the default ending clip on the timeline. Some features are part of a paid plan, so check what is included before relying on them.
Can I use any CapCut song on a business account? Not necessarily. Music licensing differs by platform and by use, and music that is fine in a personal post may not be cleared for commercial or business accounts. Check the terms before you post brand content.
Why does CapCut get my Singlish captions wrong? Singlish, mixed languages, names and place names are often misheard by auto captions. After CapCut generates them, play the whole video and correct mistakes, using the batch edit option to fix several at once. Never post auto captions without proofreading.
Why does my CapCut export keep failing? Video projects take space, and exports fail if your phone is nearly full, so check your storage first. Keep the app open until the export finishes, and consider a lower resolution such as 1080p, since higher settings create bigger files.
Should a beginner use templates or edit manually? Templates suit quick, trend-style posts because the music, cuts and effects are already timed, but they offer less control. Edit manually when you want a specific story, such as a tutorial or vlog. Many beginners start with templates, then move to manual editing.
Further reading: Video Codecs and Formats Explained: H.264, H.265 and ProRes · How to Make a Travel Video · How to Edit a Podcast Video