
A good tutorial video does one thing brilliantly: it helps someone learn a skill without confusion. Whether you want to teach cooking, calligraphy, coding, or how to fix a bicycle, the recipe is the same. You need a clear plan, watchable footage, and audio people can actually understand. The good news is that you can make a genuinely useful tutorial video in Singapore with modest gear and a bit of patience, and this guide walks you through the whole process from idea to upload.
Before you touch a camera, remember the golden rule of teaching: assume your viewer knows nothing, but never talk down to them. Every step should be obvious, in order, and easy to follow at home.

Plan Before You Press Record
The biggest difference between a confusing tutorial and a clear one is planning. Sit down and write out the exact steps a beginner needs, in the order they happen. Then group those steps into short sections so your viewer can follow along or skip back. A simple outline might be: an intro that promises what they will learn, a quick list of what they need, the steps themselves, and a short recap.
Write a loose script or at least bullet points for what you will say. You do not need to memorise it word for word, but knowing your key phrases keeps you from rambling. Many creators like to sketch a quick shot list so they remember every angle they need to capture. If you want a deeper method for this, our guide on how to plan and storyboard a video breaks the process down further and is handy for keeping track.
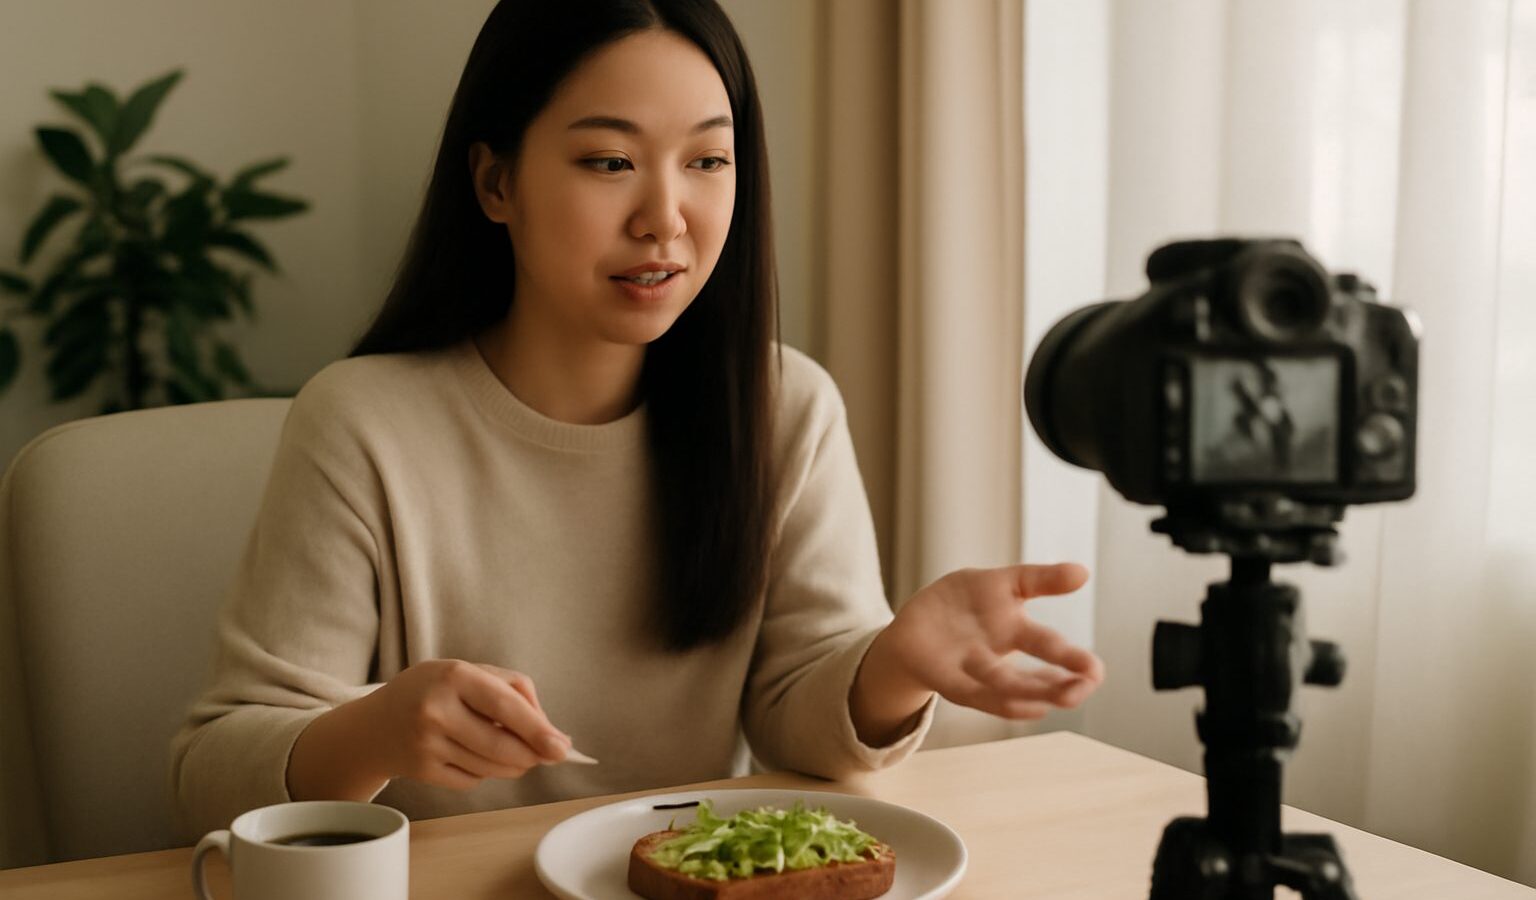
Decide on your format too. Some tutorials work best as a talking head with the presenter facing the camera. Others, like a cooking or craft demo, work better as a top-down or over-the-shoulder view of the hands doing the work. Many of the best tutorials mix both.
Set Up Your Space, Lighting and Sound
You do not need a studio. A quiet corner of your flat with a tidy background works fine. In Singapore, natural light through a window during the day is soft and flattering, but the light shifts fast, so film your whole tutorial in one sitting to keep the look consistent. If you shoot at night or in a dark HDB kitchen, a simple lamp or two will lift things nicely. Position your lights so faces and objects look clear rather than flat.
Audio matters more than most beginners expect. Viewers will forgive slightly soft footage, but they will click away from muffled or echoey speech. Get your microphone close to your mouth, film away from noisy air-conditioning units, and record a few test seconds first. For a fuller walk-through, see how to record good audio for video, which also covers what to look for in a mic.
Keep your camera steady. A cheap tripod, a stack of books, or a phone clamp all work. Wobbly footage is distracting in a tutorial where the viewer is trying to watch your hands.
Filming Techniques That Make Teaching Clear
When you record, slow down. Presenters naturally rush because they already know the steps. Perform each action a beat slower than feels normal, and pause between steps so editing is easier later.
Shoot a few extra angles of tricky moments. A close-up of your hands tying a knot, chopping an onion, or clicking a button lets the viewer see exactly what you mean. This extra footage, often called B-roll, is a lifesaver in editing, and how to shoot b-roll footage shows how to gather it well.
Talk to the camera as if to one friend, not a crowd. Explain the “why” behind each step, because understanding the reason helps people remember. If you make a mistake while filming, just pause, take a breath, and repeat the line. You will cut the fluff later.
Edit for Clarity, Then Publish
Editing is where a tutorial becomes tight and watchable. Trim the dead air, cut the fumbles, and drop in your close-up shots where they help. Add simple on-screen text for key steps, ingredient amounts, or settings, since many people watch with the sound off. Keep transitions plain so they do not distract from the lesson. If editing is new to you, basic video editing for beginners is a friendly starting point.
If you add background music, keep it quiet under your voice and make sure you have the right to use it. Always use royalty-free or properly licensed tracks. Chaptering your video, or listing timestamps in the description, helps viewers jump to the part they need.
Finally, watch your finished tutorial as if you were a total beginner. Is every step clear? Did you skip anything obvious? A quick review, or feedback from a friend, catches gaps you cannot see yourself.
Making a tutorial video in Singapore is a skill that improves fast with practice. Your first one will feel awkward, and that is completely normal. Focus on being clear and genuinely helpful, keep your audio clean, and publish it. The next one will be easier, and before long you will have a small library of videos that teach real people real skills.
Frequently Asked Questions
How long should a tutorial video be? As long as it needs to be to teach the skill clearly, and no longer. Break big topics into short sections or a series, and add chapters or timestamps so viewers can jump to the step they need.
Should I show my face in a tutorial or only my hands? It depends on the skill. Hands-on tasks such as cooking or crafts work best with a top-down or over-the-shoulder view, while explanations suit a talking head. Many good tutorials mix both, so plan each section separately.
What is the best way to explain a step viewers keep getting wrong? Show it slowly, add a close-up, and explain why the step matters. Putting a short on-screen note beside the tricky part helps too. Asking a friend to follow your video exposes gaps you cannot see yourself.
Do I need subtitles on a tutorial video? They are very helpful, since many people watch with the sound off and clear text helps non-native listeners. Simple on-screen text for key steps, amounts or settings also makes the lesson easier to follow.
How do I get people to find my tutorial video? Give it a clear title that says exactly what the viewer will learn, write a helpful description with timestamps, and choose a thumbnail that shows the end result. Useful content shared consistently tends to grow over time.
Further reading: How to Shoot a Product Video · CapCut for Beginners: How to Edit Your First Video · How to Shoot an Interview Video