
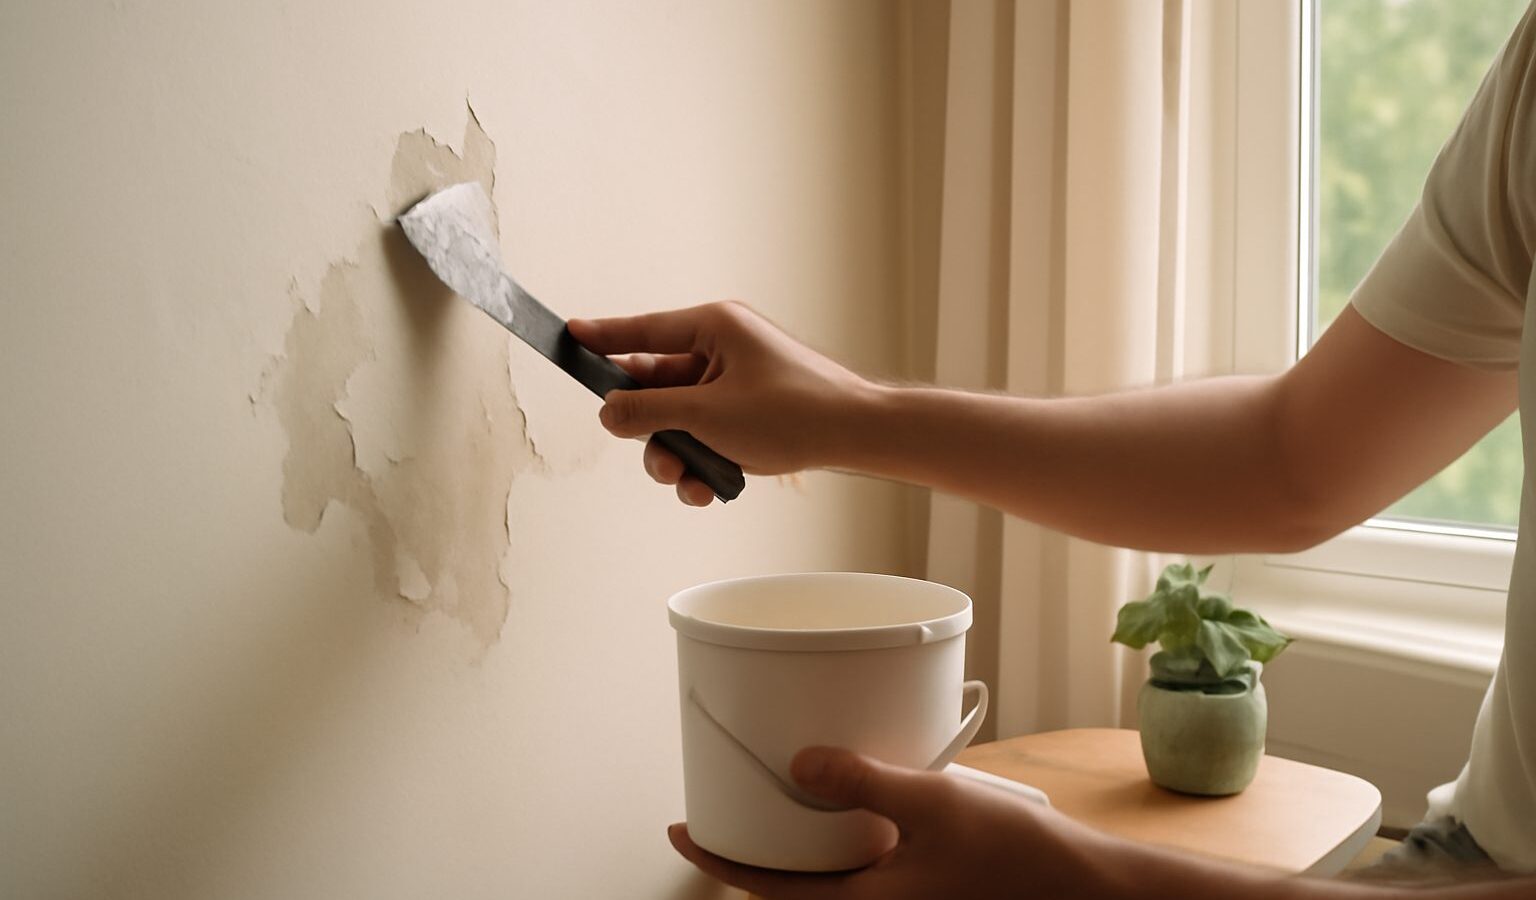
Few things make a room look tired faster than peeling paint. It curls off ceilings in ragged strips, flakes away around window frames, and bubbles up on walls near the bathroom or kitchen. The good news is that patching it is a very achievable weekend job for a complete beginner, and the tools are cheap. The bad news, if you want to call it that, is that peeling paint is almost always a symptom of something else. If you simply slap fresh paint over the top, it will peel again within months. The real fix is to understand why it happened, deal with that cause, and only then repaint.
This guide walks you through both halves of the job in plain language, grounded in the realities of HDB and condo living in Singapore, where humidity is the number one enemy of a lasting paint finish.
Why Paint Peels in the First Place
Paint peels when it loses its grip on the surface beneath, and in our climate the usual culprit is moisture. When water gets behind the paint film, whether from a leak, condensation or damp trapped in the wall, it pushes the paint away from the surface and it lets go.
A handful of common causes cover most cases in Singapore homes.
- Damp and leaks. A leaking pipe, a failed waterproofing membrane, seepage from an adjoining bathroom, or rain driving against an external wall all soak the wall from behind. Bathrooms, kitchens, ceilings under upstairs units and external-facing walls are the usual trouble spots.
- Condensation and poor ventilation. Air-conditioned rooms and steamy showers create moisture that settles on cool surfaces. Rooms that are shut up and airless are especially prone to it.
- Painting over a poor surface. Paint applied over dust, grease, a glossy surface that was not sanded, or a wall that was still damp never bonds properly.
- Skipping primer. Primer is the coat that helps paint grip. Bare plaster, filler or patchy surfaces painted without it often flake later.
- Old or incompatible paint. New paint sometimes struggles to stick to old, chalky or oil-based layers.
Before you lift a single flake, take a moment to work out which of these applies. If it is active damp or a leak, painting is pointless until the water is stopped.
Track Down and Fix the Cause
This is the step most people skip, and it is the one that decides whether your repair lasts. Look closely at the peeling area. Is it near a wet room, an external wall, or directly below an upstairs neighbour? Does the wall feel cool or damp, smell musty, or show dark, mould-like patches? Those are signs of a moisture problem rather than simple wear.
Some causes are within your control. Improving ventilation by opening windows, running an exhaust fan in the bathroom, or letting an air-conditioned room air out reduces condensation. Wiping away surface mould and keeping the area dry helps too.
Other causes need a professional, and there is no shame in calling one. Persistent damp, a suspected pipe leak, seepage between units, or failed waterproofing are jobs for a licensed plumber or a qualified contractor. In HDB blocks, ceiling leaks between floors are a known issue with an established process involving both neighbours and the town council, so raise it through the proper channels rather than just repainting your ceiling again and again. If the water keeps coming, no paint will hold.
Preparing the Surface
Once the wall is genuinely dry and the cause is dealt with, preparation is the heart of the job. Lay down a dust sheet or old newspaper, because loose paint and dust get everywhere in a small flat.
Put on a dust mask and safety glasses before you start scraping and sanding. Using a paint scraper or a putty knife, remove all the loose, flaking and bubbled paint. Keep going until you reach paint that is firmly stuck and will not lift when you push the blade under it. Do not leave loose edges, as they will only peel again and drag the new paint with them.
Next, smooth the transition between the bare patch and the sound paint around it. Sand the edges so there is no sharp ridge where the old paint stops, feathering it into the surrounding wall. Wear your dust mask for this. If scraping has left dents, hollows or exposed cracks, fill them with wall filler, let it dry fully, and sand smooth. Finally, wipe the whole area with a slightly damp cloth to remove every trace of dust, and let it dry completely. Paint will not bond to a dusty or damp surface.
Priming and Repainting
With a clean, dry, smooth surface, you are ready to rebuild the paint layers. Do not rush straight to the colour coat.
- Prime the bare areas. Primer is a preparatory coat that seals the surface and gives the topcoat something to grip. Apply it to all the bare patches and filled spots, and let it dry as directed. If damp was ever an issue, a suitable stain-blocking or anti-damp primer helps prevent old stains bleeding through, though it is not a substitute for fixing the leak.
- Apply the first topcoat. Use a paint suited to the room. Kitchens and bathrooms benefit from a more moisture-resistant or washable finish given our humidity. Brush the edges and corners, then roll the larger areas for an even finish.
- Let it dry, then apply a second coat. Two thin coats look far better and last longer than one thick one. Patching a small area over old paint can leave the repair looking slightly different in sheen, so painting the whole wall corner to corner often gives the most seamless result.
- Ventilate throughout. Open windows and keep air moving while painting and drying, both for the fumes and to help the paint cure.
Here is a quick reality check on the myths that lead to repeat peeling.
| Common belief | The reality | What to do instead |
|---|---|---|
| Just paint over the peeling bits | New paint peels off with the old | Scrape back to sound paint first |
| The wall will dry once it is sealed in | Trapped moisture keeps pushing paint off | Fix the leak or damp, then dry the wall |
| Primer is an optional extra | Bare patches without primer flake again | Always prime bare filler and plaster |
| One thick coat saves time | Thick coats sag, crack and peel | Use two thin coats |
When to Call in a Professional
Plenty of peeling paint is well within a beginner’s reach, but some situations call for expert help. Widespread bubbling across a whole ceiling, damp that returns no matter what you do, suspected leaks from pipes or neighbouring units, or large areas of crumbling plaster all point to a problem beneath the surface. Anything involving concealed pipework, waterproofing or structural walls is a job for a licensed plumber or an HDB-registered contractor, not a paint scraper. If you rent, check with your landlord before scraping and repainting, and report any suspected leak promptly so it can be fixed at the source.
Handled properly, from cause to primer to topcoat, your repair will stay put and your walls will look fresh for years rather than months.
Explore more
- /how-to-paint-a-room-like-a-pro
- /prepping-and-priming-walls-before-painting
- /how-to-fill-and-sand-before-painting
- /touching-up-and-patching-wall-paint