
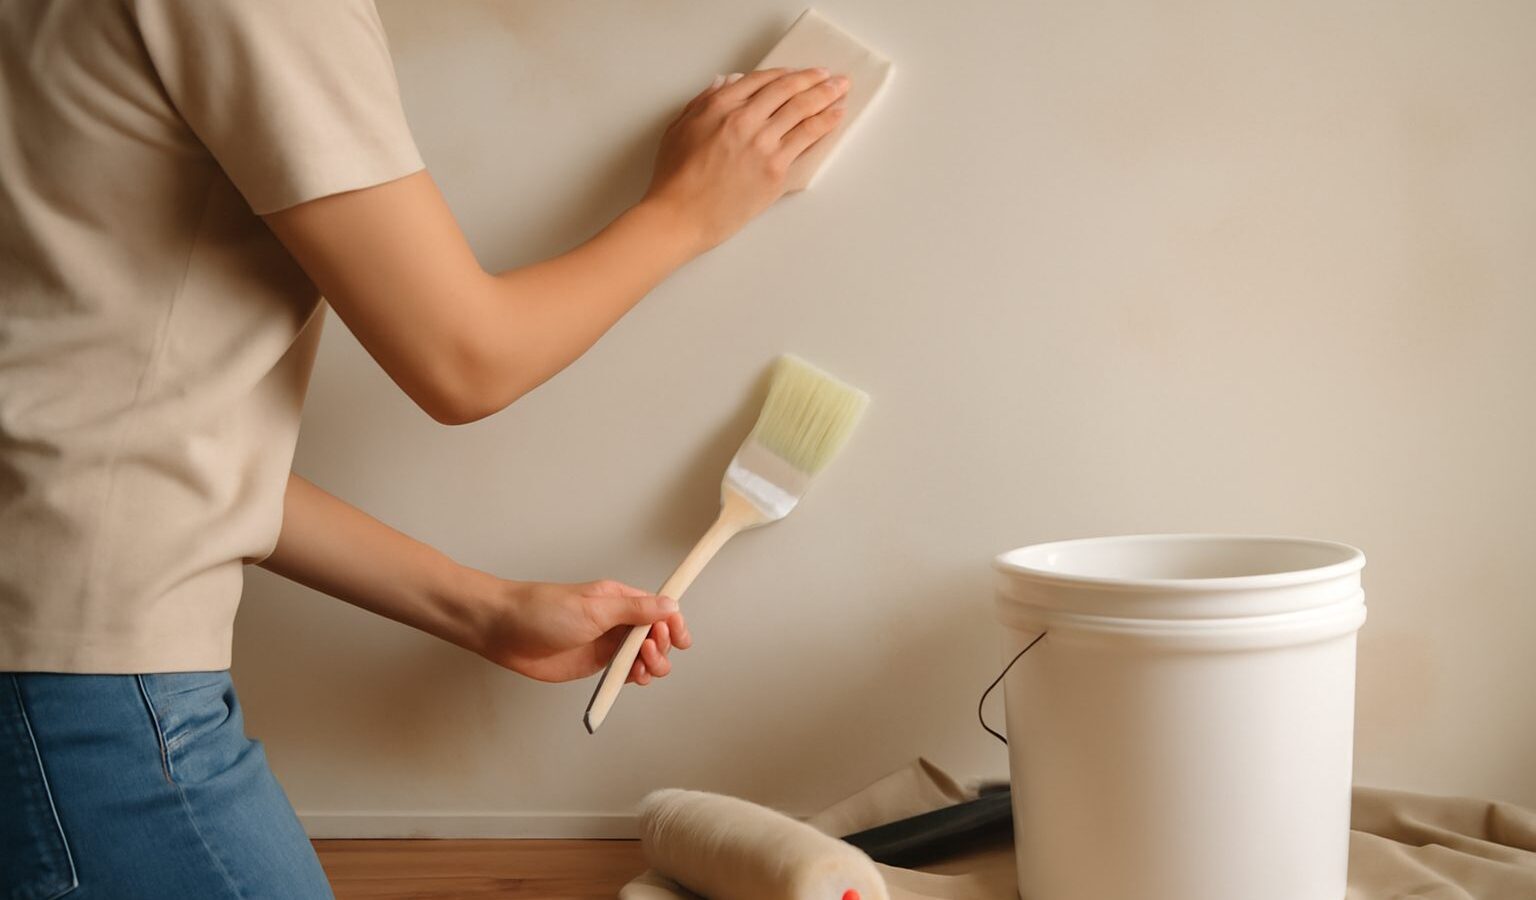
Ask any painter what makes the difference between a smooth wall and a patchy one, and they will not talk about the paint. They will talk about what happened before the paint went on. Prepping walls for painting is the unglamorous half of the job that nobody photographs, yet it is the half that decides whether your finish looks crisp or peels and flakes within a year.
The good news is that none of it is difficult. It just takes a bit of patience and the right order of work. This guide walks a complete beginner through cleaning, filling, sanding, taping and priming a wall in an HDB or condo flat, so your topcoat has a sound, even surface to grip.
Why Preparation Matters So Much
Paint is thin. It highlights whatever is underneath rather than hiding it. A greasy patch stops paint sticking, a dusty wall stops it bonding, and a cracked filler repair will telegraph straight through the new colour. Skimp on prep and you get the classic beginner result: streaks, flaking edges and a wall that looks worse up close than the old one did.
Our climate adds its own reasons to prepare well. High humidity means walls can hold surface moisture and grow mould in shaded corners, behind wardrobes and near bathrooms. Painting straight over mould or damp simply seals the problem in, and it will bleed back through. Sorting the surface first is what makes the whole job last.
Cleaning the Walls First
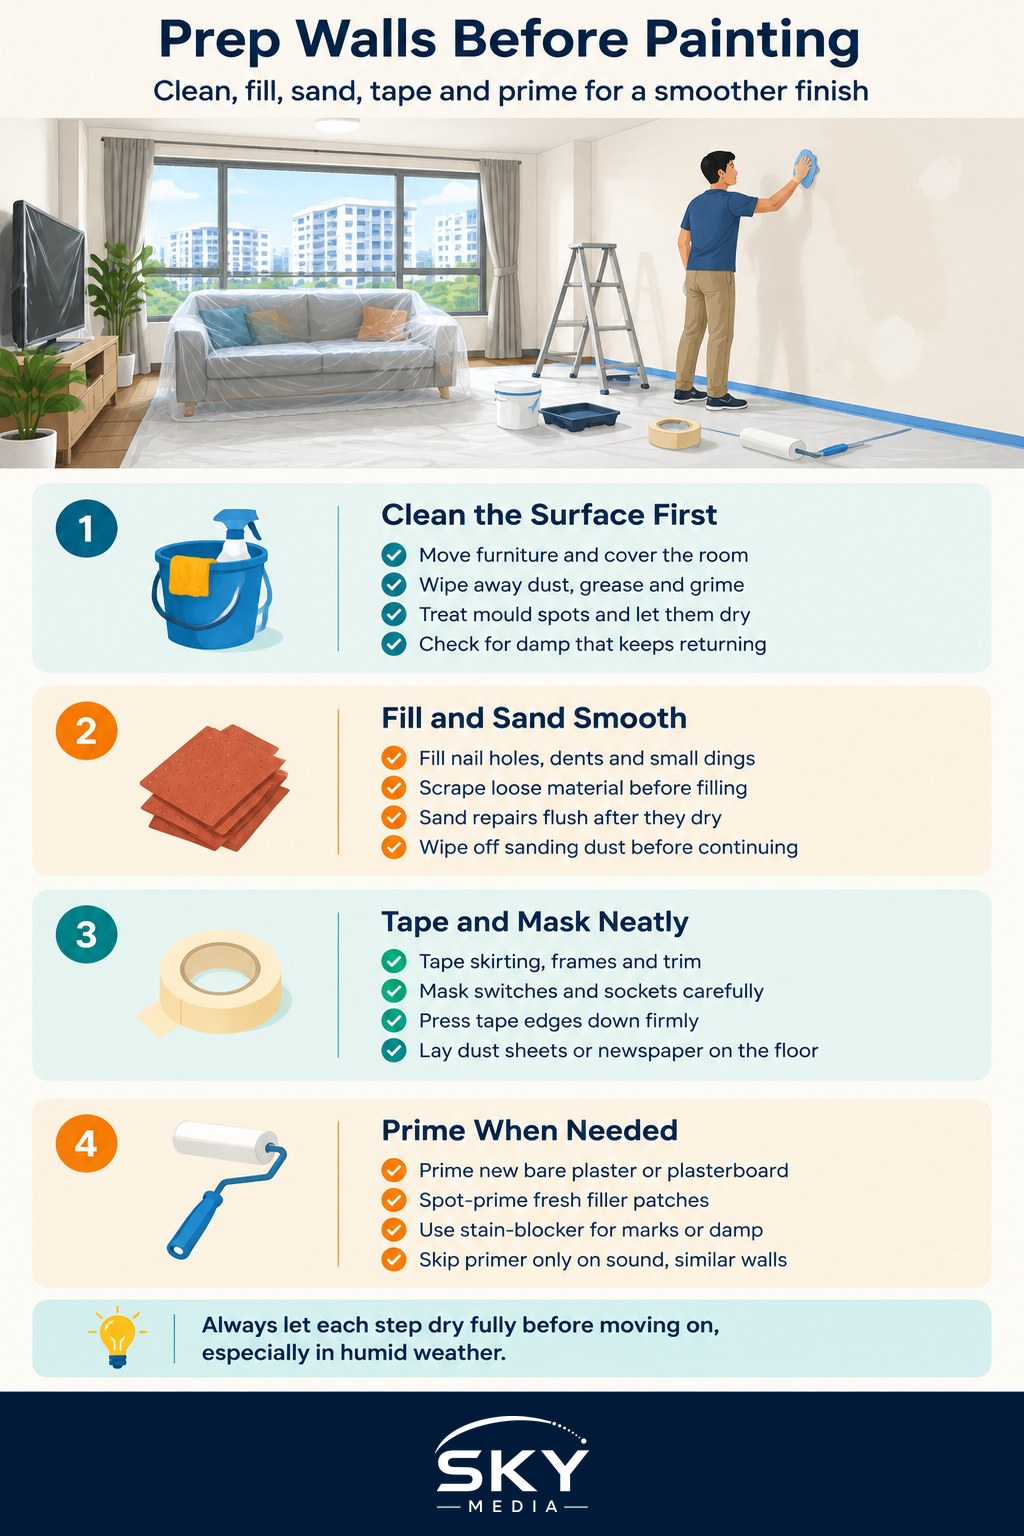
Start by clearing and protecting the room. Move furniture to the centre, lay dust sheets and take down what you can from the walls. Then clean, because paint will not bond to grease, dust or grime.
- Wipe walls down with a cloth and a mild sugar-soap solution or a gentle household cleaner, paying attention to the kitchen, around light switches and any greasy or sooty patches.
- Rinse with a clean, damp cloth so no residue is left behind.
- For any mould spots, treat them with a suitable mould remover or a diluted bleach solution, wearing gloves and keeping the room well ventilated. Let the area dry completely.
- Let the wall dry fully before you go any further. In humid weather this can take longer than you expect, so do not rush it.
If you find damp that keeps coming back, or mould that spreads over a large area, that points to a moisture problem behind the wall. Painting will not fix that, and it is worth getting the source checked before you carry on.
Filling Holes and Sanding Smooth
Once the wall is clean and dry, deal with the dents. Every flat collects nail holes, wall-plug holes and small dings over the years. Fill them so the surface is flat.
- Scrape out any loose or crumbling material around the hole and brush away dust.
- Press a ready-mixed filler, sometimes called wall putty or spackle, into the hole with a putty knife, slightly overfilling it.
- Draw the knife flat across to leave the filler just proud of the surface, as it shrinks a little as it dries.
- Let it dry fully, then sand it back flush with fine sandpaper wrapped around a block.
- For deeper holes, fill in two thinner layers rather than one thick one, letting each dry.
For larger holes, cracks, or damaged plasterboard, the method differs, and our separate guide on filling and sanding goes into more detail. When sanding, wear a dust mask and open the windows, as fine dust gets everywhere. A light sanding of the whole wall also gives glossy or very smooth surfaces a slight key, meaning a bit of roughness for the new paint to grip. Wipe the wall down with a barely damp cloth afterwards to remove all sanding dust, and let it dry.
Taping and Masking for Clean Lines
With the surface sound, protect everything you do not want painted. Run painter’s masking tape along skirting boards, door and window frames, and around light switches and sockets. Press the edge of the tape down firmly with a fingernail or a plastic scraper so paint cannot seep underneath, which is the usual cause of ragged lines.
Lay dust sheets or old newspaper along the base of the walls, and tape them down so they do not shift under your feet. Taking a little care here saves a lot of scrubbing later, and it is far easier than trying to correct a wobbly edge once the paint has dried.
When and How to Prime
Primer is a preparatory base coat that seals the surface, evens out how much paint it absorbs, and helps the topcoat stick and cover. You do not always need it, but in several common situations it makes a real difference. Here is a simple guide to when priming is worth the extra step.
| Situation | Prime first? | Why |
|---|---|---|
| New, bare plaster or plasterboard | Yes | Raw surfaces drink paint unevenly without a sealing coat |
| Fresh filler patches | Yes, spot-prime them | Bare filler absorbs differently and shows as dull patches |
| Covering a dark or bold colour | Usually | A primer or extra coat stops the old colour bleeding through |
| Stains, water marks or old damp | Yes, use a stain-blocker | Ordinary paint lets marks bleed back through |
| Repainting a sound, similar colour | Often not | A clean, matching wall may just need two topcoats |
Apply primer just like paint: cut in the edges with a brush, then roll the main area in thin, even passes, and let it dry for the time stated on the tin before your topcoat. Spot-priming, which means priming only the filled patches rather than the whole wall, is a quick way to stop repairs showing through. As with all painting, keep the room ventilated while you work.
A Sensible Order of Work
If you remember nothing else, remember the sequence, because doing these steps out of order creates most beginner headaches. Clean first, then fill and sand, then wipe off the dust, then tape and mask, then prime, and only then paint. Each step depends on the one before, and skipping ahead almost always shows in the final wall.
Preparation is slow, quiet work, and it is tempting to rush to the satisfying part. Resist that. An hour of proper prep is what makes the paint go on smoothly, look even, and stay put through Singapore’s heat and humidity for years rather than months.
Explore more
Once your walls are ready, see our guide to how to paint a room like a pro for the technique that follows. For trickier repairs, read how to fill and sand before painting and, if the old surface is coming away, fixing peeling or flaking paint.
Frequently Asked Questions
Is it okay to paint straight over mould on a wall? No. Painting over mould just seals it in and it will bleed back through. Treat the spots with a suitable mould remover, wearing gloves and ventilating well, then let the wall dry fully. If damp keeps returning, there may be a moisture source behind the wall.
What does primer actually do, and do I always need it? Primer seals the surface, evens out how much paint soaks in and helps the topcoat stick. It is worth using on bare plaster, fresh filler, stains or when covering a dark colour. A clean, sound wall in a similar colour may only need two topcoats.
What is spot-priming? Spot-priming means priming only the filled patches rather than the whole wall. Bare filler absorbs paint differently and shows up as dull spots, so a dab of primer on each repair stops it showing through. It is a quick, economical step before the topcoat.
What should I use to clean a greasy kitchen wall before painting? A cloth with a mild sugar-soap solution or gentle household cleaner works for grease, dust and sooty patches, particularly near switches and the cooker. Rinse with a clean damp cloth so no residue remains, and let the wall dry fully before going on.
What is the right order for preparing walls to paint? Clean first, then fill and sand, wipe off the dust, tape and mask, prime, and only then paint. Each step depends on the one before it, and skipping ahead usually shows in the finished wall. Allow the wall to dry between stages.
Further reading: Painting and Upcycling Old Furniture