
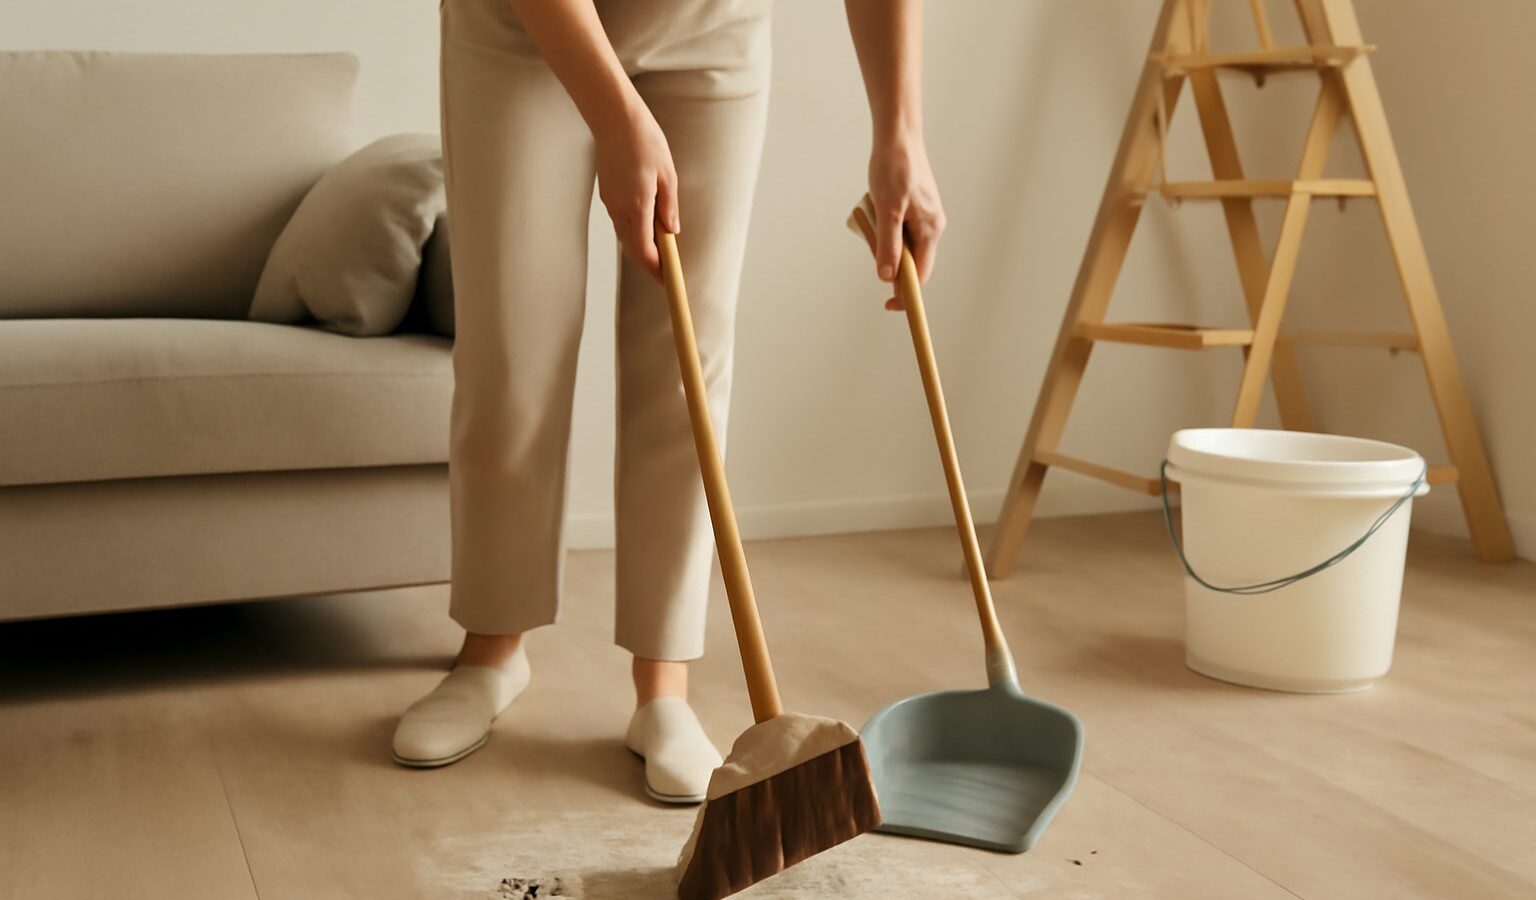
A finished renovation is exciting, but the fine grey dust it leaves behind gets into every crack, ledge, and vent. Post renovation cleaning is a bigger job than an ordinary tidy, because construction dust is fine, clingy, and spreads the moment you disturb it. Done in the right order, though, it is completely manageable, and this guide walks you through it room by room.
Why Renovation Dust Is Different
Sanding, drilling, tiling, and cutting all throw up an ultra-fine powder of cement, plaster, sawdust, and grout. Unlike everyday household dust, it is heavy enough to coat surfaces yet fine enough to float back into the air when you wipe carelessly. It settles on top of cupboards, inside drawers, along skirting, in door tracks, and deep in your aircon and ventilation. If you clean in the wrong order, you simply move it from one surface to another. The whole strategy is to work from top to bottom and from dry to wet, so dust always travels downward and out, never back up.
Safety First
- Wear a dust mask, ideally an N95, and eye protection. Fine dust irritates the lungs and eyes.
- Unplug and switch off appliances and the aircon before cleaning around or inside them.
- Ventilate the space. Open windows and use a fan pointing outward to carry airborne dust away while you work.
- Never mix bleach with other cleaners such as ammonia, vinegar, or toilet cleaner. The fumes are dangerous. Most renovation dust needs only water and mild soap.
- Let every surface, filter, and cloth dry fully in our humidity before you put things back, so damp dust does not turn to a stubborn film.
Clean in the Right Order
The single most important rule is top to bottom. Follow this sequence in each room.
- Ceilings, fans, and high fixtures. Dust ceiling corners, light fittings, and fan blades first. Use a long-handled duster or a microfibre cloth over a broom.
- Walls and doors. Wipe walls gently with a barely damp cloth, working downward. Clean door frames, tops of doors, and handles.
- Windows, grilles, and tracks. Vacuum the sliding tracks first, then wipe the glass and frames. Dust loves to hide in window grooves.
- Cupboards, shelves, and drawers. Wipe the tops, then inside each shelf and drawer. Vacuum the corners before wiping.
- Skirting and ledges. These collect a thick line of settled dust. Vacuum, then wipe.
- Floors last. Vacuum thoroughly, then mop. Floors always come last because everything above sheds dust onto them.
Dealing With Fine Dust Everywhere
Fine dust needs a gentle, capturing approach rather than a brushing one.
- Vacuum before you wipe. A vacuum with a good filter lifts dust off surfaces instead of scattering it. Dry-brushing or dry-sweeping just launches it back into the air.
- Use slightly damp microfibre cloths, which trap dust rather than push it around. Rinse them often in a bucket, not the sink, so you do not clog your drains with grit.
- Change your mop water frequently. Grey water spreads a film, so refresh it the moment it turns cloudy.
- Go over high-touch and hidden spots twice. The first pass lifts the bulk, the second catches what resettled.
Do Not Forget the Aircon and Vents
Renovation dust is pulled straight into your cooling and ventilation systems, so cleaning them is essential before you run the aircon at full use.
- Switch off the unit at the wall first.
- Remove and wash the aircon filters, which almost always hold a layer of fine grey dust after works. Rinse them under running water, let them dry fully, and refit.
- Wipe the front panel and the visible fins gently with a soft cloth.
- Clear any bathroom and kitchen exhaust vents, which also trap dust.
- If your system was heavily exposed or has not been serviced in a while, book a professional chemical wash so dust is not blown around every time you switch on.
A Room-by-Room Priority Guide
| Area | Main dust traps | Priority tasks |
|---|---|---|
| Kitchen | Cabinet tops, hood, drawers | Wipe inside cupboards before storing items |
| Bedrooms | Wardrobes, aircon, skirting | Clean aircon filter, wipe wardrobe interiors |
| Bathrooms | Grout, exhaust vent, fittings | Rinse grout haze, clear the exhaust |
| Living area | Ceiling fan, windows, floor | Dust high first, mop floor last |
| Whole home | Door tracks, switches, ledges | Vacuum tracks, wipe every high-touch point |
Tackle one room fully before moving on, so cleaned spaces do not get re-dusted by works in the next.
Final Touches
- Replace or wash any air-conditioner and fan filters one more time after the first few days, as hidden dust keeps settling.
- Run your aircon and fans and check for a dusty smell, which signals filters that need another rinse.
- Wash new curtains, bedding, and soft furnishings before use, as they arrive coated in fine particles.
- Wipe light switches, power points, and handles, which are easy to miss and touched constantly.
When to Bring in Help
A full unit after major hacking and rebuilding can be too much for one weekend. Professional post renovation teams have industrial vacuums and the manpower to do it fast. If you are short on time or the works were extensive, it is money well spent, especially for the aircon servicing.
Enjoy Your Fresh Space
Post renovation cleaning is demanding, but it is the final step that turns a building site back into a home. Work top to bottom, vacuum before you wipe, and give your aircon and vents the attention they need. Take it room by room and, before long, you will be settling into a clean, dust-free space you can truly enjoy.
Explore more: Clean your aircon filters yourself · Build a home cleaning routine · Deep clean your kitchen