
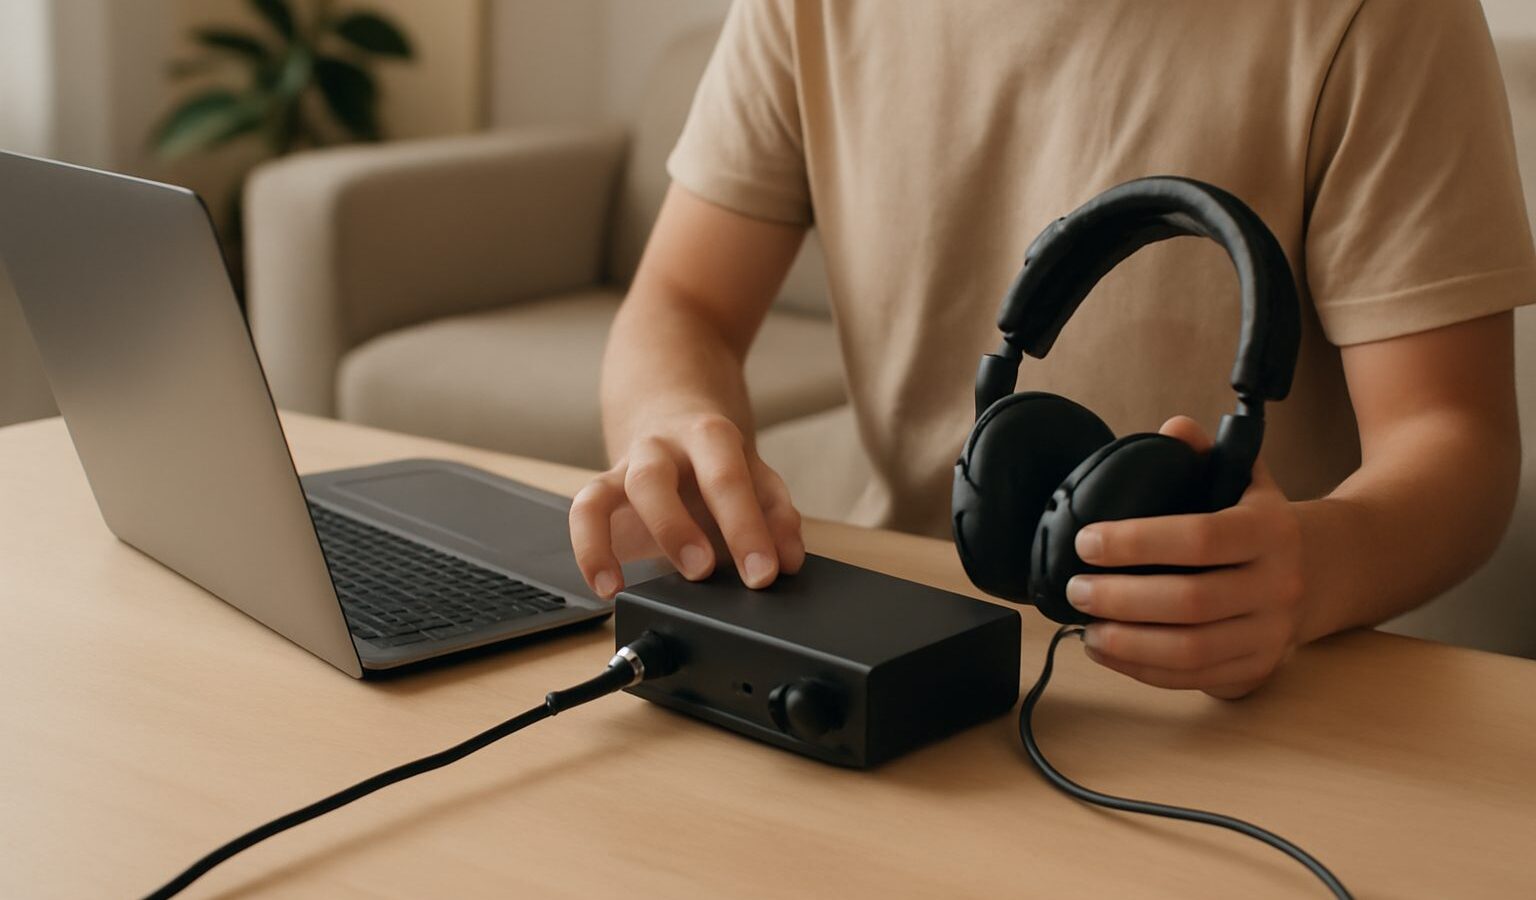
Viewers forgive a slightly soft picture, but they leave a stream with harsh, echoey, or uneven sound within seconds. Improving your stream audio quality is often the single highest-value upgrade you can make, and much of it costs nothing beyond a bit of technique and patience. This guide covers mic habits, noise suppression, monitoring, level balance, and taming a typical Singapore room.
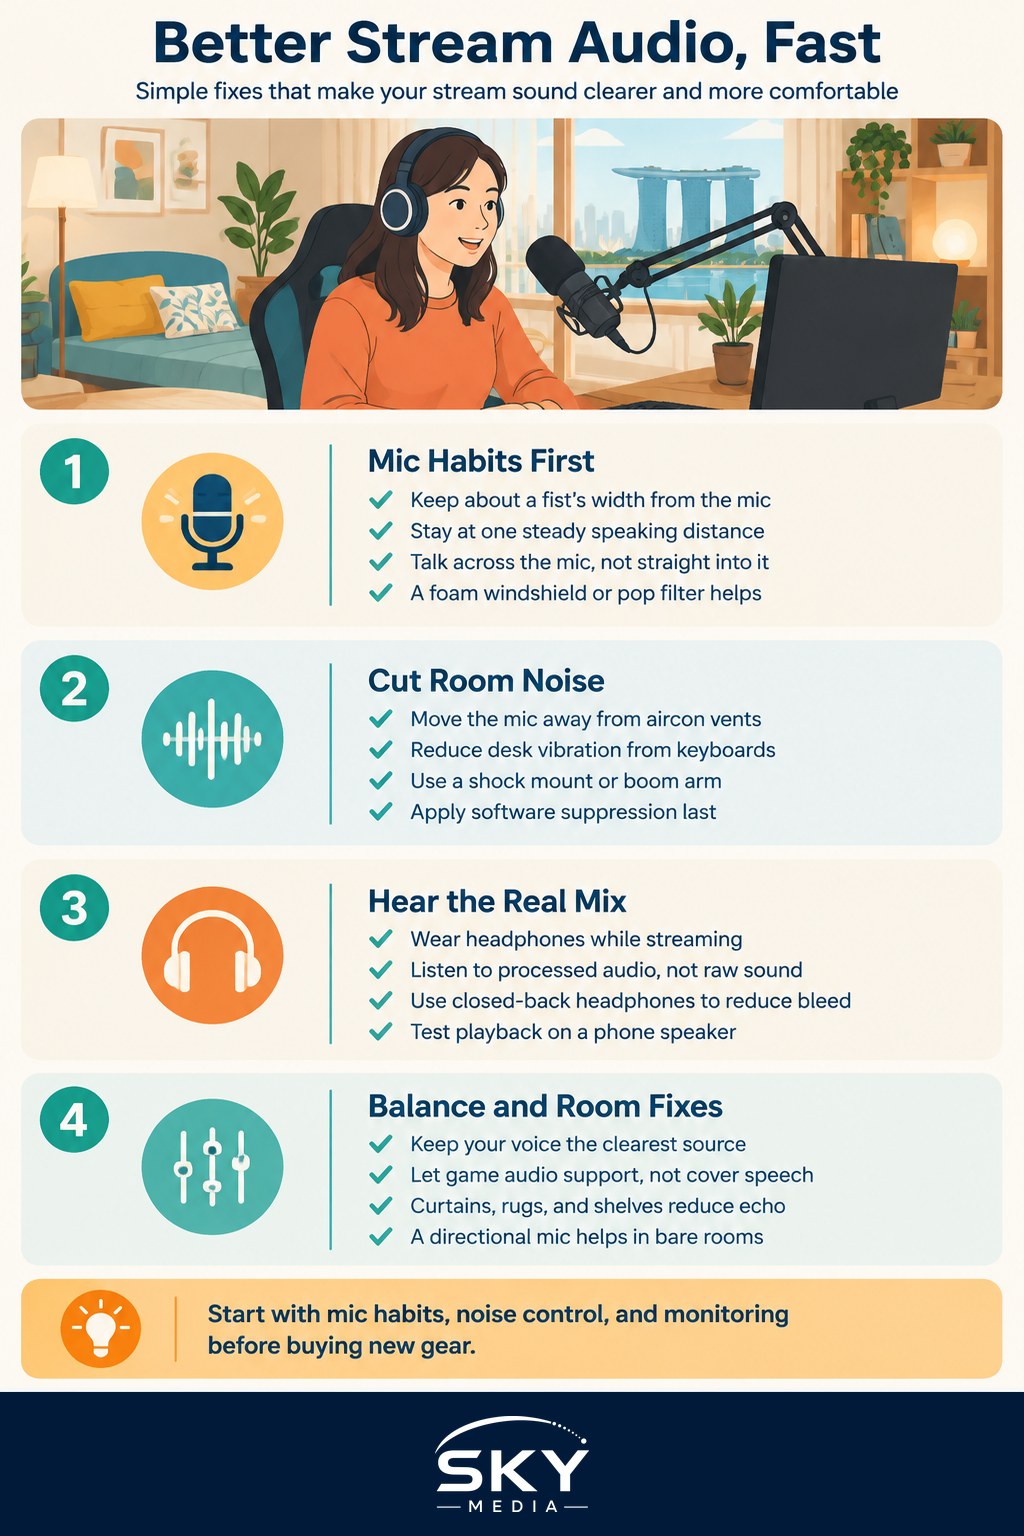
Technique Beats Gear
A cheap microphone used well sounds better than an expensive one used badly. Before you buy anything, fix how you use what you have.
Get Close and Stay Consistent
Speak roughly a fist’s width from the microphone. Closeness raises your voice above room noise and reduces echo, because the mic picks up more of you and less of everything else. The catch is consistency: if you drift towards and away while you play, your volume swings and the stream feels restless. Position the mic where you naturally sit during intense moments, not where you sit when relaxed.
Speak Across, Not Into
Angle the microphone so you talk across the front of it rather than straight into it. This cuts down on plosives, the popping bursts on “p” and “b” sounds. A foam windshield or a pop filter helps further and costs very little.
Reduce the Noise Before It Reaches Viewers
Singapore homes are rarely silent. Air-conditioning hum, ceiling fans, traffic, and mechanical keyboards all creep in.
Tackle noise in this order:
- Remove the source where you can. Move the mic away from the aircon vent and off the desk that carries keyboard vibration.
- Use a shock mount or boom arm so keystrokes and desk knocks do not travel into the mic.
- Apply software noise suppression only after the first two steps.
Noise suppression filters in OBS and similar tools work well for steady background hum. Push them too hard, though, and your voice starts to sound underwater or gated, cutting in and out. Gentle settings on an already quiet room always win.
A noise gate is a related tool worth understanding. It mutes the microphone when the sound falls below a threshold, so your keyboard and fan go silent between sentences. Set the threshold too high and the start of your words gets clipped, making you sound clipped and abrupt. Set it just below your normal speaking level and it stays out of the way. Combined with light suppression, a well-judged gate keeps the quiet moments genuinely quiet without mangling your speech.
Monitor What You Are Sending
You cannot fix what you cannot hear. Wear headphones and listen to your own processed audio, not just the raw sound in the room. Closed-back headphones stop your speaker sound leaking back into the mic, which prevents echo and feedback.
Record a two-minute test regularly and play it back on the devices your audience uses, including a phone speaker. Audio that sounds full on studio headphones can turn thin and harsh on a mobile. Testing on real playback devices is the reality check that catches problems your setup hides.
Balance the Mix
Great individual sources still fail if the balance is wrong. The classic mistake is game audio drowning the commentary, so viewers cannot hear the person they came for.
| Source | Rough priority | Common mistake |
|---|---|---|
| Your voice | Highest, always clear | Set too low under the game |
| Game audio | Present but supportive | Loud enough to mask speech |
| Alerts and music | Lowest, occasional | Jarringly louder than voice |
| Guests or party chat | Matched to your voice | One person far quieter |
Set your voice as the anchor, then bring the game up until it feels lively but never competes. Alerts and background music should sit clearly under your voice. Check the balance during real gameplay, because an explosion-heavy game behaves very differently from a menu screen.
A Little Room Treatment Goes a Long Way
Echo, or reverb, is the hollow, boxy quality you hear in a bare room. It comes from sound bouncing off hard, flat surfaces: tiled floors, bare walls, and glass windows, all common in local flats.
You do not need a padded studio. Soft materials break up reflections:
- Curtains over windows and hard walls.
- A rug or carpet on tiled or laminate floors.
- A bookshelf or fabric panels behind you.
- Even a wardrobe of clothes nearby helps absorb sound.
Position yourself away from the centre of the room and avoid speaking towards a large bare wall. A directional microphone that captures mostly what is in front of it, rather than the whole room, also reduces how much echo reaches your stream.
When Gear Genuinely Helps
Once technique, noise control, monitoring, balance, and room treatment are handled, upgrades start to pay off. A dedicated microphone on a boom arm, an audio interface, or a mixer gives you cleaner input and finer control. The order matters, though. Buying a premium mic for an echoey, noisy room simply captures the problems in higher fidelity.
If you are weighing up hardware, our overview of streaming audio options is a useful next step, and pairing it with a comfortable, stable desk setup keeps your mic position consistent over long sessions.
One upgrade worth flagging is a boom arm. Beyond keeping the desk tidy, it lets you place the microphone at a repeatable spot near your mouth without a stand crowding your keyboard. Consistent placement is half the battle with home audio, and a boom arm makes that consistency effortless while isolating the mic from desk vibration at the same time.
Small Changes, Big Difference
You can transform your sound this week without spending much: move closer, angle the mic across your mouth, add a curtain and a rug, set your voice as the loudest source, and listen back on your phone. Do those consistently and your stream audio quality will already outclass many bigger channels. Refine steadily, test often, and let clear, comfortable sound become the reason people stay.
Explore more: Audio gear for streaming · Setting up to stream your gameplay · An ergonomic gaming setup
Further reading: How to Get Your First Viewers on Stream