
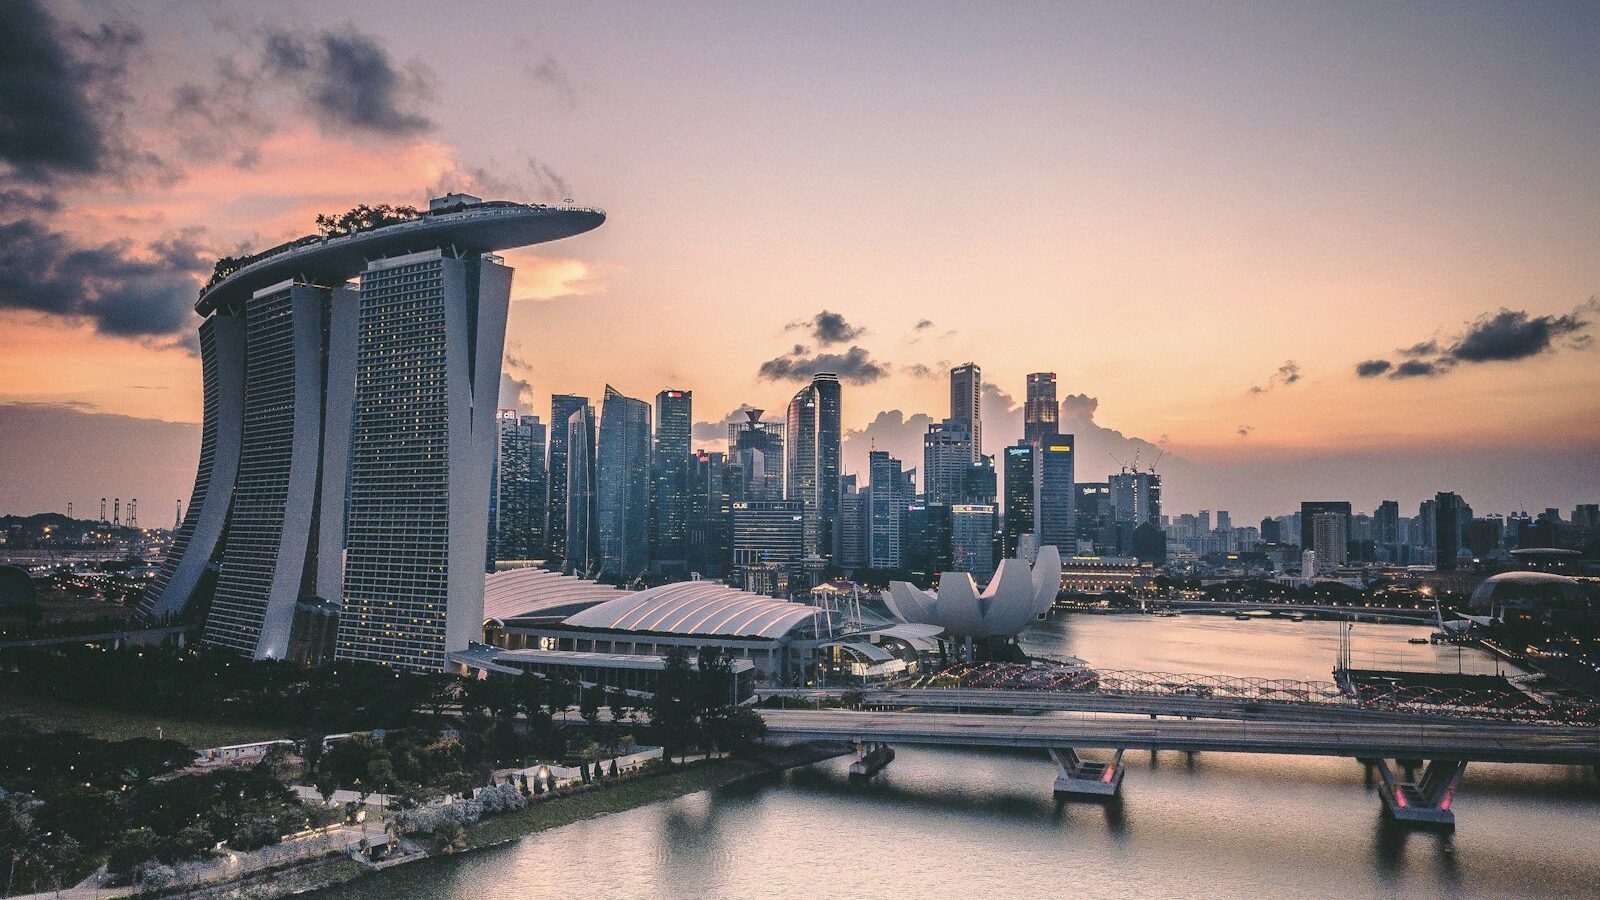
Watch any video you enjoy and notice how often it cuts away from the main subject to something else: hands stirring coffee, feet on a pavement, a skyline at dusk. Those supporting shots are B-roll footage, and they do quiet, heavy lifting. The main footage, often someone talking to camera, is your A-roll. B-roll is everything that illustrates, sets the scene, and covers your edits. Learning to gather good B-roll footage is one of the fastest ways to make a homemade video feel finished rather than flat, and it costs nothing but a little planning.
This guide keeps things practical for both phone shooters and dedicated-camera owners, and it is grounded in the places and light we actually film in around Singapore.
Why B-Roll Matters More Than You Think
B-roll does three jobs at once. First, it shows instead of tells: rather than saying a hawker stall is busy, you cut to steam rising off a wok and a queue forming. Second, it hides your cuts. When you trim a rambling sentence from an interview, a cutaway of B-roll over the join makes the edit invisible. Third, it sets place and mood, so an establishing shot of the Marina Bay skyline instantly tells viewers where they are.
Without B-roll, a video is stuck on one unbroken talking head, and every edit shows up as an awkward jump. With it, you get pace, texture and the freedom to shape your story in editing. That is why professionals often shoot far more B-roll than A-roll.
Planning Your Shots Before You Film
Good B-roll starts before you press record. Think through the story your video tells, then list the supporting images that would illustrate each beat. This list is your shot list, and it stops you from coming home with ten near-identical clips and nothing to cut to.
- Establishing shots set the location. A wide of a Tiong Bahru shophouse row or the Gardens by the Bay Supertrees tells viewers where we are.
- Detail shots get in close. Hands, textures, a bubbling pot of laksa, condensation on a kopi cup.
- Action shots show something happening: someone chopping, walking, unlocking a bike.
- Cutaways are anything relevant you can cut to while the A-roll audio continues.
Aim for a mix of wide, medium and close for every scene. That variety is what lets an edit breathe.
The Core Types of B-Roll to Capture
Use this as a checklist on location. Each type has a purpose and a rough duration to film so you have enough to trim.
| Shot type | What it shows | Hold for | Phone or camera tip |
|---|---|---|---|
| Wide establishing | Where the scene is set | 8 to 10 seconds | Brace against a railing, keep it level |
| Medium context | Subject within the space | 6 to 8 seconds | Step back, keep subject off-centre |
| Close detail | Textures, hands, objects | 6 to 8 seconds | Tap to focus, get physically closer |
| Moving shot | A slow pan, tilt or walk | 8 to 10 seconds | Move slowly and smoothly, no zoom |
| Cutaway | Anything to cover an edit | 5 to 8 seconds | Film several options per scene |
Hold every clip longer than feels natural. A shot that runs eight seconds gives you room to trim the shaky start and end and still keep a clean, usable middle.
Shooting Steady, Varied B-Roll
Follow these steps on location and you will come home with footage that actually cuts together.
- Lock your settings. Match the frame rate and shutter you are using for your A-roll so clips blend seamlessly. Our guide to frame rates and shutter explains the pairing.
- Stabilise every shot. Wobble is the fastest way to make B-roll look amateur. Use a tripod, a small gimbal, or brace your elbows against your body or a wall. On a phone, turn on any built-in stabilisation.
- Move slowly and with purpose. If you pan or tilt, do it slowly and steadily, and start recording a beat before you move and keep rolling a beat after you stop. Avoid the temptation to zoom while filming.
- Vary your angles. Shoot the same subject wide, then medium, then close. Change your height too, crouching low or shooting from above.
- Get natural sound. Even if you narrate later, record the ambient sound of sizzling, rain or crowd chatter. That real audio adds enormous atmosphere in the edit.
- Overshoot deliberately. Capture more options than you think you need. Editing is far easier when you have choices.
Filming B-Roll in Singapore
Our conditions and spaces shape what works.
- Harsh midday sun. Overhead equatorial light is contrasty and unflattering. Film B-roll in the softer light of early morning or late afternoon, or find open shade under an HDB void deck or a covered walkway.
- Short golden hour. The warm, low light near the equator passes quickly, so prioritise your hero establishing shots for that window and be set up early.
- Humidity and lens fogging. Moving from an air-conditioned mall into the heat fogs your glass. Let it acclimatise for a few minutes and wipe gently with a microfibre cloth before rolling.
- Sudden downpours. The monsoon is great for moody B-roll of rain on windows and puddled reflections, but keep a cloth and dry bag handy and protect your gear.
- Crowds and permits. Popular spots get busy, so film early to avoid the crush. Some venues restrict tripods or filming, and parks and nature reserves follow NParks guidance, so check the venue’s rules first.
A quick note on people. B-roll often catches strangers in frame. Respect their privacy, ask permission before filming identifiable people up close, be especially careful with children and seek a parent’s consent, and delete footage on request. For any published or paid work, look into model releases. This is general guidance, not legal advice.
Editing With Your B-Roll
The payoff comes in the edit. Lay your A-roll or narration on the timeline first, then drop B-roll on top wherever the words describe something you can show. Use it to cover every jump cut in your talking head. Keep individual B-roll clips short, often two to four seconds, so the video keeps moving. If you shot on a phone, our guide to editing videos on your phone walks through the whole process on a small screen.
B-roll footage is the difference between a video that feels stuck in one chair and one that feels alive and edited with care. Plan a simple shot list, capture wide, medium and close for every scene, hold each clip longer than feels comfortable, and shoot more than you need. Do that consistently and your edits will suddenly have room to breathe.
Explore more: understanding frame rates and shutter for video, editing videos on your phone, lighting for video interviews, and how to choose a tripod.