
Straightening and cropping photos in Singapore is the quiet edit that can turn a decent shot into a strong one, and it costs nothing but a moment of thought. A tilted horizon over Marina Bay, too much empty pavement at the bottom of a street scene, or a distracting sign creeping into the corner of a portrait can all pull a viewer’s attention away from the subject. The crop tool fixes these problems and, used well, actively strengthens your composition. In this guide we will cover how to straighten a leaning image, how to crop for a cleaner and more powerful frame, and how to choose an aspect ratio that suits the photo and its final home.
Cropping is not about rescuing every mistake. The best results still come from careful framing at the moment you press the shutter. But even careful photographers crop, because a scene looks different on a big screen than it did in the viewfinder, and because different platforms want different shapes.
Straighten First for a Steady Frame
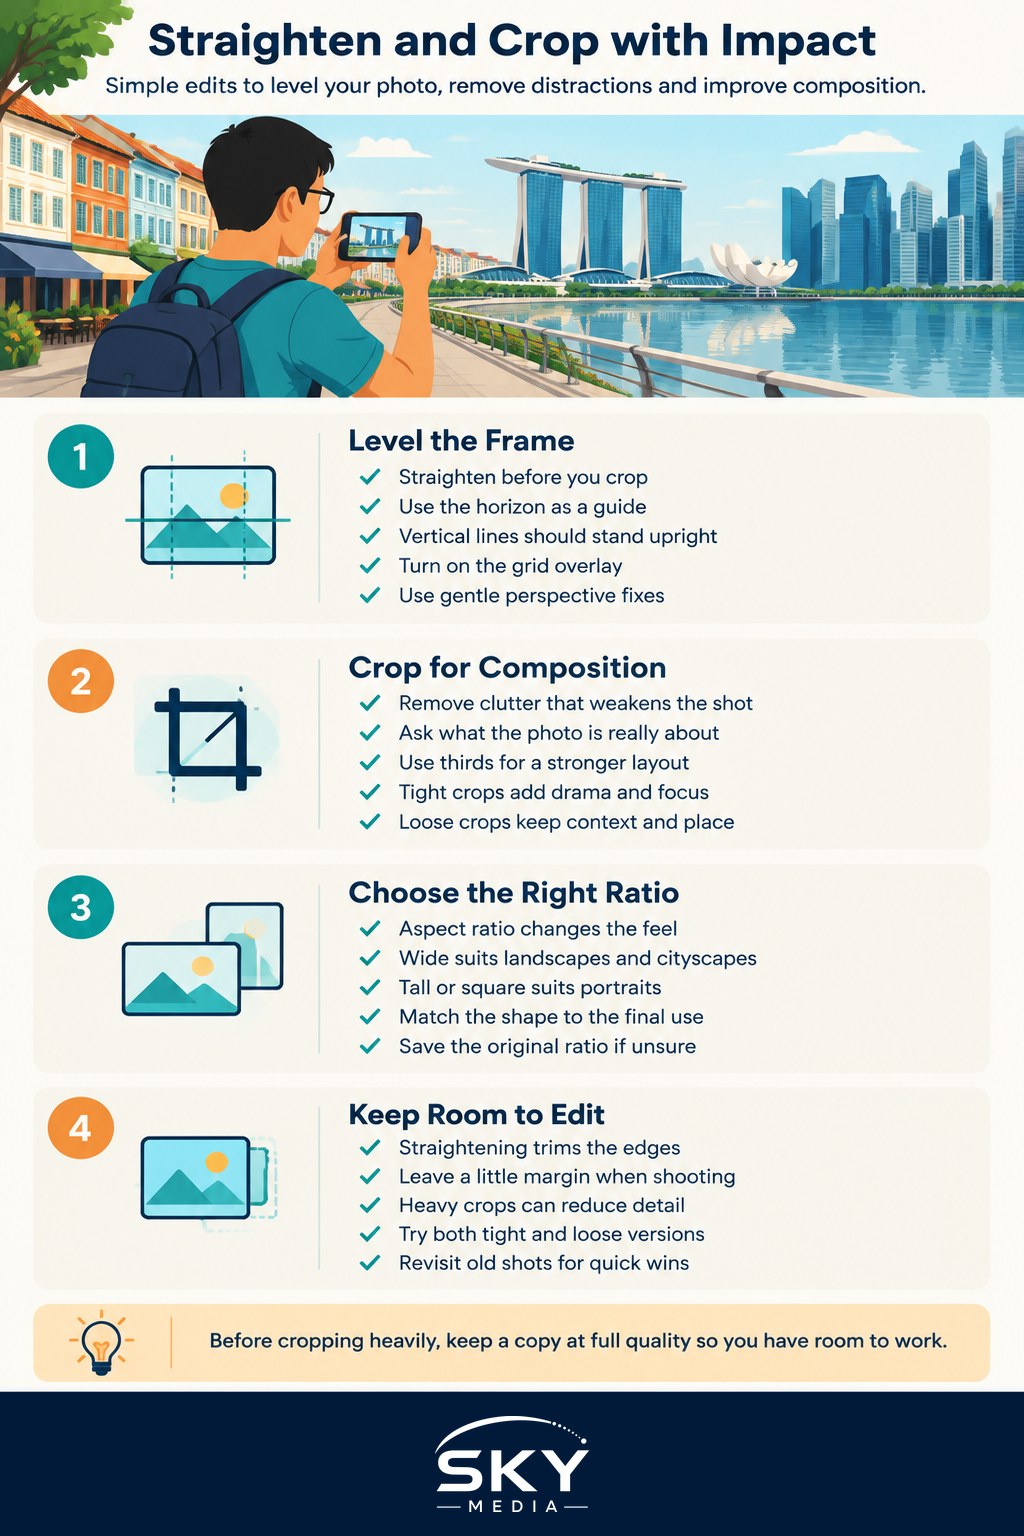
Before you crop, get the image level. A crooked horizon is one of the most common and most distracting flaws in photography, and our eyes are surprisingly good at spotting a sea or a skyline that leans by even a degree. Almost every editing app has a straighten tool, often a slider or an angle grid you drag until the horizon or a strong vertical line sits true.
Look for a reliable reference. For a landscape or a waterfront shot, the horizon line is your guide. For architecture, like the shophouses of Chinatown or the towers of the CBD, vertical lines such as building edges and lamp posts should stand upright rather than tilt inward. Turning on the grid overlay makes this far easier, giving you level lines to match against. If a wide-angle lens has made buildings lean or bulge, many apps also offer perspective and geometry corrections that can pull verticals back into line, though a gentle touch keeps things looking natural.
Straightening always trims a little off the edges as the image rotates, so leave a small margin around your subject when shooting to give yourself room to level later. If your framing is already tight to the edges, you may have to accept a slightly smaller final image.
Crop for a Stronger Composition
With the frame level, cropping becomes a creative decision rather than a rescue job. The main goal is to remove anything that does not help the photo and to arrange what remains so the subject holds attention. Start by asking what the photo is actually about, then crop away clutter that competes with it: a stray rubbish bin, a bright sign, an awkward gap of empty sky.
Composition guides come into their own here. Placing your subject along the lines or intersections of a thirds grid usually feels more dynamic than dead centre, which is exactly the thinking in the rule of thirds and composition basics. You can also use the crop to lead the eye, tightening in so a leading line, a path, or a railing draws the viewer straight to the subject. For more ideas on shaping the frame, framing your shots creatively in Singapore is worth a read.
Cropping tighter can add drama and intimacy, filling the frame with a face, a dish, or a detail and cutting out surrounding distractions. Cropping looser keeps context and a sense of place, which matters for travel and street work where the environment tells part of the story. There is no single right answer; try a tight version and a loose version of the same shot and compare which one hits harder.
Be mindful of resolution when you crop heavily. Every crop throws away pixels, so an aggressive crop of a small file can leave the image soft or noisy when viewed large or printed. If you often crop in a lot, it pays to shoot at your camera’s full quality so you have detail to spare. When you are ready to output, exporting photos for web and print in Singapore explains how resolution affects the final result.
Choose the Right Aspect Ratio
Aspect ratio is the shape of the frame, and it shapes the feeling of the image too. A wide ratio suits sweeping Singapore landscapes and cityscapes, giving a cinematic, expansive feel. A tall or square ratio suits portraits and social platforms, and a square crop can bring a calm, balanced symmetry to still life or food. Think about where the photo will live: a print to frame, a phone feed, or a website banner each favour different shapes.
Many editors let you lock a ratio while cropping so your composition stays consistent, which is handy when preparing a matching set of images. If you are unsure, keep a version at the original ratio and export tailored crops for each platform rather than committing to one shape forever.
Cropping photos in Singapore is a small skill with a big payoff. Level the frame first, crop to remove distractions and strengthen composition, then pick a ratio that fits the photo’s purpose. Practise by revisiting old shots and giving each a fresh straighten and crop; you will be surprised how many quietly improve. With a steady horizon and a considered frame, your everyday photos will start to carry real impact.
Frequently Asked Questions
Is it better to crop in the camera app or in an editing app? Cropping later in an editing app is usually safer because the original stays intact and you can try several versions. Many phone apps also let you reset a crop. Still, framing carefully when you shoot gives you more pixels to work with.
What crop ratio suits an Instagram post compared with a print? Social feeds favour tall or square shapes, while prints follow standard paper and frame sizes, which often differ from your camera’s native shape. Check the platform’s current recommendations, and ask your print lab about frame proportions before cropping for a physical copy.
How much can I crop before a photo turns blurry? It depends on the file size and where the photo will be shown. A small crop is fine on a phone screen, but a heavy crop of a low-resolution file looks soft when enlarged. Shooting at full quality leaves you more room.
Why do my buildings still lean after I straighten the horizon? Levelling the horizon only fixes tilt, not perspective. When you point a camera upwards, vertical lines converge, so shophouses and towers appear to lean inward. Use your app’s perspective or geometry tool to pull verticals upright, but keep it gentle.
Should I keep a copy of the uncropped original? Yes, always keep the untouched file. A different platform or print size may need a different shape later, and you cannot add back pixels you have cut away. Save each crop as a separate export instead of overwriting.
Further reading: How to Create Video Thumbnails