
Almost every photo you admire online has been through some kind of edit. That is not cheating, and it does not mean the photographer got it wrong in the camera. Editing is simply the second half of making a picture, the part where you tidy the framing, balance the light, and settle the colours so the image looks the way it felt when you pressed the shutter. Learning a few photo editing basics will do more for your photos than any new lens or phone upgrade, and you can start today with tools you already own.
This guide is written for beginners in Singapore who want to improve their everyday shots, whether that is a plate of chicken rice at a hawker centre, the skyline from Marina Barrage, or the kids at the playground downstairs. Rather than teaching one specific app, it explains what the core adjustments actually do and the order to use them in, so the habits carry over to whatever editor you choose.
What Editing Can and Cannot Do
Editing is powerful, but it works best as a finishing touch rather than a rescue mission. A well framed, well focused photo taken in decent light gives you plenty to work with. A blurry, badly lit snap will still look weak no matter how many sliders you push, so it is always worth getting as much right in the camera as you can.
What editing does well is fine tuning. You can brighten a face lost in shadow, cool down the orange cast of hawker-centre lighting, straighten a wonky horizon, and crop out a distracting rubbish bin at the edge of the frame. What it cannot do is invent sharp detail that was never captured, or fully fix a photo where the important part is out of focus. Think of editing as polishing, not building from scratch.
One more principle matters from day one: edit gently. The most common beginner mistake is overcooking a photo, cranking the saturation and contrast until it looks harsh and artificial. Good editing is usually invisible. If someone looks at your picture and immediately notices the editing, you have probably gone too far.
The Core Adjustments You Will Use Most
Almost every editor, free or paid, on phone or computer, uses the same set of controls. Learn what these do and you can sit down in front of any program and feel at home.
- Exposure or brightness: how light or dark the whole image is. Our tropical sun is strong, so photos are often a touch too bright or, in shade, too dark.
- Contrast: the gap between the brightest and darkest tones. A little adds punch and depth; too much crushes detail.
- Highlights and shadows: targeted control to pull back a blown-out sky or lift a dark face without changing the rest of the frame.
- White balance or temperature: shifts the image warmer (more orange) or cooler (more blue). This is your fix for colour casts, such as yellow indoor lighting.
- Saturation and vibrance: how strong the colours are. Vibrance is the gentler cousin and protects skin tones from turning orange.
- Crop and straighten: for tidier framing and level horizons, one of the quickest ways to improve almost any photo.
- Sharpening: adds a crisp edge, best applied lightly at the very end.
You do not need to touch all of these on every photo. Often a small nudge to exposure, white balance, and a crop is enough to lift an ordinary snap into something you are happy to share.
A Simple Editing Order That Works
Beginners often jump straight to a filter and stop there. You will get far better and more consistent results by working through the fundamentals in a sensible order. This routine works in almost any editor.
- Crop and straighten first. Level the horizon and tidy the framing before anything else, so you are not adjusting areas you will later cut away.
- Set the overall exposure. Get the general brightness right, then rein in bright highlights and lift dark shadows so the whole scene reads clearly.
- Correct the colour. Nudge white balance to remove any orange or blue cast, which is especially useful indoors and under hawker-centre lights.
- Add gentle contrast and vibrance. Small moves here bring a flat photo to life without making it look processed.
- Sharpen a little, then stop. A touch of sharpening adds crispness; too much creates ugly halos and speckled noise.
The single most useful habit is restraint. Push each slider until it looks good, then pull it back slightly. Most editors have a before-and-after view, so use it often to check you are improving the photo rather than just changing it.
Common Fixes for Singapore Conditions
Our light and settings throw up the same handful of challenges again and again, and knowing the standard fixes saves a lot of frustration. The table below matches the usual problem to the adjustment that solves it.
| The problem | Where it happens | The fix |
|---|---|---|
| Harsh shadows on faces | Midday sun outdoors | Lift shadows, pull down highlights |
| Yellow or orange colour cast | Hawker centres and indoor lighting | Cool the white balance slightly |
| Blown-out bright sky | Skyline and landscape shots | Lower highlights to recover detail |
| Flat, dull colours | Overcast or hazy days | Add a little contrast and vibrance |
| Crooked horizon | Marina Bay and waterfront shots | Straighten, then crop to reframe |
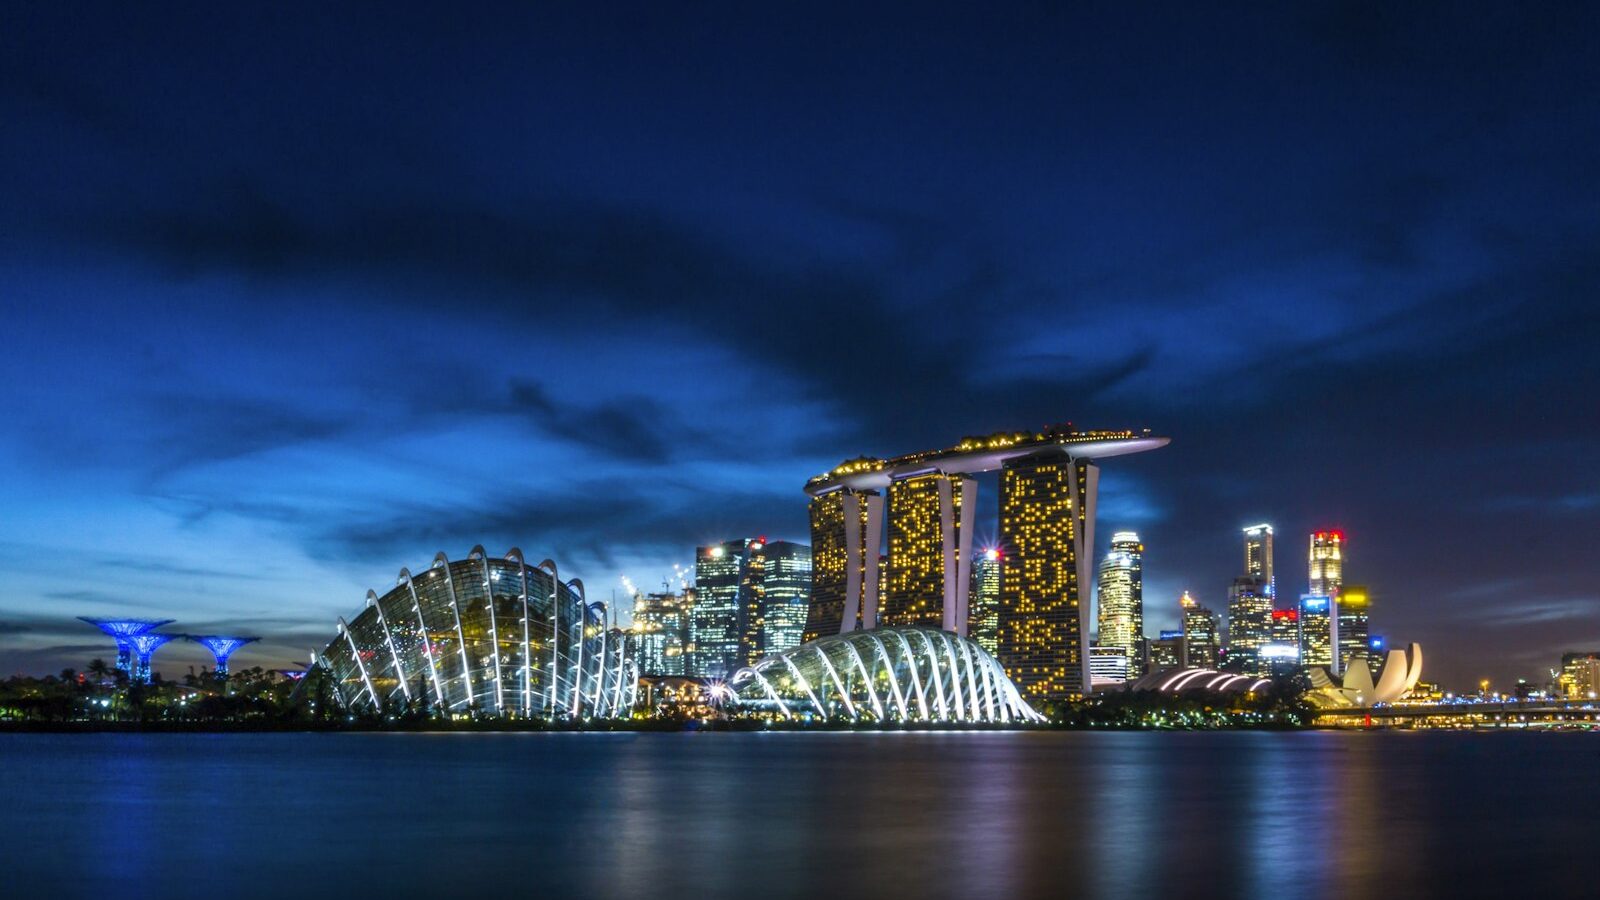
A few of these deserve a note. When you cool the white balance for a food photo, aim for white rice looking genuinely white rather than yellow, and stop there. For skyline shots at blue hour, recover the highlights on the lit buildings first, then add contrast, or the glow will glare. And in our humidity, a lens fresh out of air-conditioning fogs up instantly, leaving a hazy smear that no edit can fully remove; wipe the lens and let it acclimatise before shooting.
Editing Habits Worth Building Early
Two habits will save you from regret later. The first is to protect your originals. Most modern editors work non-destructively, meaning they store your changes as a set of instructions and never overwrite the original file, so you can always reset. If you are not sure whether your app does this, edit a copy rather than the only version you have.
The second is consistency. Once you find adjustments you like, many editors let you save them as a preset so you can apply the same look to a batch of photos, such as a set from one outing. This keeps a gallery feeling coherent and speeds up editing enormously. Just remember that a preset made for one lighting situation rarely suits another, so treat it as a starting point and adjust from there.
Finally, be patient with yourself. A good eye for editing grows with practice, and the fastest way to improve is to edit often, compare against the original, and occasionally revisit old edits to see how your taste has changed. The tools are only a means; your judgement is what makes a photo yours.
Explore more
Once your edits feel natural, take the next step with our guide to understanding colour grading, which explains how to shape mood and tone. When your library grows, learn how to cull and organise your photos so your best work is easy to find, and see our guide to printing and displaying your photos to enjoy them off the screen.