

Sometimes you have a photo you love, but it is too small. Maybe you want to print it large, crop in tightly, or use an old image at a bigger size. Upscaling photos means increasing their pixel dimensions so they can be used larger than the original. Modern tools have made this far better than it used to be, though there are real limits to what any software can do. This guide explains how enlarging works, when it succeeds, and how to get the cleanest possible result for print or web.
What Upscaling Actually Does
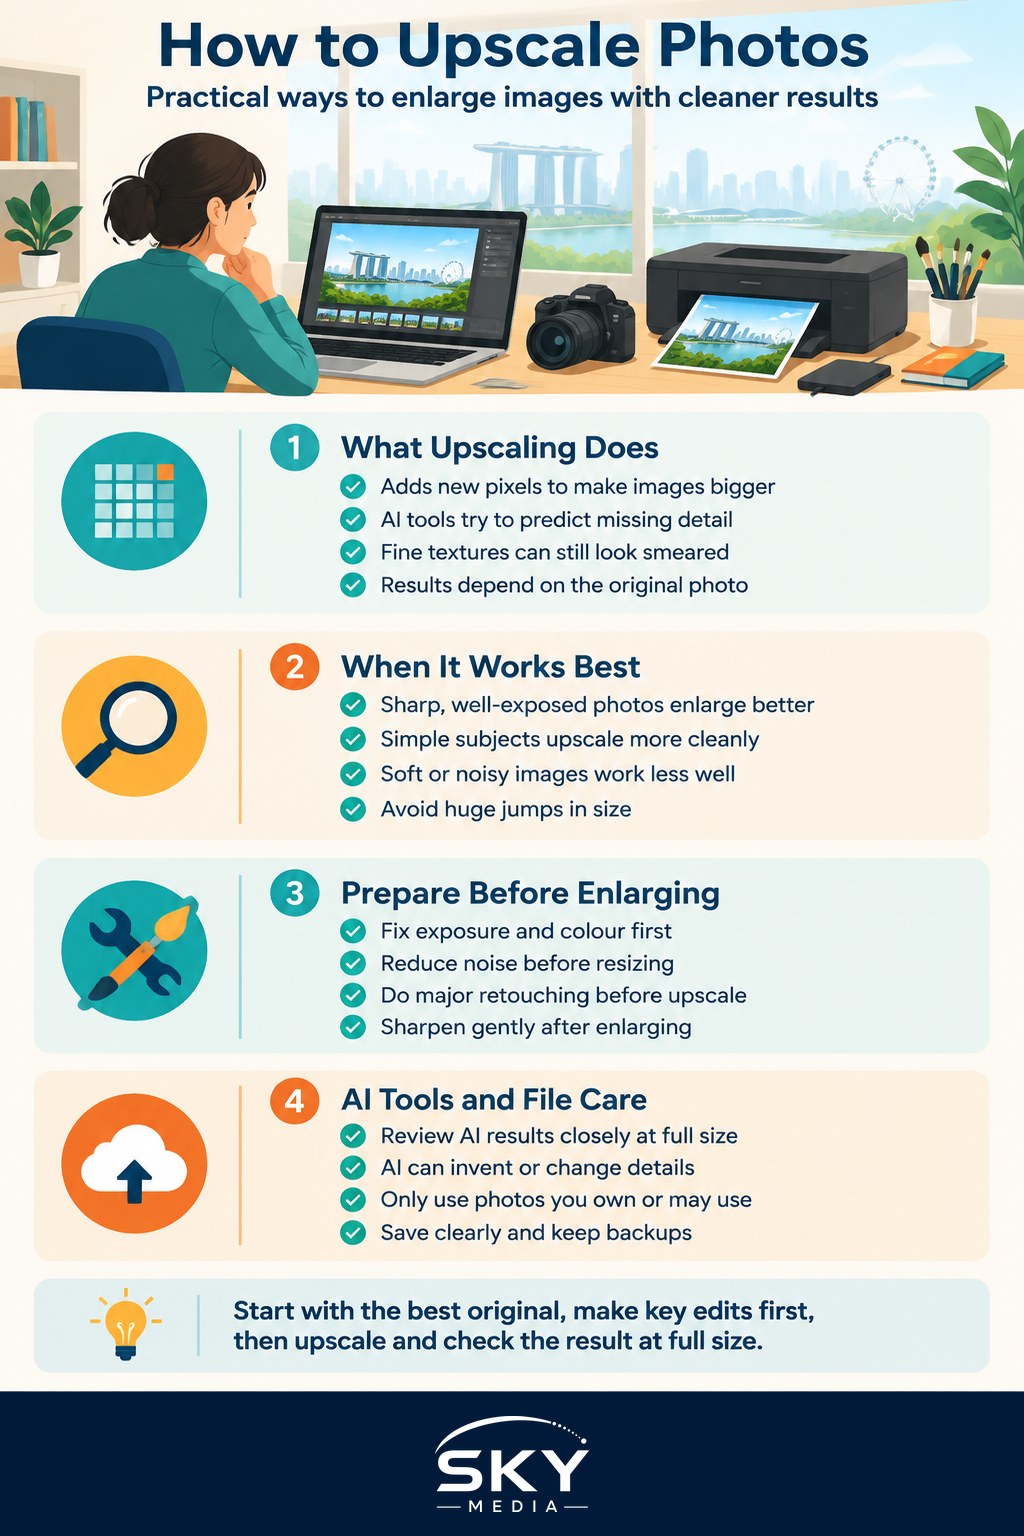
A digital photo is made of pixels. When you enlarge it, the software has to invent new pixels to fill the bigger space, since the original detail simply is not there. Older methods just stretched and smoothed the image, which left it soft and mushy. Newer methods, including AI-based tools, try to predict realistic detail and edges, often with impressive results.
Still, no tool can truly recover detail that was never captured. Upscaling makes an educated guess. It can look great, especially on subjects with clean edges, but it can also invent details that were not really there, or smear fine textures like hair, foliage, and text. Because of this, results vary a lot from image to image.
The best starting point is always the highest quality original you have. If you still have the raw file, use it, since it holds more information than a compressed copy.
When Upscaling Photos Works Best
Enlarging succeeds more often when the original is already good. A sharp, well exposed, low-noise photo enlarges far better than a blurry, dark, or grainy one. Simple subjects with clear shapes upscale more cleanly than busy scenes packed with fine detail.
Upscaling works less well when:
- The original is soft or out of focus. Software cannot add focus that was never there.
- The image is noisy. Enlarging noise usually makes it worse, so reduce noise first.
- You need an extreme size jump. Doubling dimensions is usually safe. Pushing many times larger asks a lot and often shows.
Set realistic expectations. A modest enlargement for a bigger print is very achievable. Turning a tiny thumbnail into a giant poster rarely holds up.
Preparing Your Photo First
A little preparation improves any upscale. Work in this rough order:
- Fix exposure and colour. Get the image looking its best at normal size first.
- Reduce noise. Clean noise before enlarging so it is not amplified.
- Do major edits. Retouching and cleanup are easier before you add pixels.
- Then upscale. Enlarge as one of your final steps.
- Sharpen last. A gentle sharpen pass after upscaling can restore some crispness, but do not overdo it or you will get harsh halos.
Keeping a copy of your original means you can always try a different approach later.
Choosing How Much to Enlarge
For prints, think in terms of the final size and viewing distance. Large prints viewed from across a room can tolerate more upscaling than a small print held in your hands, since distance hides softness. A poster on a wall is far more forgiving than a fine art print examined up close. Match your resolution to how the image will be viewed rather than chasing the biggest possible size.
For web use, you rarely need to upscale much at all, since screens use fewer pixels than print. Enlarging for the web is usually only needed if your original is genuinely tiny.
A Note on AI Upscaling Tools
Many upscaling tools now use AI to add detail, and they can be genuinely impressive. However, keep a few things in mind. Results vary widely depending on the image, so always review the output closely at full size before trusting it. AI can invent details, alter faces, or create textures that were not in the original, which matters if the image must stay accurate, such as in documentary, news, or evidence contexts.
Also respect copyright. Only upscale images you own or have permission to use. Running someone else’s photo through a tool does not give you the right to use it. Treat any AI result as a helpful draft to check, not a guaranteed truth.
Caring for Your Enlarged Files
Once you have a good enlargement, save it clearly and back it up. High resolution files are large, so keep your storage organised and consider backing up to the cloud so your best work is safe. In humid Singapore, drives can fail over time, so more than one copy is wise.
Enlarge With Realistic Expectations
Upscaling photos is a genuinely useful skill when you approach it honestly. Start with the best original you have, clean it up before enlarging, keep your size jumps sensible, and always check the result closely. Some images will enlarge beautifully, while others will show their limits, and that is normal. Learn which of your photos upscale well, set expectations for prints and clients accordingly, and you will get the most from the images you already treasure.