
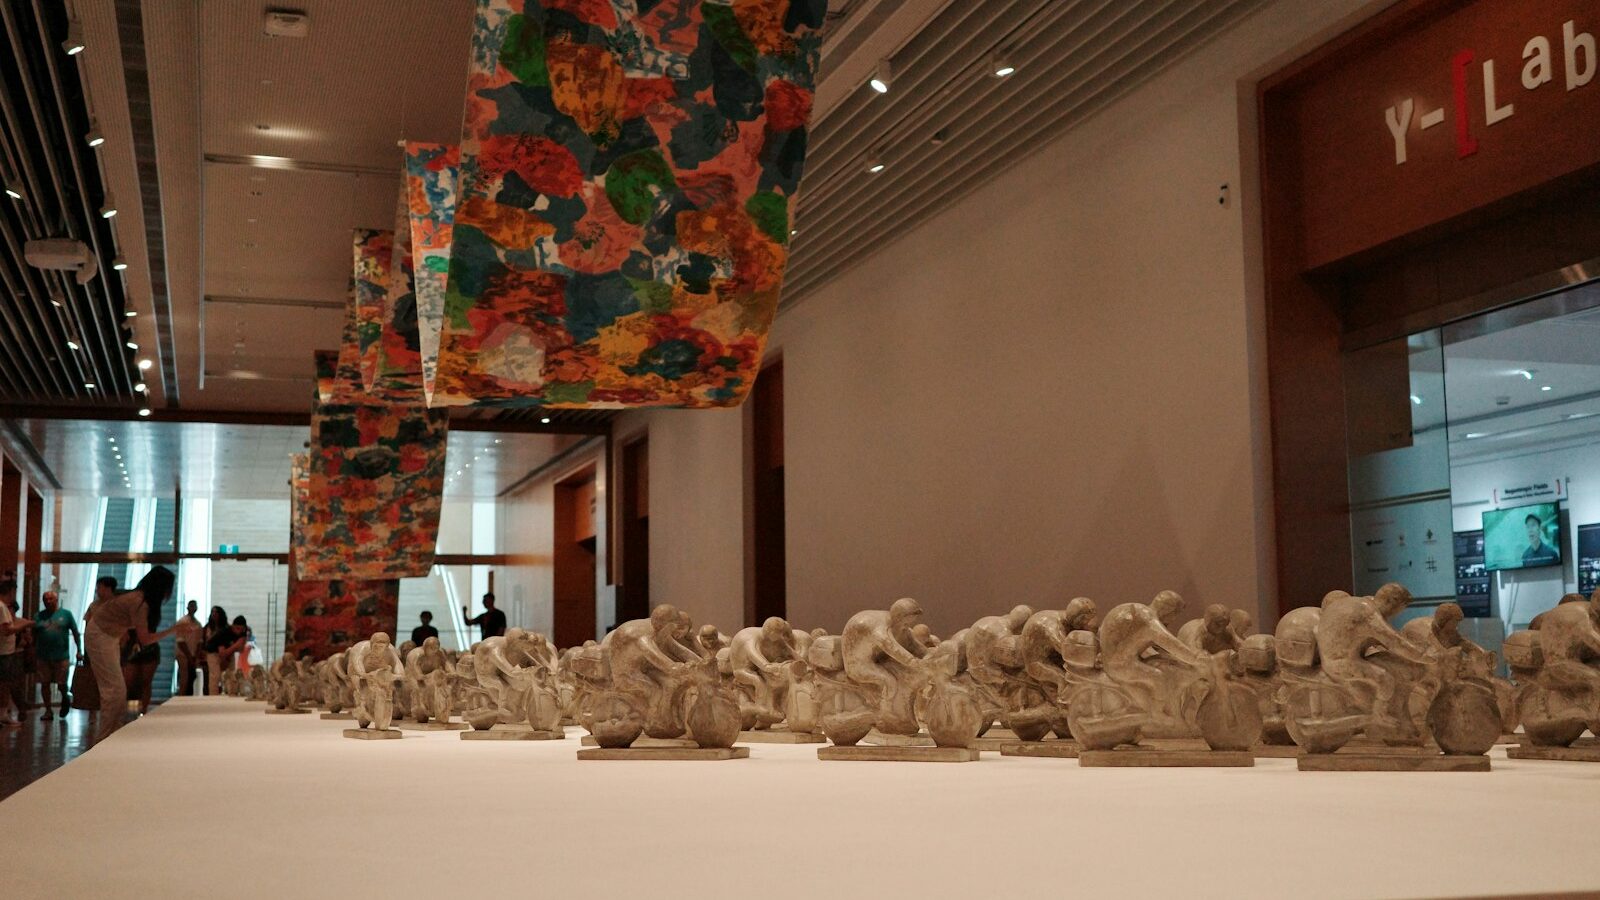
If you have ever wanted to make pottery or little sculptures but felt put off by the cost of a kiln, air-dry clay sculpting is the answer you have been waiting for. As the name suggests, this clay hardens on its own in ordinary room air, with no kiln and no oven required. That single fact makes it one of the most beginner-friendly and HDB-friendly crafts around, and you can start this weekend with a block of clay and your two hands.
This guide walks the complete beginner in Singapore through what air-dry clay is, what to buy, easy first projects, how to seal your work, and how to handle our stubborn humidity. It is honest about the limits too, because knowing them upfront will save you a lot of frustration.
What Air-Dry Clay Is and Why It Appeals
Air-dry clay is a modelling material that cures by losing moisture to the air rather than by being fired in a kiln. There are a few families of it. Some are natural clay based and feel earthy like traditional pottery clay. Others are paper based, lighter and less prone to cracking, which many beginners find forgiving. There are also polymer style modelling clays, though those usually need baking in a home oven and are a slightly different craft.
The appeal is easy to see:
- No special equipment. No kiln, no oven, no expensive machinery.
- Low cost to start. A block of clay and a few household tools is all you need.
- Quiet and portable. Perfect for a small flat and for working at the dining table.
- Immediate and tactile. Shaping clay with your hands is calming and deeply satisfying.
It is a natural companion to other quiet, hands-on crafts. People who enjoy this often also try kintsugi, the art of golden repair, or decorative crafts like decoupage and rock and pebble painting, because the making-with-your-hands mindset carries across.
Be realistic about the trade-offs, though. Air-dry clay is not waterproof and is not as strong as fired pottery. A finished piece can soften if it gets soaked, so it is best for decorative objects, trinket dishes and ornaments rather than mugs you drink from or planters that hold wet soil directly.
What You Need to Start
You genuinely do not need much. Here is a sensible beginner kit, all of it generic and available at art and craft shops or general stores.
- A block of air-dry clay. Start with a paper based or natural air-dry clay in a small quantity.
- A smooth work surface. A ceramic tile, an acrylic sheet or a silicone mat protects your table and lets you rotate the work.
- A little water in a small dish. Used sparingly to smooth cracks and join pieces.
- Basic shaping tools. A butter knife, a fork, a toothpick, an old clay tool or even a chopstick will carve, texture and cut. A rolling pin, or a smooth bottle, rolls out even slabs.
- Fine sandpaper. For smoothing the surface once the piece is fully dry.
- Acrylic paints and a sealer. For colouring and protecting finished work.
That is it. As you progress you might add proper modelling tools and texture stamps, but there is no need to buy those on day one.
Your First Projects and Techniques
The three classic hand building techniques are worth learning by name, because nearly everything is made from them.
- Pinch: press your thumb into a ball of clay and pinch the walls outward to form a small bowl. This is the simplest technique and a perfect first project.
- Coil: roll long ropes of clay and stack them in rings to build up walls, then smooth them together. Good for pots and taller shapes.
- Slab: roll the clay flat, then cut and fold the sheets like card to build boxes and dishes.
Good beginner projects include a small pinch pot or trinket dish, a ring holder, simple beads or pendants, a leaf-shaped dish pressed with a real leaf for texture, or a chunky little animal figure. Keep your first pieces small and solid, they dry more reliably and forgive mistakes.
One crucial joining rule: to attach two pieces of clay, scratch both surfaces, add a dab of water or clay slip, then press and smooth them together. Skipping this is the number one reason limbs and handles fall off as the piece dries.
Drying, Sealing and Beating the Humidity
Drying is where Singapore’s climate becomes your main opponent, and it cuts both ways. Our humidity means clay can take longer to fully cure, sometimes several days for a thicker piece, so be patient and do not rush to paint before it is bone dry. At the same time, if the outer surface dries much faster than the inside, the piece can crack.
A few habits make all the difference:
- Dry slowly and evenly. Keep drying pieces out of direct fans, direct sun and air-conditioning blasts, which cause uneven, crack-prone drying. A shaded, well ventilated spot is ideal.
- Turn the piece over partway through so the base dries too.
- Keep unused clay airtight. Wrap leftover clay tightly in plastic and an airtight box, or it hardens in storage. Humidity actually helps here.
- Fix small cracks by rubbing in a little water and clay, then letting it dry again.
- Sand, then seal. Once fully dry, smooth with fine sandpaper, paint with acrylics, and finish with a sealer or varnish. Sealing is essential because it adds water resistance and durability that the raw clay lacks.
Even sealed, treat finished pieces as decorative and keep them away from prolonged water.
Cost, Space, Mess and Where to Learn
On cost, this is one of the cheapest crafts to try, and a single block of clay makes several small pieces. Space is barely an issue, a corner of a table and a shelf to dry things on is plenty, which suits flat living perfectly.
The mess is real but manageable. Air-dry clay is basically fine mud, so lay down a mat or newspaper, and be careful at the sink. Let clay scraps dry and bin them rather than rinsing large amounts down the drain, where they can clog the pipes. A damp cloth cleans up the rest easily. The clay is generally safe to handle, but as with any craft, keep it away from young children who might eat it, and wash your hands after a session.
Here is a quick guide to which clay suits which goal.
| Clay type | Feel and weight | Good for | Watch out for |
|---|---|---|---|
| Paper based air-dry | Light, forgiving | Beginners, larger shapes | Softer finished surface |
| Natural air-dry | Earthy, heavier | A traditional pottery feel | More prone to cracking |
| Oven-bake polymer | Dense, plasticky | Tiny detailed figures, jewellery | Needs a home oven, not air drying |
For learning, our public libraries stock craft and pottery books you can borrow for free. Community centres and craft studios run beginner clay and hand building workshops for various ages, do check current classes and fees yourself as they change. Online there are countless free video tutorials that show the techniques in motion, which is often clearer than any diagram.
The best way to improve is simply to make a lot of small things and learn from each one. Your first pinch pot will be lopsided, and that is completely normal and rather charming. Get some clay, make something tiny this weekend, and enjoy the quiet pleasure of shaping an object with your own hands.