
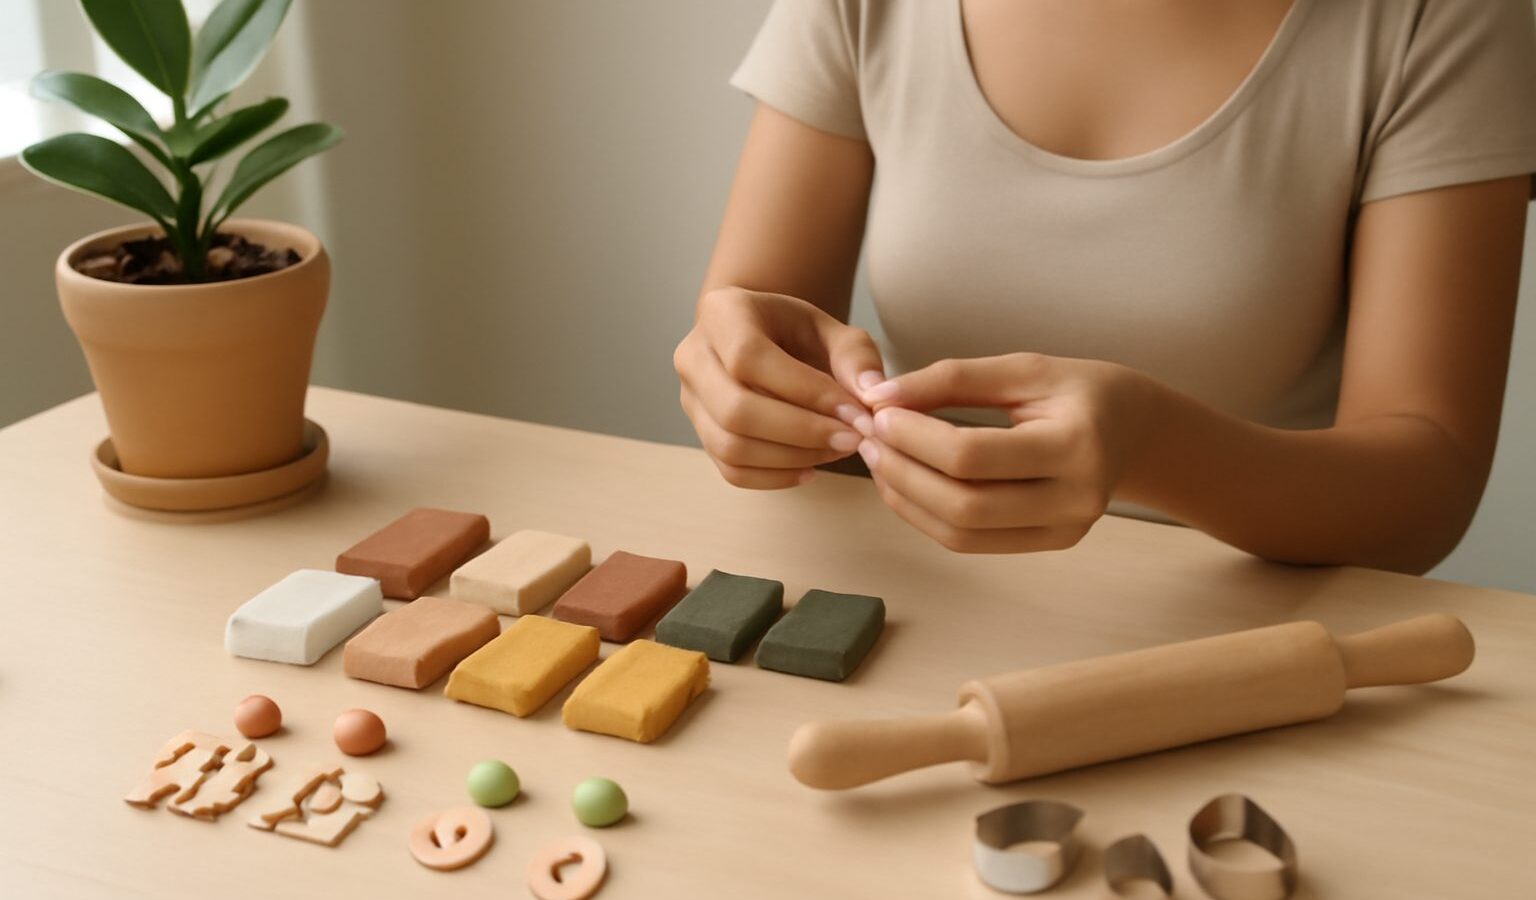
If you have ever wanted a craft that is colourful, forgiving and easy to start in a small flat, polymer clay is hard to beat. It is a soft modelling material that stays workable until you bake it hard in an ordinary oven, which means you can take your time, undo mistakes and make tiny keepsakes, charms and jewellery on a kitchen table. Polymer clay is affordable to try, packs away neatly and does not need a kiln, a studio or any noisy machinery, so it suits HDB living beautifully. This guide walks you through everything a nervous beginner in Singapore needs to make a first piece with confidence.
Why Polymer Clay Suits Beginners
The biggest appeal is that nothing is rushed. Air-dry clays start setting the moment they meet air, but polymer clay only cures when you heat it, so a block can sit half-finished for hours while you decide what to do next. It comes in dozens of ready mixed colours that you can blend like paint, and it takes fine detail well, which is why people love it for miniature food, earrings, pendants, keyrings, magnets and small figurines.
For local homes it has real practical advantages. There is no dust, no strong smell during shaping, and no water or slip to splash around, so cleanup is a wipe of the table. Our humidity, which torments paper and wood crafters, barely bothers polymer clay. You do not need much space either. A tray, a few tools and a patch of table are enough, and the whole hobby tucks into a shoebox when guests come over.
What You Need to Start
Resist the urge to buy a giant kit. A sensible starter haul is small and cheap, and you can find most of it at a craft shop, an art-supply store, a general bookshop with a craft aisle, or an online marketplace. Begin with a few blocks of clay in colours you like, plus white and black for mixing and shading. Add a smooth roller, which can simply be a clean glass bottle or an acrylic rod, and a cheap craft knife or blade for clean cuts.
You will also want a smooth work surface such as a ceramic tile or a sheet of baking paper, because clay will not stick to it and you can lift the tile straight into the oven. A few basic shaping tools, a toothpick or an old ballpoint pen without ink for making holes, and some fine sandpaper for smoothing baked pieces round out the list. If you want to make earrings or a pendant, add jump rings, earring hooks and eye pins from the jewellery-findings section.
Here is a simple guide to a first shop versus what to add once you are hooked.
| Item | Starter kit (buy now) | Upgrade later (once hooked) |
|---|---|---|
| Clay | 4 to 6 basic colours plus white and black | Specialist colours, translucent and metallic blocks |
| Rolling | Clean glass bottle or acrylic rod | Pasta-style clay roller for even sheets |
| Cutting | One craft knife or blade | Shaped cutters and a tissue blade set |
| Finishing | Fine sandpaper and a soft cloth | Water-based varnish and a buffing wheel |
| Jewellery | A small pack of hooks and jump rings | Assorted findings, pliers and a bead board |
Conditioning, Shaping and Your First Project
Fresh from the block, polymer clay is stiff, so it needs conditioning before it will behave. Break off a piece, warm it in your hands, then knead and roll it until it turns soft, smooth and slightly stretchy. This step is not optional. Well conditioned clay bakes strong, while unconditioned clay stays brittle and cracks. In an air-conditioned room the clay firms up faster, so keep it away from the aircon vent while you work.
For a first project, keep it flat and small so baking is easy and even. A set of simple stud earrings or a couple of pendant tiles is ideal. Roll your conditioned clay to an even thickness, cut out your shapes, and use a toothpick to make a neat hole near the top for your jump ring before baking. Smooth the edges with a fingertip, add a marbled swirl by twisting two colours together, and resist over-handling, which dulls the surface and traps lint. Lay your pieces on the tile, then follow the clay packet for baking.
A short first-piece sequence:
- Condition the clay until soft and pliable.
- Roll to an even thickness on your tile or baking paper.
- Cut shapes and pierce any holes before baking.
- Bake on the tile following the packet instructions.
- Cool fully, then sand, buff and add findings.
Baking and Safety the Simple Way
Baking is where beginners worry most, but the rule is easy: follow the temperature and time printed on your clay packet exactly, because brands differ. Use an oven thermometer if you can, since ovens often run hotter or cooler than the dial suggests, and clay that scorches gives off an unpleasant smell. Bake in a well ventilated kitchen with the window open or the hood fan on, and do not exceed the stated temperature.
One safety habit matters above all in a home kitchen. Once a tile, tray or utensil has been used for polymer clay, keep it for crafting only and do not return it to food use. Clay is non-toxic for crafting but is not a food material, so set aside a dedicated tile and any tools you bake with. Wash your hands after handling clay, keep unbaked clay and small findings away from young children and pets, and supervise any child who wants to join in. If you use a varnish or glue to finish, read its own label and let pieces air in a ventilated spot.
Fixing Common Beginner Mistakes
Almost every first-timer meets the same handful of snags, and all of them are easy to solve. Fingerprints and lint come from over-handling and dusty hands, so work on a clean surface, keep hands washed and lightly sand marks away after baking. Cracks usually mean the clay was under-conditioned or baked too cool, so knead more thoroughly next time and check your oven temperature. Colours that turn muddy come from mixing too many at once, so start by blending just two.
If a piece comes out slightly bendy while warm, that is normal; thin baked clay firms up as it cools, and a little flexibility actually makes earrings more durable. Pieces that darken or smell burnt were too hot, so drop the temperature and add a foil tent to shield them. Keep a small notebook of what temperature and time worked, and your results will steady quickly.
How to Grow the Hobby
Once your first earrings survive daily wear, the craft opens up fast and cheaply. Try caning, where you build a long log with a pattern running through it and slice off tiny repeated designs, a technique behind those charming miniature fruit slices. Explore marbling, faux stone effects, and simple texture stamps made from anything with a pattern. Adding a pasta-style roller gives you even sheets for a more professional finish, and a set of shaped cutters speeds up matching pairs.
If friends start asking to buy your pieces, that is a lovely sign, and you may consider a small side hobby-business. Treat this as general information rather than business advice: in Singapore, registering a business is done through ACRA, and you should check current rules with the relevant authority before you sell. For now, enjoy gifting your work, swapping with other crafters, and building a little collection of pieces you are proud of.
Explore more
Ready to branch out? If polymer clay has sparked a love of tiny handmade things, try jewellery making for beginners to turn your charms into finished pieces, or beadwork for beginners for colourful stringing projects. For a completely different texture, getting into miniatures and dioramas pairs wonderfully with clay modelling.