
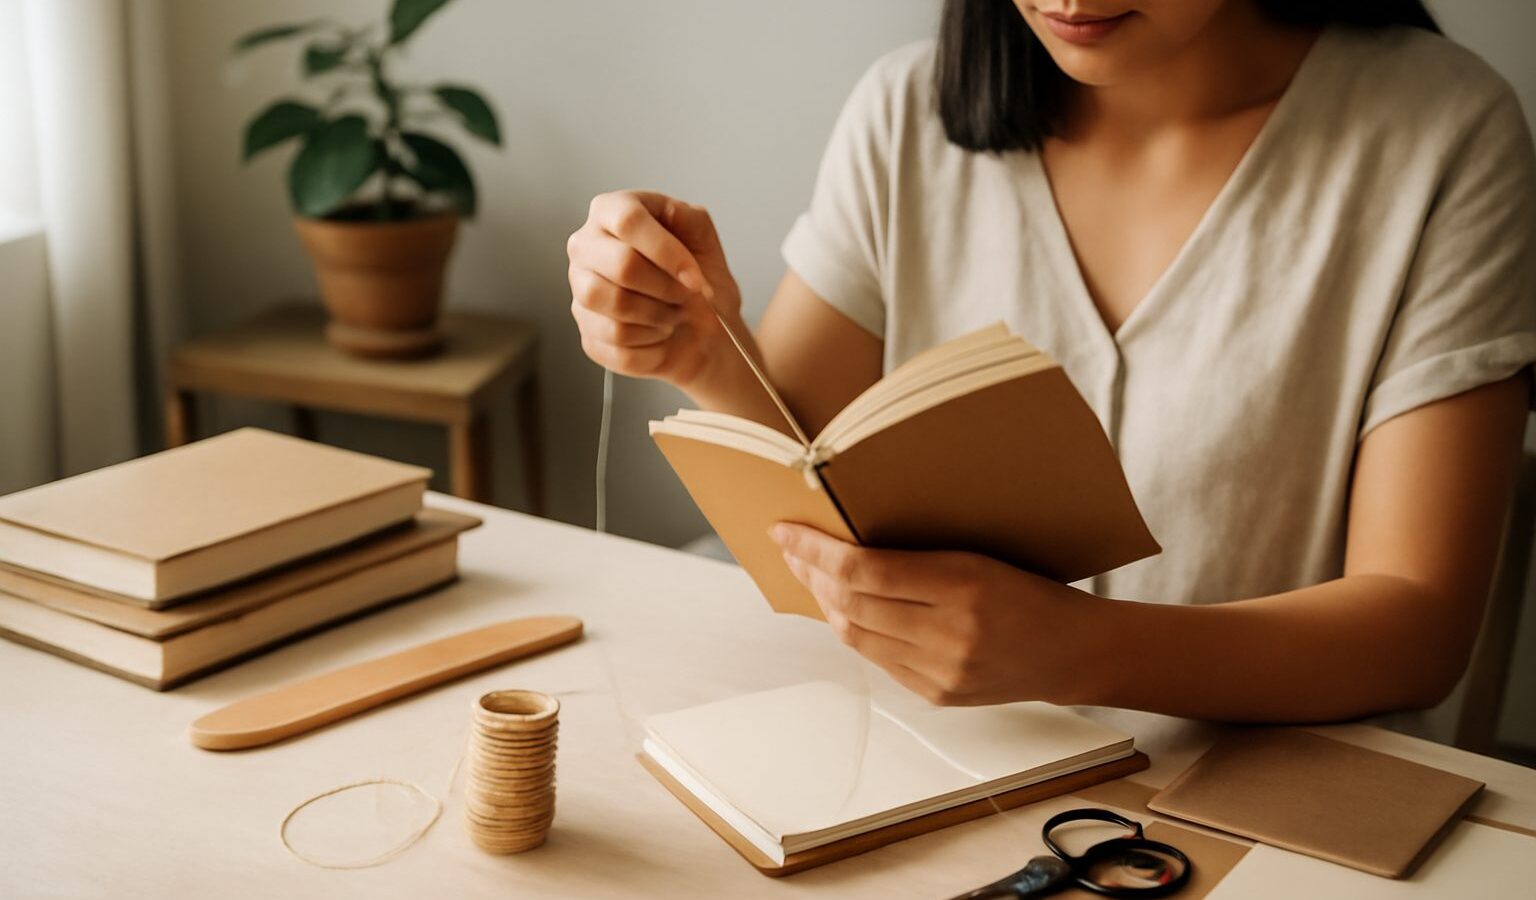
There is a quiet magic in holding a book you made with your own hands. The pages sit just so, the cover carries a paper you chose, and every stitch along the spine is one you sewed yourself. Bookbinding is one of the most rewarding crafts a beginner can take up, and it asks for very little to begin. You do not need a workshop, expensive machinery, or years of training. A few sheets of paper, some thread, a needle, and a little patience are enough to make your first journal this weekend. This guide is written for a total beginner in Singapore who wants a calm, affordable, screen free hobby that ends with something genuinely useful.
Why Bookbinding Makes a Wonderful First Craft
Bookbinding sits in a happy sweet spot for beginners. It is gentle on the wallet, quiet enough for an HDB flat late in the evening, and forgiving of small mistakes. Unlike crafts that need a kiln, a sewing machine, or a spray booth, a simple hand bound book uses tools you can spread across a dining table and pack away in a shoebox afterwards. There is no noise to trouble the neighbours and no fumes to worry about, which makes it a friendly craft for shared homes and small spaces.
It is also deeply satisfying in a way few hobbies match. A finished journal is something you use every day, so your effort keeps rewarding you long after the glue has dried. You can make notebooks, sketchbooks, planners, recipe books, or little gifts for friends. Each one teaches you something, and the skills build gently on one another. Best of all, the craft is endlessly customisable, so no two books you make ever have to look the same.
What You Need to Start
The joy of bookbinding is how little it demands at the start. You can assemble a beginner kit for a modest sum from a craft shop, an art supply store, or an online marketplace, and much of it you may already own.
Here is a sensible starter list:
- Paper for the pages. Ordinary A4 or A5 printer paper folded in half works perfectly for a first book. Later you can try heavier drawing paper.
- A large needle with an eye big enough for thick thread. A bookbinding needle is ideal, but a sturdy sewing needle will do.
- Waxed linen thread, or ordinary thread you rub with a little beeswax so it glides and holds knots.
- A bone folder for making crisp folds. The back of a butter knife or a clean plastic card is a fine substitute at first.
- An awl or a strong pin to pierce the sewing holes.
- A craft knife and a metal ruler for trimming, plus a cutting mat or a thick offcut of card to protect your table.
- PVA glue for the spine and cover, and a stiff board or thick card for hard covers later on.
A word on safety, because two of these tools have sharp points. Always cut away from your body with the craft knife, keep your guiding fingers well behind the blade, and change the blade when it drags rather than forcing a dull one. Push the awl onto a mat or scrap block, never towards your palm. Store the knife and awl capped, and keep them, along with the needle, out of reach of young children. Work in a well lit spot so you can see exactly where the blade is going.
Your First Project: A Simple Pamphlet Journal
The easiest book to make is a pamphlet, sometimes called a saddle stitch booklet. It is a single folded bundle of pages sewn through the fold with one length of thread, and it is the perfect confidence builder.
Start by taking four to six sheets of A4 paper, stacking them neatly, and folding the stack in half to make a booklet of A5 pages. This folded bundle is called a signature. Run your bone folder along the fold to sharpen it. Open the signature flat and mark three evenly spaced points along the centre crease, one in the middle and one near each end. Rest the fold on a cutting mat and pierce each mark with the awl.
Now thread your needle with a length of thread about three times the height of the book. Sew from the inside out through the middle hole, leaving a tail, then into one end hole, back through the middle, out the far end hole, and finally back to the middle. Tie the two ends in a firm knot across the long central stitch, snug but not so tight that you tear the paper. Trim the loose ends, fold your cover paper around the outside, and you have made a book. It really is that quick, and the sense of achievement is out of all proportion to the effort.
Comparing Two Beginner Stitches
Once the pamphlet feels easy, the natural next step is a book with several signatures sewn together, which lets you make thicker journals. The two most beginner friendly methods are the pamphlet stitch you already know and the coptic stitch, a decorative sewing that leaves an attractive exposed spine and lets the book lie completely flat.
| Feature | Pamphlet stitch | Coptic stitch |
|---|---|---|
| Difficulty | Very easy, ideal first project | Moderate, a satisfying next step |
| Number of pages | Thin, one signature only | Thick, many signatures |
| Spine | Hidden inside a folded cover | Exposed and decorative |
| Lies flat when open | Reasonably | Completely flat |
| Tools needed | Needle, thread, awl | Needle, thread, awl, glue for boards |
Neither is better in absolute terms. The pamphlet is where everyone should begin, and the coptic stitch is the one to grow into when you want a proper journal with room for a year of writing.
Common Beginner Mistakes and How to Avoid Them
Most early frustrations come from a handful of small things, and all are easy to fix. The most common is uneven folds, which throw the whole book out of true. Slow down, line the edges up exactly before you crease, and use the bone folder to press firmly. A second frequent slip is pulling the thread too tight, which tears the paper at the holes; keep the tension firm but kind. Skipping the awl and trying to force the needle straight through also ends in bent needles and ragged holes, so always pierce first.
Our climate deserves a mention too. Singapore humidity can leave paper limp and make glue slow to dry and prone to warping covers. Work in an air conditioned or fan cooled room when you can, press finished books flat under heavy books overnight, and store paper and journals in a cupboard with a sachet of silica gel to keep the damp at bay. Give PVA glue longer to cure than the tube suggests, since the air here is rarely truly dry.
How to Grow and Go Further
Once you have a few journals under your belt, the craft opens up in every direction. You can graduate to hard covers using board and decorative paper, experiment with case binding for a professional finish, or try Japanese stab binding, which sews along the edge and needs no folding at all. Repairing a beloved paperback that has lost its spine is another lovely use of your new skills.
There is a warm community around this craft, and watching a few video tutorials will teach your hands far faster than words alone. If friends admire your work, you might make books as gifts, and should you ever think about selling them, treat that as a separate step and check current rules on registering a small business with the relevant authority first. For now, keep it simple and personal. The whole pleasure of bookbinding is making something honest and useful with your own two hands, one signature at a time.
Explore more
If paper crafts have caught your imagination, there is a whole family of gentle hobbies to explore next. Fold your way into a meditative classic with our guide to origami and paper folding, or turn strips of paper into delicate art in paper quilling for beginners. To keep and decorate the memories you write about, see our guide to scrapbooking for beginners.