
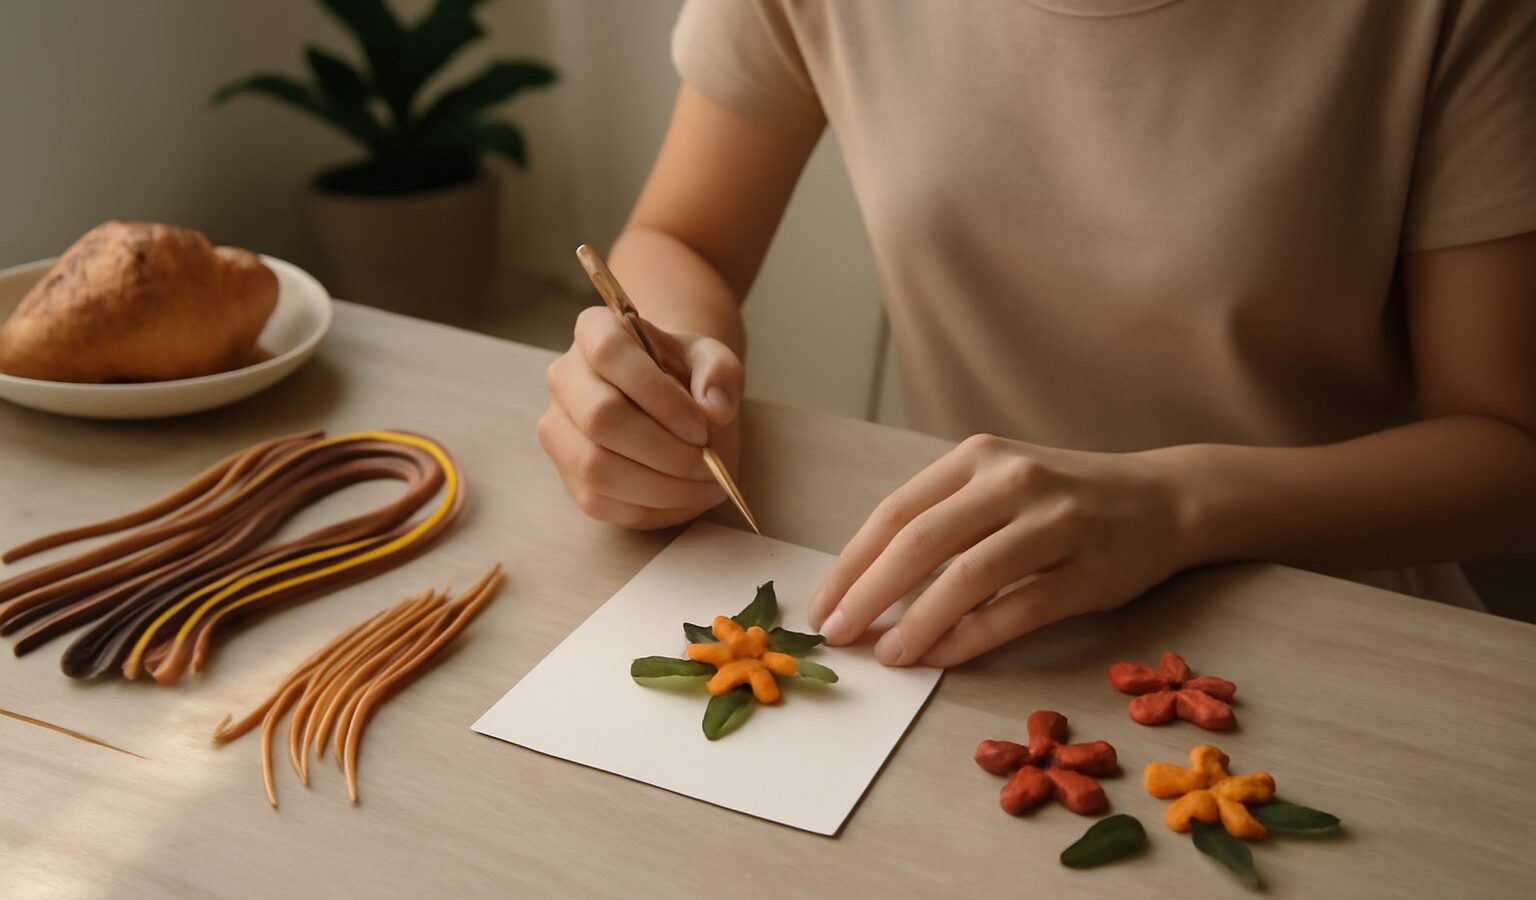
Paper quilling is the gentle art of rolling thin strips of paper into coils and shaping them into flowers, letters, animals and patterns. It looks intricate and impressive, yet the basics are genuinely easy to learn, which makes it one of the most rewarding crafts for a nervous beginner. If you have been searching for a quiet, affordable and beautiful hobby that fits a small home, paper quilling deserves a spot at the top of your list.
The craft has been around for centuries, once used to decorate books and religious art, and it has enjoyed a bright revival on cards, framed pieces and jewellery. The best part is how little you need to begin. With a handful of strips and a simple tool, you can make something lovely on your very first afternoon.
Why Paper Quilling Is a Great First Craft
Paper quilling asks for almost no space and makes almost no noise, so it suits flat living beautifully. You can work at a small table, tidy everything into a pencil case, and pack up in seconds when it is time for dinner. There is nothing to plug in and nothing that will trouble the neighbours, which makes it easy to squeeze a session into a quiet evening.
It is also kind to your budget. A single pack of paper strips lasts a long time because each shape uses only a little, and your early wobbly coils can still become petals and leaves. Few crafts let you produce something frame-worthy so cheaply, and that low pressure is exactly what helps a new hobby stick.
There is a calming, almost meditative quality to rolling strips too. The repetitive motion is soothing, the results build up quickly, and you finish each session with a small, satisfying object in your hand. For anyone who wants a screen-free way to relax, it is hard to beat.
Tools and Materials You Actually Need
One of the joys of quilling is the very short shopping list. You can find everything at craft shops, art-supply stores and online marketplaces, and a modest beginner set will keep you busy for weeks.
- Quilling strips. These are pre-cut paper strips, usually a few millimetres wide. A multi-colour beginner pack is ideal, and you can also cut your own from paper once you are confident.
- A quilling tool. A slotted tool holds the strip end so you can roll neat coils. A needle tool gives a finer centre. Many beginners even start with a cocktail stick.
- White craft glue. A fast-drying, clear-drying glue works best. Apply it with a pin or a fine tip so you use only a tiny amount.
- A pair of scissors and tweezers. Scissors trim strips to length, while tweezers help you place small pieces without smudging glue. Keep sharp tools capped and away from young children.
- A base surface. A piece of card, a cork board or a foam board gives you something to build and pin shapes on.
That really is enough. You do not need a quilling board, moulds or a crimper on day one. Add those later, and only if a particular project calls for them.
Making Your First Shapes
Almost every quilled design is built from a small family of shapes, so learning these unlocks nearly everything. Start with the tight coil: feed a strip into your tool, roll it firmly to the end, then glue the tail before you slide it off. From there, roll a loose coil by letting it relax a little before gluing, and you have the base for most other shapes.
Once you can make a loose coil, gentle pinches transform it. Pinch one side to make a teardrop, pinch two opposite sides for an eye shape, and pinch three or four points to make petals and leaves. A few teardrops arranged in a ring instantly become a simple flower. Practise each shape several times so your coils come out an even size, since matching shapes are what make finished pieces look tidy.
For a first project, try a small flower on a folded card. Roll five teardrops for petals, one tight coil for the centre, and a couple of eye shapes for leaves, then glue them onto the card in a ring. It is forgiving, quick and genuinely pretty, and it teaches every core skill in one go.
Comparing a Starter Kit With a Fuller Set
As you settle in, you may wonder what is worth adding. This table sets a sensible beginner kit against the extras that keen quillers tend to gather over time.
| Item | Beginner kit | Fuller set |
|---|---|---|
| Tool | Slotted tool or cocktail stick | Slotted and needle tools, plus a crimper |
| Strips | One multi-colour beginner pack | Assorted widths, graduated and metallic strips |
| Shaping | Fingers and a pin | A quilling board with graduated holes |
| Glue | One bottle of white craft glue | Fine-tip applicator and a glue mat |
| Storage | A reused pencil case | Sealed boxes with silica gel for humidity |
There is no need to rush down the right-hand column. Many lovely pieces are made with nothing more than the starter kit. Buy an upgrade only when a project you actually want to make asks for it.
Beginner Mistakes and How to Avoid Them
The most common problem is using too much glue, which leaves shiny marks and soggy coils. A tiny dab on the very end of the strip is all you need, applied with a pin rather than squeezed from the bottle. Less glue also dries faster and looks far neater.
Another frequent slip is rolling coils at different tensions, so your shapes come out mismatched. Try to roll with steady, even pressure, and make all the coils for one project in a single sitting so they match. Beginners also tend to pick strips that are too long, which makes fat, unwieldy coils; start with shorter lengths and join strips only when you need a bigger shape.
Our humidity deserves a mention too. Damp air can soften strips and slow drying, so keep your paper in a sealed box or bag, and give glued pieces a little longer to set before framing. Store finished work away from direct sun to keep the colours bright.
Growing Your Skills
Once the basic shapes feel natural, progress comes from gently raising the challenge. Move from single flowers to small bouquets, then to letters and monograms, which look wonderful on cards and gifts. Framed quilled art and simple quilled earrings are popular next steps, and each one reuses the same handful of shapes you already know.
Learning from others speeds things up and keeps it fun. Follow beginner tutorials, join a craft group or a community-centre session, and share photos in online quilling communities, which tend to be warm and encouraging places for newcomers. Ask questions freely, since most quillers love to help.
Above all, keep the pressure low. Paper quilling is meant to be a calm, cheerful pastime, and even a few coils while you wind down count as a good session. Enjoy the rolling, admire your growing collection, and let each little shape be a small win.
Explore more
If rolling paper suits you, you will probably enjoy the crisp folds of origami and paper folding too. Your quilled flowers also look wonderful on card making and papercraft projects, and if you love working with delicate natural shapes, take a look at pressed flower crafts.