
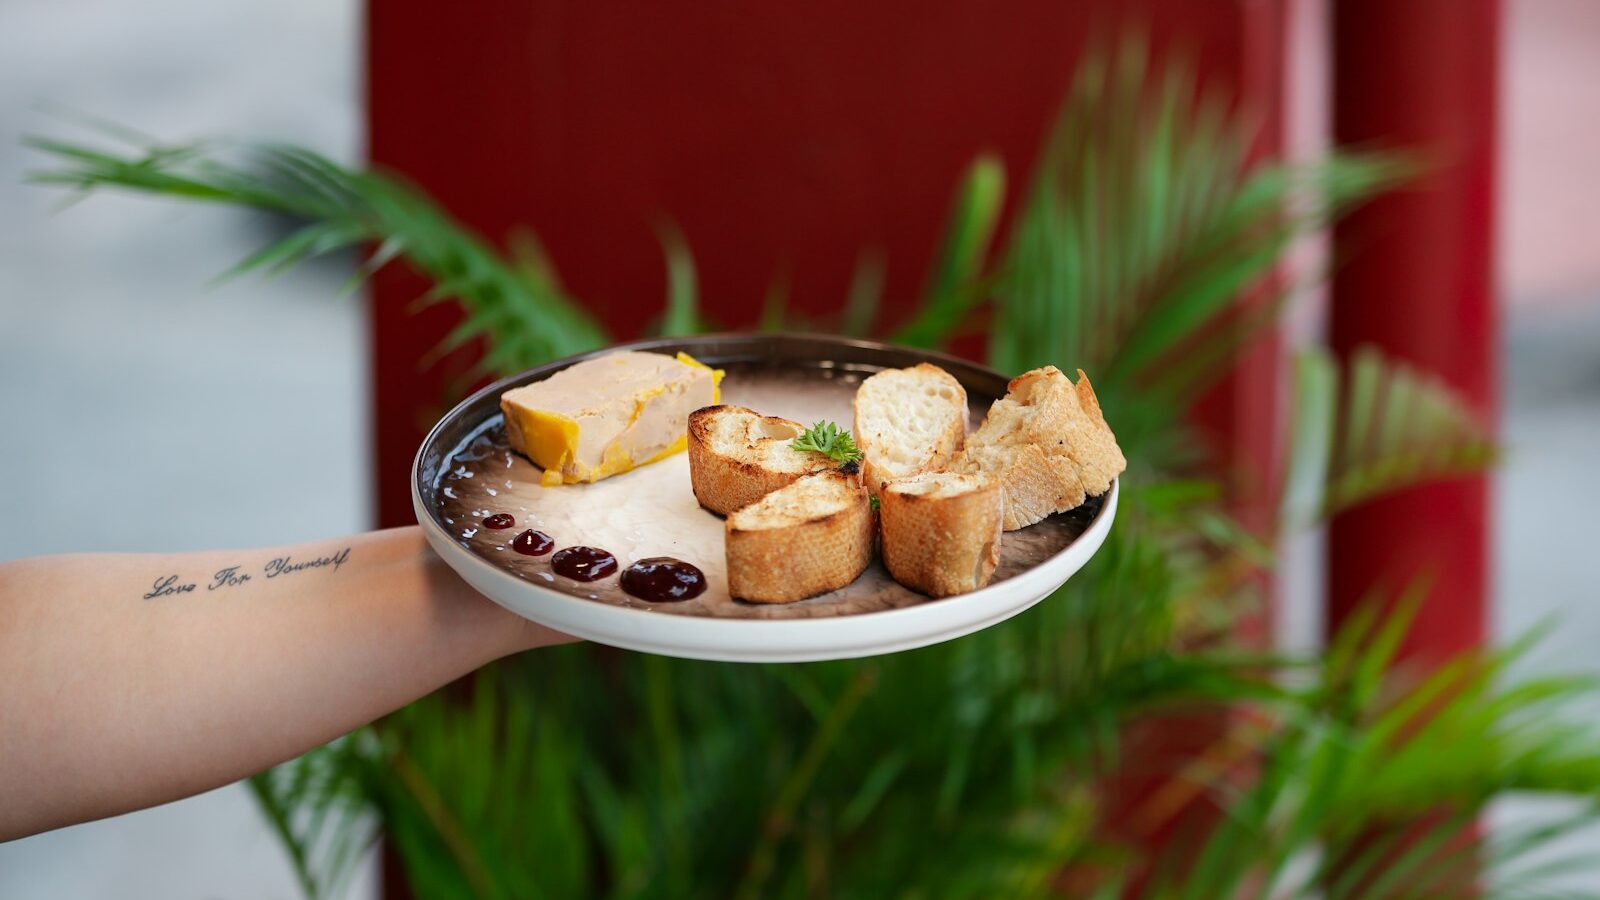
There is something quietly wonderful about turning a pot of milk into cheese on your own stove. It feels like a small kitchen miracle, yet the first steps are far gentler than most people imagine. Cheese making at home does not need a farm, a cellar, or a shelf of specialist gear. A litre of fresh milk, a splash of acid, a little heat, and some clean cloth are enough to make a soft, fresh cheese in an afternoon. This guide is written for a total beginner in Singapore who wants an affordable, hands on hobby that ends with something delicious you made yourself. We will keep it simple, safe, and low pressure, the way every good first batch should be.
Why Fresh Cheese Is the Perfect Place to Begin
Cheese comes in two broad families for the home cook. Fresh cheeses such as paneer, ricotta, and simple curd are ready the same day, need no ageing, and forgive small mistakes. Aged cheeses such as cheddar or a hard mountain style need weeks or months of careful temperature and humidity control, which is genuinely tricky in our warm, damp climate. So the sensible, joyful path for a beginner is to start with fresh cheese and fall in love with the process first.
Fresh cheese making is also kind to a small home. There is no strong smell, no loud machinery, and nothing that will trouble your neighbours in an HDB flat. You use pots and bowls you already own, you finish in a couple of hours, and you eat the results at dinner. Because the whole cycle is short, you learn quickly, and each batch teaches you a little more about how milk behaves. That fast feedback is exactly what keeps a new hobby fun rather than frustrating.
What You Need to Start
The beauty of fresh cheese is how little it asks of you. Most of the kit lives in an ordinary kitchen already, and the rest is cheap to gather from a supermarket, a baking supply shop, or an online marketplace.
Here is a sensible starter list:
- Fresh full cream milk. Avoid ultra heat treated long life milk where you can, as it curdles less reliably. Full cream gives a richer result than skimmed.
- An acid to set the curd. Lemon juice or white vinegar works for ricotta and paneer style cheeses. Later you can try citric acid or rennet.
- A large heavy pot, ideally stainless steel, and a long spoon for stirring.
- A cooking thermometer. You can begin by eye, but a thermometer takes the guesswork out and makes results repeatable.
- A colander lined with clean muslin, cheesecloth, or a fine cotton cloth for draining the curds.
- A bowl to catch the whey, plus salt for seasoning.
A word on hygiene, because this is a dairy craft. Wash and sterilise every pot, spoon, cloth, and bowl before you start, either with boiling water or a hot dishwasher cycle. Work with clean hands and clean surfaces. Milk is a food that spoils quickly in our heat, so keep it refrigerated until the moment you use it, and refrigerate your finished cheese straight away. Remember that cheese is a dairy product and a common allergen, so label anything you share with friends. None of this is difficult, it is simply the ordinary care any home cook takes with fresh food.
Your First Project: Simple Fresh Ricotta
Ricotta is the friendliest first cheese there is, and it rewards you within the hour. Pour a litre of full cream milk into your sterilised pot and warm it gently, stirring now and then so it does not catch on the base. Bring it slowly towards a bare simmer, around 85 to 90 degrees, where you see wisps of steam and the first tiny bubbles at the edge but not a rolling boil.
Now turn off the heat and stir in your acid, roughly three tablespoons of lemon juice or white vinegar for each litre, added a little at a time. Almost at once you will see the milk separate into soft white curds and thin, cloudy whey. Let it sit undisturbed for ten minutes so the curds firm up. Line your colander with damp muslin, set it over a bowl, and gently ladle the curds in to drain. After twenty minutes you have soft, spreadable ricotta. Longer draining gives a firmer, drier cheese. Stir in a pinch of salt, and it is ready for toast, pasta, or a drizzle of honey. Paneer follows almost the same method, simply pressed under a weight until firm enough to cube and fry.
Fresh Cheese Versus Aged Cheese for Beginners
It helps to see clearly why fresh cheese is the smart starting point before you dream of a home aged wheel. The table below lays the two paths side by side.
| Feature | Fresh cheese (ricotta, paneer) | Aged cheese (cheddar, hard styles) |
|---|---|---|
| Time to finish | Same day, one to two hours | Weeks to many months |
| Equipment | Pot, thermometer, cloth, colander | Press, moulds, cave or cooled space |
| Difficulty | Very easy, forgiving | Advanced, exacting |
| Singapore climate | Suits our warm homes well | Needs steady cool humidity control |
| Cost to try | Low, mostly kitchen basics | Higher, specialist gear and cultures |
Neither is better in the abstract. Fresh cheese is where every beginner should build confidence, and ageing is a rewarding mountain to climb once your basics are solid and you have a way to control temperature and humidity.
Common Beginner Mistakes and How to Avoid Them
Most early wobbles come from a few small habits, and all are easy to correct. The commonest is boiling the milk too hard, which makes tough, rubbery curds. Keep the heat gentle and trust your thermometer. Another is not using enough acid, so the milk never fully separates; add it slowly and give it time to react before deciding it has failed. Skimping on sterilising is the one shortcut never to take, because dairy spoils fast and clean gear is your best protection.
Our climate deserves its own note. Singapore warmth speeds up everything to do with dairy, so do not leave milk or fresh curds sitting out on the counter. Work efficiently, chill the finished cheese without delay, and eat fresh cheese within a few days. Above all, trust your senses. If a cheese ever smells sour in a bad way, turns slimy, or grows any fuzzy mould, throw it out without hesitation. When in doubt, discard it. A litre of milk is cheap, and your wellbeing is not worth a gamble.
How to Grow and Go Further
Once ricotta and paneer feel like second nature, the craft opens up beautifully. You can try mozzarella, which involves stretching the curd in hot water into glossy, pullable strands, or a simple cultured cheese using rennet and a starter culture bought from a baking or brewing supplier. Flavouring is a whole playground too, from cracked pepper and herbs to a little chilli folded through fresh curds.
There is a warm community around home cheese making, both online and in occasional local classes, and watching a few videos will teach your hands faster than words. Should friends start asking to buy your cheese, treat that as an entirely separate step. Selling food in Singapore may require a licence from the Singapore Food Agency, and registering a small business is done through ACRA, so check the current rules with the relevant authority before you sell a single wedge. For now, keep it personal and playful. The real pleasure is standing at your own stove, watching plain milk become cheese, and sharing it warm with the people you love.
Explore more
If turning simple ingredients into something special appeals to you, there are more gentle food crafts to try next. Nurture a living culture and bottle your own fizzy drink with our guide to home kombucha brewing, or feed a starter and bake a proper loaf in sourdough baking at home. To round off a homemade cheese board, learn to taste with confidence in our guide to wine appreciation as a hobby.