
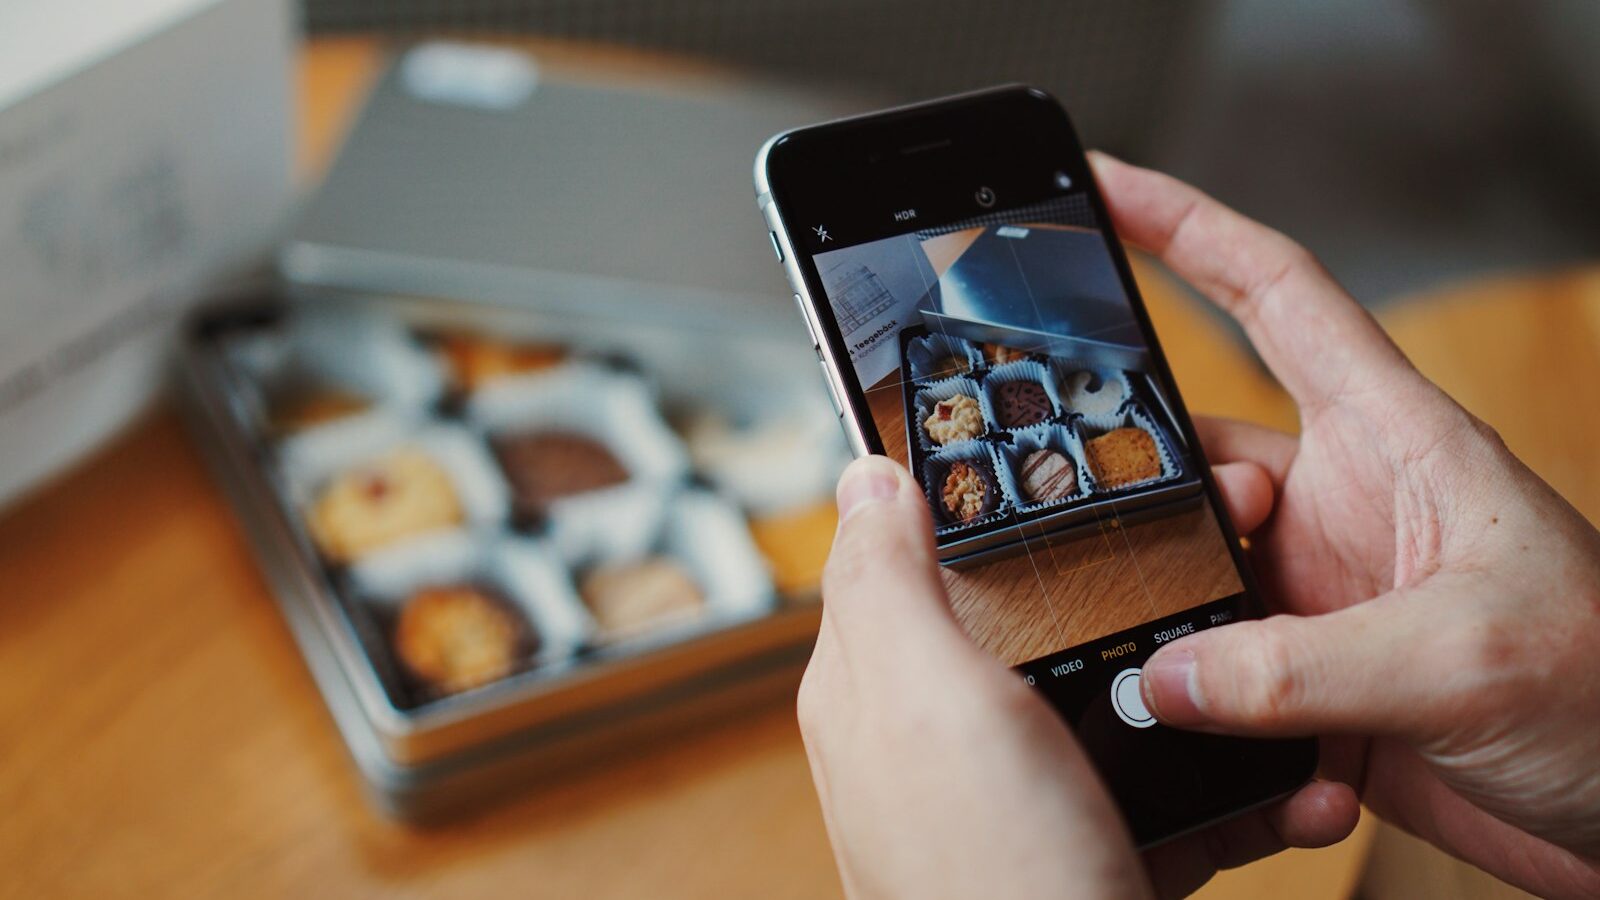
Few hobbies smell as good as this one. Chocolate making at home turns a humble block of couverture into glossy bars, filled bonbons, and edible gifts that look far more impressive than the effort suggests. It is a craft that rewards patience and a thermometer far more than it rewards fancy equipment, which makes it a wonderful, affordable way in for a curious beginner. You do not need a professional kitchen or a marble slab. With good chocolate, a bowl, and a bit of care, a total beginner in Singapore can make treats that snap cleanly and shine. This guide shows you how to start.
Why Chocolate Making Is a Rewarding Hobby
Chocolate making sits at a satisfying crossroads of science and craft. You are not just melting a bar, you are learning to control how the chocolate sets, and that small piece of knowledge unlocks a surprisingly wide range of projects. Once you can melt and set chocolate properly, you can make bars, buttons, dipped fruit, filled shells, and moulded shapes, all from the same core skill.
It is also a hobby that fits a home kitchen with almost no fuss. There is no loud machinery and no permanent equipment to store, so it suits an HDB flat beautifully. The messy part is contained to a bowl and a mould, and clean-up is quick. Best of all, the results are genuinely giftable, which makes chocolate making a lovely hobby for festive seasons and celebrations when a handmade treat means far more than a shop-bought one.
What You Need to Start
Your starter kit is short and mostly reusable. Look in a supermarket baking aisle, a baking-supply shop, or an online marketplace for the following.
- Couverture chocolate. This is real chocolate made with cocoa butter, and it melts and sets far better than cheaper compound coating. Buy it in buttons or callets for easy melting.
- A digital thermometer. Temperature is everything in chocolate work, so an accurate thermometer is your most important tool.
- A heatproof bowl. For melting the chocolate gently over warm water or in short bursts.
- A silicone spatula. For stirring smoothly without scratching your bowl.
- Chocolate moulds. Polycarbonate or silicone moulds shape bars and bonbons. Start with a simple bar mould.
- Baking paper and a tray. For setting buttons and dipped pieces.
You do not need a tempering machine, a marble slab, or a warming lamp when you are starting out. Those are upgrades for later, if the hobby truly sticks.
Understanding Tempering
Tempering is the one idea that separates dull, streaky chocolate from bars that shine and snap. Chocolate contains cocoa butter, which can set into several different crystal forms. Tempering simply means guiding it into the one stable form that looks glossy, releases cleanly from the mould, and does not melt the instant you touch it. It sounds technical, but it comes down to gently controlling temperature.
The table below compares two beginner-friendly methods so you can choose one to start with.
| Method | How it works | Best for beginners? |
|---|---|---|
| Seeding | Melt most of the chocolate, then stir in unmelted callets to cool it | Yes, forgiving and needs no special kit |
| Tabling | Pour melted chocolate onto a cool slab and work it with a scraper | Better left for later, needs practice |
| Melt only, no temper | Simply melt and pour with no cooling step | Only for snacks kept in the fridge |
For your first attempt, use the seeding method. Melt about two thirds of your chocolate gently to around forty-five degrees, then stir in the remaining unmelted callets a handful at a time until the temperature drops to the working range for your chocolate type. Dark chocolate typically works around thirty-one to thirty-two degrees, while milk and white sit a little lower. Always follow the temperature guide on your chocolate packet, since blends differ.
Making Your First Chocolate Bar
A plain moulded bar is the ideal first project because it teaches tempering without any fiddly filling. Once your chocolate is tempered, pour it into a clean, dry bar mould and fill each cavity. Tap the mould firmly on the counter several times to release trapped air bubbles, which rise and pop at the surface. If you like, scatter a few nuts, dried fruit, or a pinch of sea salt on top while the chocolate is still wet.
Now let it set. In our warm climate a brief spell in the fridge helps the bar firm up, but do not leave it in too long or condensation will form. Once the underside of the mould looks matte and the chocolate has pulled slightly away from the edges, turn it over and give it a gentle twist. A well-tempered bar drops out cleanly with a satisfying shine. If it sticks or looks streaky, your temper was slightly off, which is completely normal early on and simply means melting it down and trying again.
Common Beginner Mistakes
Most early setbacks come from a few predictable issues, and knowing them saves a lot of wasted chocolate.
- Water in the chocolate. Even a drop of water or steam makes chocolate seize into a grainy paste. Keep every bowl and utensil bone dry.
- Overheating. Scorched chocolate turns thick and dull. Melt gently and slowly, in short bursts if using a microwave.
- Skipping the thermometer. Guessing the temperature is the fastest route to streaky, soft bars.
- Rushing the set. Unmoulding too soon leaves smudges and fingerprints on the surface.
- Working in a hot kitchen. Chocolate is stubborn in the heat, so switch on the air conditioner and work in the coolest part of your day.
Storage and Our Singapore Climate
Our heat and humidity are the real test of homemade chocolate, so storage matters more here than in cooler countries. Well-tempered chocolate keeps best in a cool, dry, dark place around eighteen to twenty degrees, which in Singapore usually means an air-conditioned room or a wine-style cabinet rather than a warm cupboard. If you must refrigerate it, seal it airtight first so it does not absorb fridge odours or grow a dull white bloom from condensation, and let it return to room temperature before unwrapping.
Keep good food-safety habits throughout. Clean and dry your equipment thoroughly, and remember the common allergens, since chocolate and its fillings often contain dairy, soya, and nuts, so always tell anyone you are gifting to what is inside. If you ever think about selling what you make, treat this as general information only and check current rules with the Singapore Food Agency, as selling food from home may need a licence.
How to Improve and Go Further
Once you can turn out a shiny bar reliably, the craft opens up quickly. Try dipping strawberries or biscuits, piping chocolate decorations onto baking paper, or moulding filled shells with a soft ganache centre. Free video tutorials are plentiful and let you learn tempering and moulding at your own pace, and setting yourself one new project each month keeps your confidence building. Keep a small notebook of the temperatures and set times that worked for each chocolate, so every batch starts a little easier than the last.
Explore more
If you enjoy making sweet things by hand, there is plenty more to explore. Have a look at cookie decorating as a hobby for another gift-worthy treat, or try cake decorating for beginners if you fancy a bigger canvas. For a savoury, patient kitchen craft to balance the sweetness, cheese making at home is a rewarding next step.