
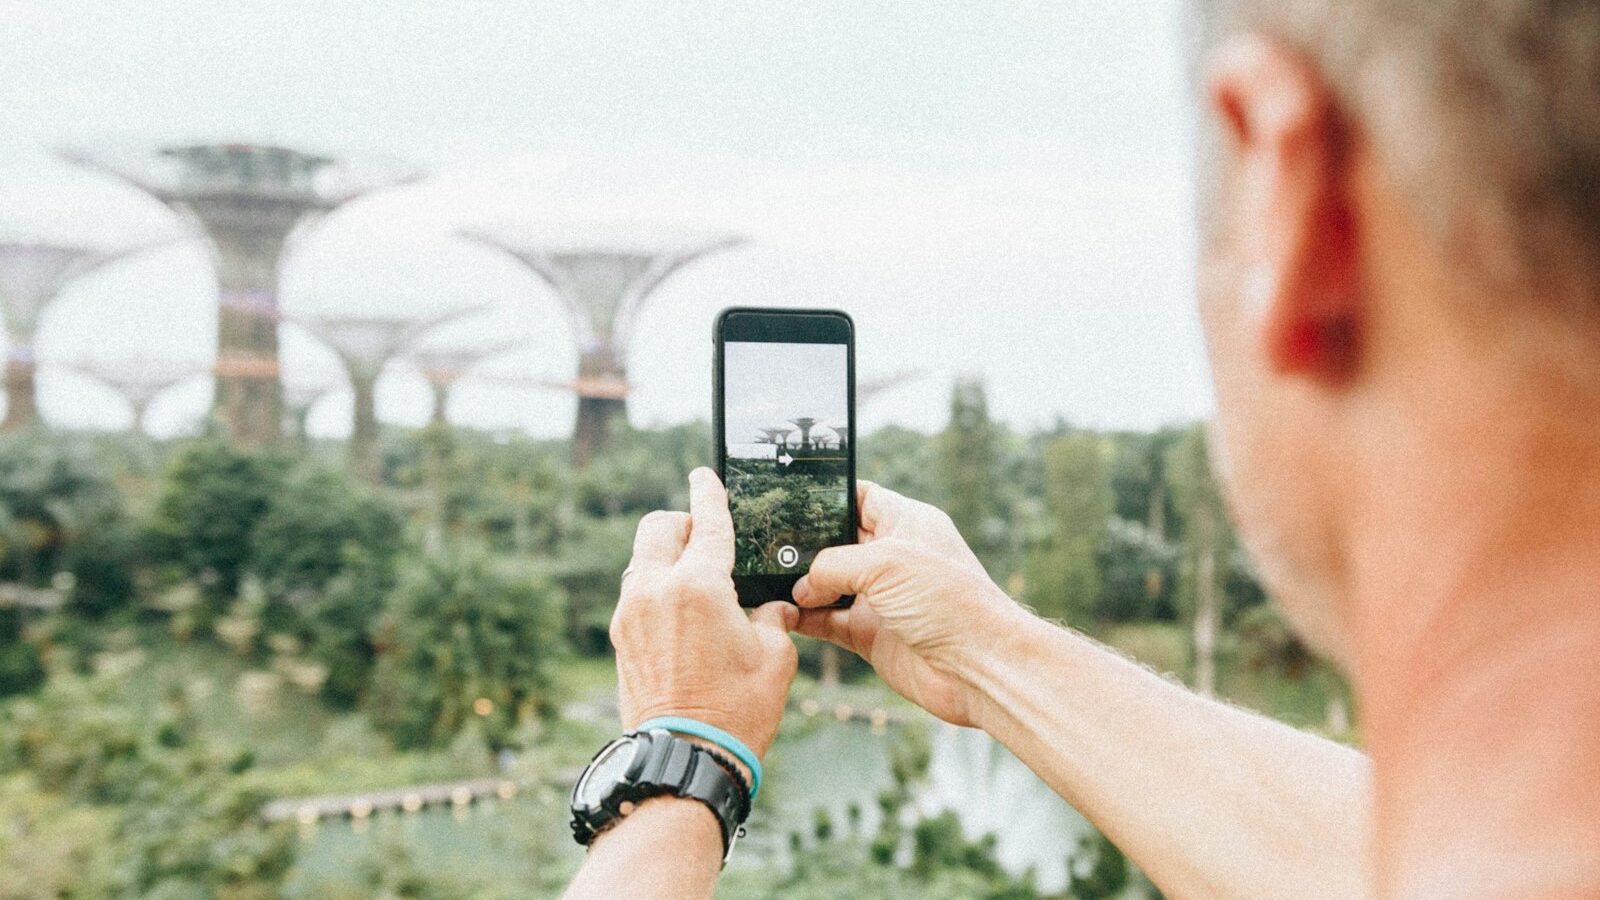
The best camera is the one in your pocket, and these days it comes with a surprisingly capable darkroom attached. Editing photos on phone has gone from a novelty to a genuinely serious way to finish your images, whether you shot them on the phone itself or transferred them from a camera. You can brighten a dim hawker centre snap, cool down an over warm sunset, or straighten a wonky Marina Bay skyline, all before your bus reaches the next stop.
This guide covers the adjustments that make the biggest difference, how to handle our tricky local light, and how to choose between free and paid apps.
Why Editing Photos on Phone Works So Well Here
Singapore life moves fast, and phone editing fits that pace. You can edit in the queue, on the MRT, or over kopi, then share straight to your group chat or social feed. Screens have improved too, so the colours and detail you see while editing are close to what others will see.
The workflow is also forgiving. Most phone editors are non destructive, meaning your original photo stays untouched while you experiment. If an edit goes too far, you simply reset and start again. That freedom to try, undo and retry is why phone editing is such a friendly place for beginners to learn.
Editing photos on phone suits a few situations especially well:
- Quick fixes before posting, when a computer is not to hand
- Travel and everyday shooting where you carry no laptop
- Learning the basics, since the tools are simple and immediate
- Light touch ups to camera photos sent over to your phone
The Core Adjustments Worth Learning
You do not need every slider. A handful of adjustments will improve almost any photo, and they are the same ones professionals reach for first.
- Crop and straighten. Fix a tilted horizon and trim distracting edges. This alone lifts most shots.
- Exposure or brightness. Set the overall lightness so nothing important is lost in shadow or glare.
- Highlights and shadows. Pull back bright skies and open up dark corners separately.
- Contrast. Add a little punch, but not so much that faces go harsh.
- White balance or temperature. Warm up a cold shade shot or cool down an orange indoor one.
- Saturation and vibrance. Boost colour gently, keeping skin tones believable.
- Sharpening. A small amount adds crispness; too much looks gritty.
Work top to bottom and make small moves. The most common beginner mistake is dragging every slider to the extreme, which produces that over cooked look. Subtle edits almost always read as more professional.
A useful trick is to push a slider too far on purpose, see what it does, then dial it back to roughly halfway. This teaches you what each control actually changes far faster than nudging timidly. After a while you will reach for the right slider by instinct, and a quick edit will take under a minute.
Handling Singapore’s Tricky Light
Our light is a real challenge, and phone editing is where you rescue it. The near equatorial sun sits high and harsh through the middle of the day, creating hard shadows and blown highlights. Golden hour is short, so you often shoot in less than ideal conditions.
For harsh midday shots, lower the highlights to recover bright skies and lift the shadows to bring back detail on faces under hats or brows. For the deep shade of a covered walkway or a shophouse five foot way, the light turns cool and blue, so nudge the temperature warmer. Overcast monsoon days flatten everything, so a touch more contrast and vibrance brings the scene back to life.
Indoor and night shots bring noise, the grainy speckle that appears in low light. Most phone editors have a noise reduction slider, but use it sparingly, because heavy reduction smears fine detail. A slightly grainy but sharp photo usually beats a smooth but mushy one.
Free Apps Versus Paid Apps
You can do excellent work without spending a cent, but paid apps unlock extra control. Here is how the options generally compare.
| Feature | Free apps | Paid apps |
|---|---|---|
| Core adjustments | Yes | Yes |
| Selective or local edits | Limited | Full control |
| Raw file support | Sometimes | Usually |
| Saving custom presets | Rare | Common |
| Object removal and healing | Basic | Advanced |
| Ongoing cost | None | Subscription or one off |
For most beginners a good free app is more than enough to learn on. Upgrade only when you hit a real limit, such as needing selective adjustments to brighten just a face, or raw editing for maximum quality. Your built in gallery editor is a fine starting point before you install anything at all.
Exporting and Sharing Without Losing Quality
A great edit can be spoiled by a careless export. When you save or share, your phone often compresses the image, and repeated re saving degrades it further each time.
Keep quality high with a few habits:
- Export at the highest quality your app offers for anything you care about.
- Save a full resolution copy before sending a smaller one to chat apps, which compress heavily.
- Avoid editing an already edited and re compressed copy; go back to the original.
- For printing, keep the largest file you have rather than a shrunken social version.
If you shoot in raw on your phone, a format that keeps far more picture data than a JPEG, you get much more room to recover highlights and shadows. It uses more storage, so reserve it for shots that matter.
Explore More
Phone editing connects to everything else in your workflow. When you have many similar shots, how to batch edit your photos saves huge amounts of time, and removing unwanted objects from photos clears out background clutter. Before you post or print, read exporting photos for web and print, and to see where automation fits, try using AI photo editing tools.
Editing photos on phone is the fastest way to grow as a photographer, because the feedback is instant. Make small, honest adjustments, learn how each slider behaves, and your everyday snaps will start looking like something you planned all along.
Related across Sky Media: How to Take Better Photos With Your Phone in Singapore