
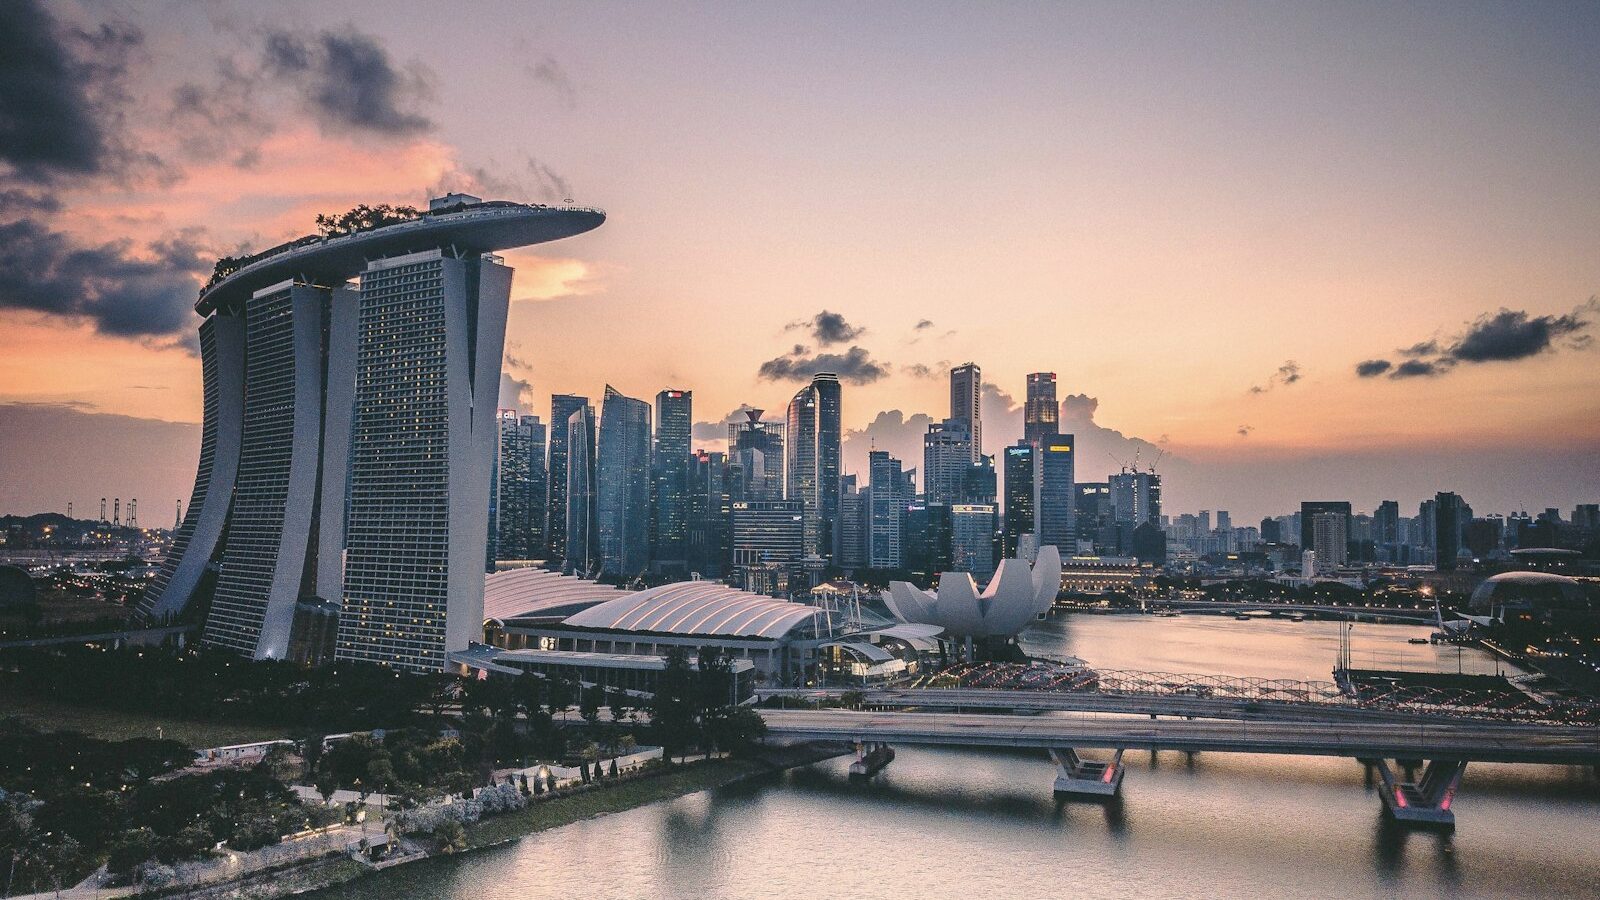
You come home from a full day at East Coast Park with three hundred photos, all shot in the same light. Editing them one by one would take all evening. Batch editing photos solves this by letting you perfect a single image, then apply those same adjustments to the whole set in seconds. It is the single biggest time saver in photo editing, and it keeps your images looking consistent instead of a patchwork of different styles.
This guide shows you how to build a reliable batch workflow that works whether you edit on a laptop or entirely on your phone.
Why Batch Editing Photos Saves Your Evening
When you shoot many frames in similar conditions, they share the same problems. A cloudy afternoon at the Botanic Gardens might make every shot a touch flat and cool. The harsh Singapore midday sun might blow out every highlight. Fixing each photo separately means solving the same puzzle hundreds of times.
Batch editing photos flips that around. You solve the puzzle once on your best frame, then push that solution across every image taken in the same light. The benefits stack up quickly:
- You save hours on large shoots such as events, birthdays and travel sets.
- Your gallery looks cohesive, which matters if you post a series.
- You reduce fatigue, so the last photo gets the same care as the first.
- You can still fine tune individual frames afterwards.
The one rule to remember is that batch editing works only within a group of photos that share lighting. Split your shoot into groups first, one for the shaded morning, one for the bright afternoon, one for the golden hour by the water.
Setting Up One Photo as Your Reference
Everything depends on getting one image right. Pick a frame that represents the group well, ideally one with a clear subject, a range of tones and a face if people are involved.
Work through your core adjustments in a sensible order:
- Set the white balance so whites look neutral, correcting our warm tropical light or cool shade.
- Fix the exposure so the overall brightness feels right.
- Recover blown highlights and lift dark shadows if needed.
- Add contrast and adjust the tone curve for depth.
- Set saturation and vibrance, keeping skin tones natural.
- Apply sharpening and reduce noise if you shot in low light.
Once this reference frame looks the way you want, you have effectively created a recipe. The next step is serving that recipe to the rest of the plates.
Copying and Syncing Across the Set
Desktop editing apps make this the easy part. After editing your reference photo, you copy its settings and paste them onto the others, or select the whole group and sync in one action.
A typical desktop flow:
- Finish your reference edit.
- Choose copy settings, then tick which adjustments to carry over.
- Select the rest of the group.
- Paste or sync the settings to all selected images.
- Scroll through and spot check the results.
On a phone you have two main routes. Some editing apps let you copy edits from one photo and paste onto another, one at a time. Others let you save your reference edit as a preset, a stored set of adjustments, then apply that preset to each photo with a single tap. Presets are the phone user’s best friend for batch work, so it is worth learning how your app saves and reuses them.
Where Batch Editing Falls Short
Batch editing is powerful, but it is not magic. Applying one edit to every frame will expose the differences between them, and some photos will need a personal touch.
| Situation | Batch edit alone | Needs individual tweak |
|---|---|---|
| Same light, same subject | Works perfectly | Rarely |
| Mixed sun and shade | Gets you close | Exposure per frame |
| Different white balance | Looks off | Adjust each group |
| Varied compositions | Fine for tone | Crop and straighten |
| Portraits with faces | Good base | Skin and eyes |
The smart approach is to treat the batch as a strong starting point, not a finished product. After syncing, scroll through the set and correct the handful of frames that drift, usually the ones where you moved between sun and shade.
A Simple Batch Workflow for Singapore Shoots
Here is a repeatable routine that keeps large shoots manageable, from card to finished gallery.
- Import everything and back it up before you touch a single edit.
- Cull first. Delete the obvious misses, the blinks, the blurs and the near duplicates. A smaller set is faster to edit.
- Group the keepers by lighting condition.
- Edit one strong reference frame per group.
- Copy or sync that edit across the group, or apply your saved preset.
- Scroll through and rescue the frames that need individual attention.
- Export the finished set with consistent settings.
This order matters. Culling before editing means you never waste time polishing a photo you would have deleted anyway, and grouping by light means each synced edit actually fits.
A few extra habits help:
- Keep your best edits as reusable presets so future shoots start faster.
- Do not over sharpen; it looks worse when applied across a whole set.
- Save a raw or original copy so you can rework a batch later.
Explore More
Batch editing sits at the heart of a smooth workflow. Once your set is consistent, exporting photos for web and print gets them out at the right quality, and removing unwanted objects from photos cleans up the few frames that need it. If you edit on the go, editing photos on your phone pairs neatly with preset based batch work, and using AI photo editing tools shows where automation can speed things up further.
Master batch editing photos and you reclaim your evenings. Set the recipe once, serve it to the whole shoot, and spend your saved time actually taking more pictures.