
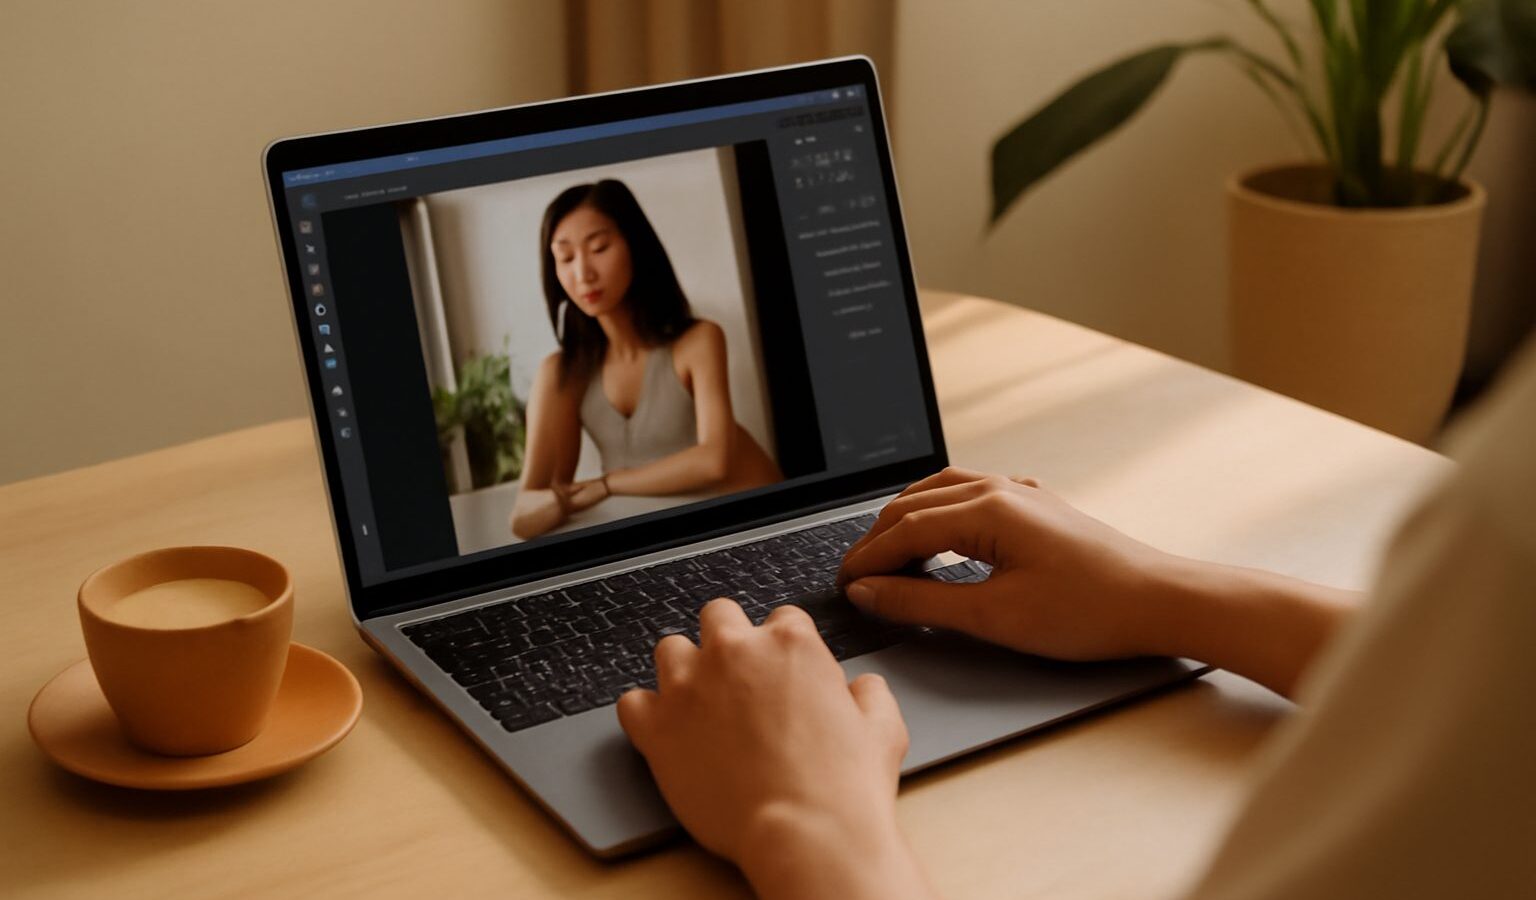
If you have ever opened an image and felt lost among the panels and menus, you are not alone. Learning how to edit photos in Photoshop becomes far easier once you stop chasing buttons and start thinking in a simple order: fix, enhance, retouch, finish. The concepts below travel well too, so even if you later switch to another editor, the same logic applies.
What Photoshop Actually Does for a Photo
At its heart, Photoshop lets you stack changes on top of your original image rather than baking them in permanently. Each change can live on its own layer, and each layer can be turned off, dialled back or deleted later. This is the single most important idea for beginners. When you work this way, no edit is ever final, so you can experiment freely without fear of ruining the photo.
Think of your original image as the bottom of a stack. Above it you add layers that adjust brightness, colour, contrast and sharpness, plus separate layers for cleaning up blemishes or distractions. The final picture is simply everything in the stack viewed from the top down.
The Building Blocks You Need to Know
Before touching a single slider, get comfortable with four ideas. They do most of the heavy lifting in any edit.
- Layers: stacked elements that build your final image. Keep your original untouched at the bottom.
- Adjustment layers: special layers that change tone or colour without altering pixels directly. They are the safest way to brighten, add contrast or shift colour.
- Layer masks: black-and-white attachments that control where a layer shows. White reveals, black hides, grey partly hides. Masks let you apply an edit to only the sky, only a face or only one corner.
- Healing and cloning: tools that sample good pixels and paint them over unwanted ones, useful for dust spots, stray hairs or blemishes.
Master these four and you can accomplish the vast majority of everyday edits.
A Sensible Step by Step Order
Editing feels chaotic when you jump around randomly. A repeatable order keeps you calm and consistent.
- Start in raw if you can. If you shot raw, open the file in the raw editor first. Set white balance, recover highlights and lift shadows here, because raw holds far more detail than a compressed file. This alone fixes many problems before Photoshop proper.
- Duplicate your base. Once inside, copy your original layer so you always have a clean fallback.
- Fix global tone. Add an adjustment layer for exposure and contrast. Aim for a balanced image where highlights are not blown out and shadows still show detail.
- Correct colour. Use a separate adjustment layer to neutralise any colour cast and set your overall mood. Small moves usually look best.
- Retouch locally. On a new layer, clean up distractions with healing and cloning. Work zoomed in and take your time.
- Refine with masks. Brighten a face, calm a bright background or add contrast to one area by masking your adjustment layers.
- Sharpen last. Apply sharpening at the very end, sized for how the photo will be used.
When to Use Photoshop Over a Simpler Editor
Photoshop shines when an image needs work that sliders alone cannot handle. Reach for it when you need to remove a large object, combine several exposures, swap a dull sky, or retouch a portrait with real precision. For quick tonal and colour tidying across many photos, a library-style editor such as Lightroom is often faster. Many photographers use both: broad edits in Lightroom, then detailed surgery in Photoshop.
Choosing Your Approach
| Situation | Best home for the edit | Why |
|---|---|---|
| Batch of holiday snaps | Library-style editor | Fast, consistent, easy to sync settings |
| Portrait needing skin work | Photoshop | Precise healing and local control |
| Removing a bin or wire | Photoshop | Cloning and content-aware fills |
| Setting white balance on raw | Raw editor first | Most recoverable detail lives here |
| Simple crop and brighten | Either | Both do this well; pick the quicker one |
Common Mistakes That Trip People Up
Even keen learners fall into the same traps. Watch for these.
Editing destructively
If you drag sliders directly on the original layer, you cannot undo cleanly later. Always prefer adjustment layers and duplicated layers so your original stays safe.
Overcooking the image
New editors often push contrast, saturation and sharpening far too hard because big changes feel productive. Step back from the screen, or view the before and after side by side. Restraint almost always reads as more professional.
Ignoring masks
Applying an edit to the whole frame when you only wanted to change one part leads to a heavy, artificial look. A quick mask keeps changes exactly where you want them.
Sharpening too early
Sharpen before resizing and you may end up with crunchy edges or halos. Leave it to the end, once you know the final size.
Forgetting the histogram
The histogram is your honest guide to exposure. If it is bunched hard against either edge, you are losing detail. Learning to read it saves you from guessing.
Building Good Habits
Speed comes from routine, not from knowing every menu. Save a simple layered file as you go so you can return and adjust. Rename your layers so future you knows what each one does. Keep a light hand, check your work at full size, and export a copy sized correctly for its final home, whether that is a print or a web gallery.
Above all, remember that learning how to edit photos in Photoshop is a skill you build one image at a time. Your first edits will feel slow and clumsy, and that is completely normal. Within a few dozen photos the order becomes second nature, and you will start seeing the small tweaks that lift an ordinary shot into a memorable one.
Be patient with yourself, keep your original safe, and enjoy the process. Every photographer you admire started exactly where you are now.
Explore more: Photo editing basics for beginners · How to retouch portraits in Singapore · How to read the histogram