
There has never been a better time to make music in your own bedroom. What once demanded an expensive studio and a room full of specialists now fits on a desk, and home recording has become one of the friendliest, most rewarding hobbies you can pick up. If you have a laptop, a quiet corner, and a song idea humming in your head, you already have most of what you need to begin.
Home recording simply means capturing and shaping audio in a domestic space rather than a commercial studio. In a compact flat, that might be a spare bedroom, a corner of the living room, or a wardrobe lined with soft clothes. This guide walks you through what the essential gear types do, how the software fits together, and the simple steps that take you from a bare idea to a finished track, all without breaking the bank or needing a degree in engineering.
What You Actually Need to Start
The biggest myth about home recording is that you must spend a fortune before you can press record. In truth, a modest, well chosen setup will carry you a long way, and you can add pieces as your ears and ambitions grow. Here is what the core kit does, described by type so you can shop sensibly at any music shop or online marketplace.
- A computer. Almost any recent laptop or desktop will run recording software. It is the heart of a modern home studio.
- A digital audio workstation, or DAW. This is the software where you record, arrange, edit, and mix. Several capable options are free, and most paid ones offer a trial.
- An audio interface. This small box connects microphones and instruments to your computer and converts sound into digital audio. Entry level interfaces with one or two inputs suit most beginners.
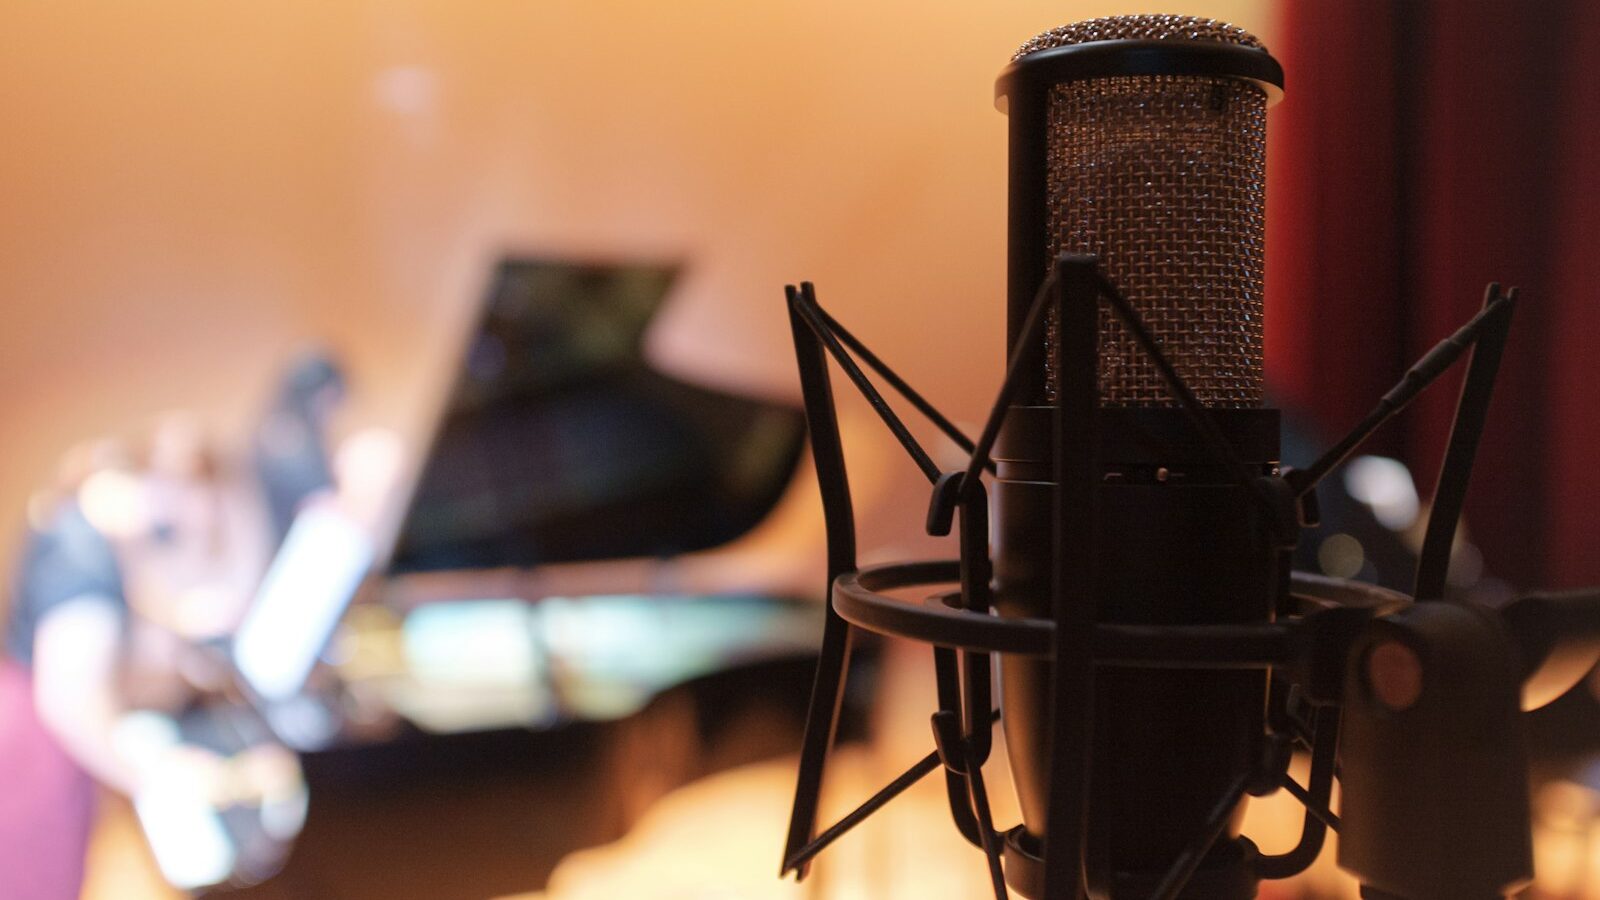
- A microphone. A large diaphragm condenser type is a versatile all rounder for vocals and acoustic instruments, while a dynamic type is more forgiving in noisy or untreated rooms.
- Headphones. Closed back headphones let you record without sound leaking into the mic. A cheap pair is fine to begin with.
- Cables and a stand. A microphone cable and a simple stand round out the basics.
You do not need studio monitors, outboard gear, or a soundproofed room on day one. Start lean, learn the workflow, and upgrade only when a real limitation shows itself. Many wonderful tracks have been made on the humblest of setups.
Setting Up Your Space at Home
Living in a flat brings a particular challenge, which is that your neighbours are close and your rooms are rarely designed for sound. The good news is that a few free or low cost tweaks make an enormous difference, and none of them require construction.
Choose the quietest room you can, ideally away from the corridor, the lift lobby, and busy roads. Record at times when the block is calm, and switch off the air conditioner or fan during takes, since their hum is surprisingly loud to a sensitive mic. Soft furnishings are your friends. Curtains, a rug, cushions, and a wardrobe of clothes all absorb reflections that would otherwise make a recording sound boxy or hollow.
For vocals, recording into a corner draped with a thick blanket, or hanging a duvet behind you, tames echo cheaply. If budget allows later, purpose made acoustic panels help, but they are a refinement rather than a requirement. Be considerate about volume and hours out of respect for the people around you, and keep an eye on noise so that a late night burst of inspiration does not disturb the whole floor.
Choosing Software and Learning the Ropes
Your DAW is where the real fun happens, and the choice can feel overwhelming until you realise they mostly do the same core things. Some are free and generous, some come bundled with an interface, and others are paid tools aimed at particular styles such as beat making or full band production. Pick one and commit, because the fastest way to improve is to learn a single tool deeply rather than hopping between many.
Beginners often wonder whether to lean on a laptop and software alone or to bring in outboard hardware. The table below lays out the trade offs so you can decide what suits your music and your wallet.
| Approach | Best for | Cost to start | Learning curve | Flexibility |
|---|---|---|---|---|
| Software only (DAW plus plug-ins) | Beat makers, songwriters, electronic music | Low, many free options | Gentle | Very high, everything is virtual |
| Hybrid (DAW plus a small interface and mic) | Singers, guitarists, podcasters | Moderate | Moderate | High, records real performances |
| Mostly hardware (mixer, outboard gear) | Live bands, hands-on tinkerers | Higher | Steeper | Tactile but less portable |
Whichever route you take, invest your first weeks in the fundamentals. Learn how to create a track, set your input levels so the signal is healthy but never clipping, record a take, and play it back. Free tutorials abound online, and local community centres and arts schools sometimes run short production courses if you prefer learning in a room with others.
Recording, Editing and Mixing Your First Track
With your space ready and your software chosen, it is time to make something. Work in small, satisfying stages rather than trying to master everything at once.
- Capture a guide. Record a rough version of the song, perhaps just voice and one instrument, so you have a map to build on.
- Lay down the parts. Record each element in turn, listening back and redoing takes until they feel right. Do not chase perfection on the first pass.
- Edit. Trim silences, line up timing, and comp your best moments together. This tidying stage quietly lifts the whole recording.
- Mix. Balance the volumes so nothing buries anything else, then use gentle tools like equalisation and reverb to add clarity and space. Restraint beats piling on effects.
- Export. Bounce the finished mix to a shareable audio file, and listen on a few devices, such as earbuds, phone speakers, and headphones, to check it holds up.
Your first tracks will not sound like the charts, and that is completely normal. Every producer you admire once made rough, wobbly recordings in a small room. The skill grows with each song, so finish things, share them with friends, and move on to the next idea rather than polishing one track forever.
Growing as a Home Recordist
Once the basics click, home recording opens onto a lifetime of learning. You might collaborate with singers and players, score short videos, produce podcasts, or build entire arrangements from virtual instruments. Singapore has a lively community of bedroom producers who swap tips online and at meetups, and plugging into that scene accelerates your progress and keeps the hobby social.
Upgrade thoughtfully, adding a better microphone or a pair of monitors only when your ears clearly ask for it. Keep backing up your projects, keep your setup tidy, and keep making things. The joy of home recording is that the barrier to entry is low and the ceiling is endless. Start small, stay curious, and enjoy the quiet thrill of hearing your own ideas played back for the very first time.
Explore more
Once you can record, you will want fresh material, so try our guide to how to write a song. If you dream of making noise with others, how to start a band in Singapore shows you the way. And to see where local bedroom producers thrive, dip into Singapore’s indie music scene.
Related across Sky Media: Home Recording for Beginners · Getting Started With Home Music Production