
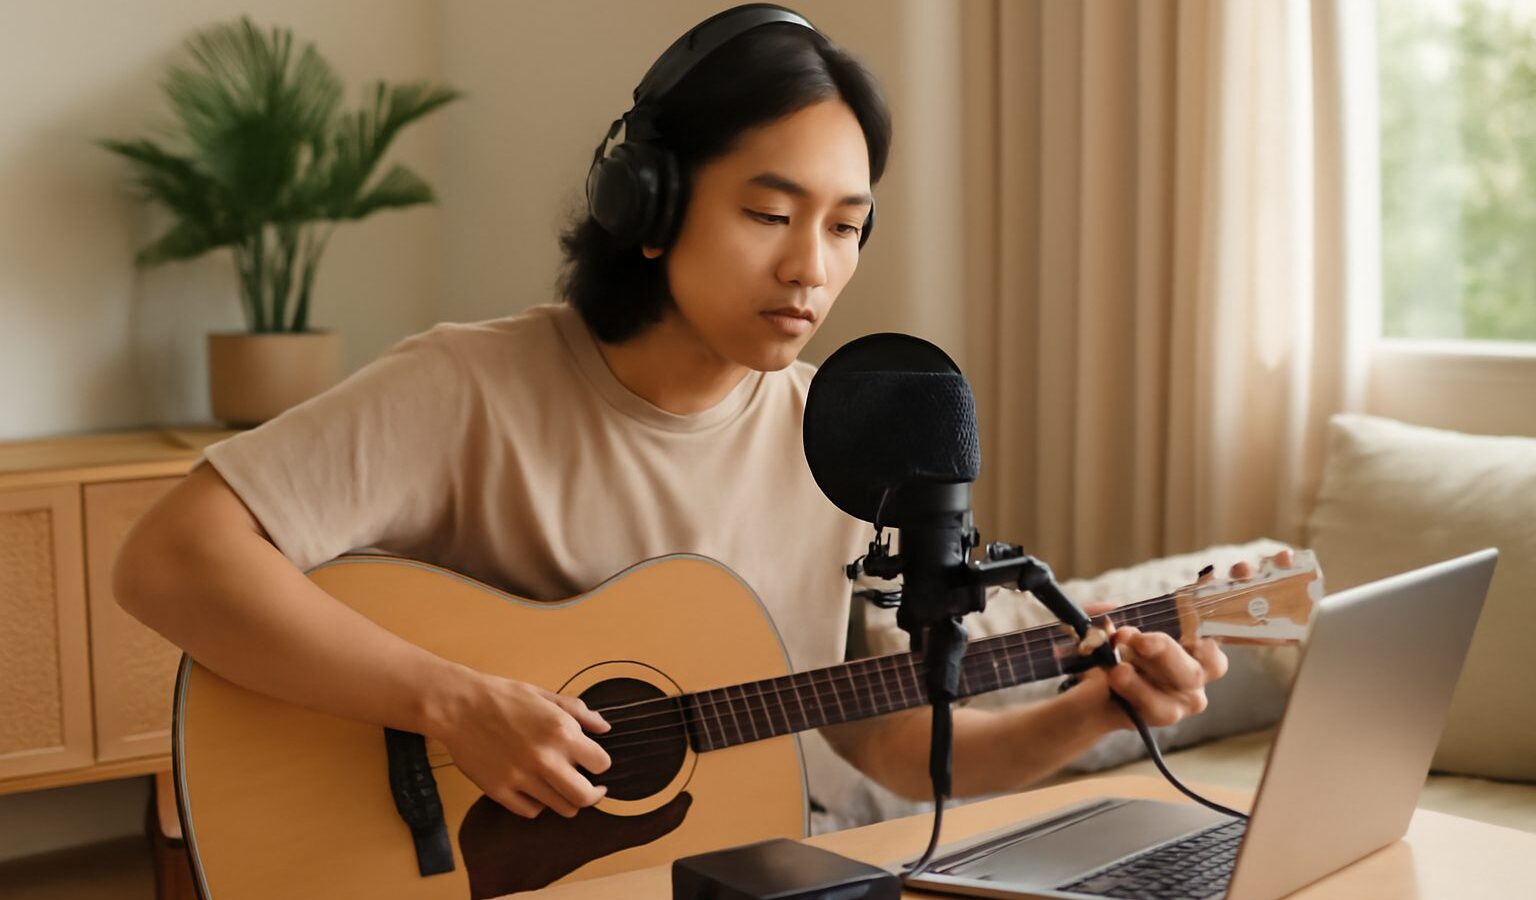
Not so long ago, recording your own music meant booking hours in an expensive studio. Today, home recording puts a capable studio inside a spare corner of your flat, and the barrier to entry has never been lower. If you can sing into your phone, you already understand the basic idea. This guide walks a complete newcomer through the gear, the software and the first steps, without jargon or pressure to spend a fortune.
What Home Recording Actually Involves
Home recording simply means capturing sound, whether that is a voice, a guitar or a full arrangement, using equipment in your own home rather than a commercial studio. The finished result might be a rough demo to share with friends, a polished song for streaming platforms, a podcast, or a cover you post online.
At its heart, the process has three stages. First you record, capturing each sound as a digital file. Then you edit and arrange, tidying up takes and stacking parts on top of each other. Finally you mix, balancing the volumes and tones so everything sits together nicely. You do all of this inside a piece of software called a DAW, short for digital audio workstation, which acts as your recording desk, tape machine and mixing board rolled into one.
You will meet a few more terms early on, and they are gentler than they sound. A track is a single lane in your software, one for the vocal, one for the guitar, and so on. A take is one attempt at a performance. Latency is the tiny delay between playing a note and hearing it back through your computer, which good settings keep to a minimum. Pick these up as you go rather than trying to memorise them.
The Gear You Genuinely Need to Start
The honest truth is that you can begin with almost nothing and add pieces only when a real need appears. Resist the urge to buy a pile of equipment before you have recorded a single note. Here is a sensible order of priorities for a beginner.
- A computer or laptop. Most machines from the last few years are more than capable. This is your studio’s engine.
- A DAW. Several respectable options are free, and the paid ones are far cheaper than they once were. Start free and upgrade only if you outgrow it.
- Headphones. Closed-back headphones, which seal around the ear, stop the sound leaking back into your microphone while you record.
- An audio interface. This small box connects a proper microphone or instrument to your computer and converts the sound cleanly. It is the single upgrade that lifts your quality the most.
- A microphone. A budget dynamic mic is forgiving in an untreated room, while a condenser mic captures more detail but also more background noise.
You do not need all of this on day one. A phone or a laptop’s built-in microphone is perfectly fine for testing the waters and learning your software. When you are ready to sound better, the interface and microphone are where your money makes the biggest difference. For the details, see our guides on choosing an audio interface and choosing a microphone for recording.
Choosing Your Software
Your DAW is where you will spend most of your time, so it is worth picking one that feels comfortable rather than one that boasts the longest feature list. Free DAWs are genuinely good now, and one usually comes bundled with a new audio interface. The best choice for a beginner is the one you will actually open and use.
Do not agonise over this decision. The core skills, recording a take, editing it and adjusting its volume, transfer between almost every program. Once you can do those three things confidently, moving to another DAW later is straightforward. Our overview of understanding DAWs and music software compares the common types in plain language, and if you lean towards electronic styles, making beats and electronic music is a friendly next step.
The table below sorts the common starting points by budget and situation, so you can match one to where you are right now.
| Starting point | Rough cost | Best for | Worth knowing |
|---|---|---|---|
| Phone plus free app | Free | Testing ideas, quick voice memos | Limited control and quality |
| Laptop plus free DAW | Free | Learning the software properly | Built-in mic is only passable |
| Laptop, DAW and interface | A one-off purchase | Clear, usable recordings | You add a microphone separately |
| Full beginner setup | A larger one-off outlay | Songs ready to share online | Only worth it once you are committed |
Recording in a Real Home
Your room shapes your sound more than most beginners expect. A bare, echoey space with hard walls and floors bounces sound around and makes recordings feel distant and hollow. The fix costs little. Soft furnishings absorb reflections, so recording in a room with a bed, a sofa, curtains and a full wardrobe already helps enormously. Many people get their cleanest vocals by recording inside a wardrobe, surrounded by hanging clothes.
Background noise is the other everyday challenge, and Singapore living brings its own. Air-conditioning hums, ceiling fans whir, traffic drifts up from the road and a neighbour’s renovation can arrive without warning. Record at quieter times, switch off the aircon and fan for short takes, and point your microphone away from windows and doors. A dynamic microphone, which mainly picks up whatever is close in front of it, is far kinder in a noisy flat than a sensitive condenser.
Because most of us record in shared HDB homes, keep your monitoring on headphones rather than speakers, and be considerate about volume and timing so you are not disturbing family or neighbours late at night. If you are setting up something more permanent, our dedicated guide to setting up a home studio in an HDB flat covers the practicalities in depth.
Your First Recording, Step by Step
The best way to learn is to make something small and finish it. Do not wait until you own better gear or feel more ready. Follow these steps and you will have a real recording today.
- Install your DAW and plug in. Connect your interface or, for now, use the built-in microphone. Put on your headphones.
- Set your levels. Speak or play at your loudest and adjust the input so the meter sits comfortably below the top. This avoids clipping, the harsh distortion that happens when a signal is too loud.
- Record one take. Create a track, press record, and perform. Do not chase perfection on the first pass.
- Do a few more takes. Keep the best one, or combine the best moments from several.
- Add another part. Layer a harmony, a second instrument or a simple beat on a new track.
- Save often and back up. Losing a project to a crash is a rite of passage best avoided.
Once you can capture clean takes, the next craft is blending them. Our beginner walkthrough of mixing basics for beginners shows how to balance volumes and add gentle polish, and recording vocals at home digs into the trickiest source of all, the human voice.
Growing From Here
Home recording rewards patience far more than spending. Your ears improve with every project, and skill outpaces gear surprisingly quickly. Record often, listen back critically but kindly, and copy the sounds you love until you understand how they are made. Keep your equipment away from direct humidity and store microphones with a little silica gel, since Singapore’s damp air is hard on electronics over time.
When you have a song you are proud of, you can share it with the world. Our guide to releasing your music online explains how, and because any release raises questions of ownership, music copyright and royalties explained covers the basics of doing it properly. Start small, finish things, and let each recording teach you the next.
Explore more
Ready for the next step? Improve your capture chain with choosing an audio interface and choosing a microphone for recording, then get to grips with your software through understanding DAWs and music software. When your takes are clean, learn to blend them with mixing basics for beginners, and when a song is ready, read releasing your music online.