
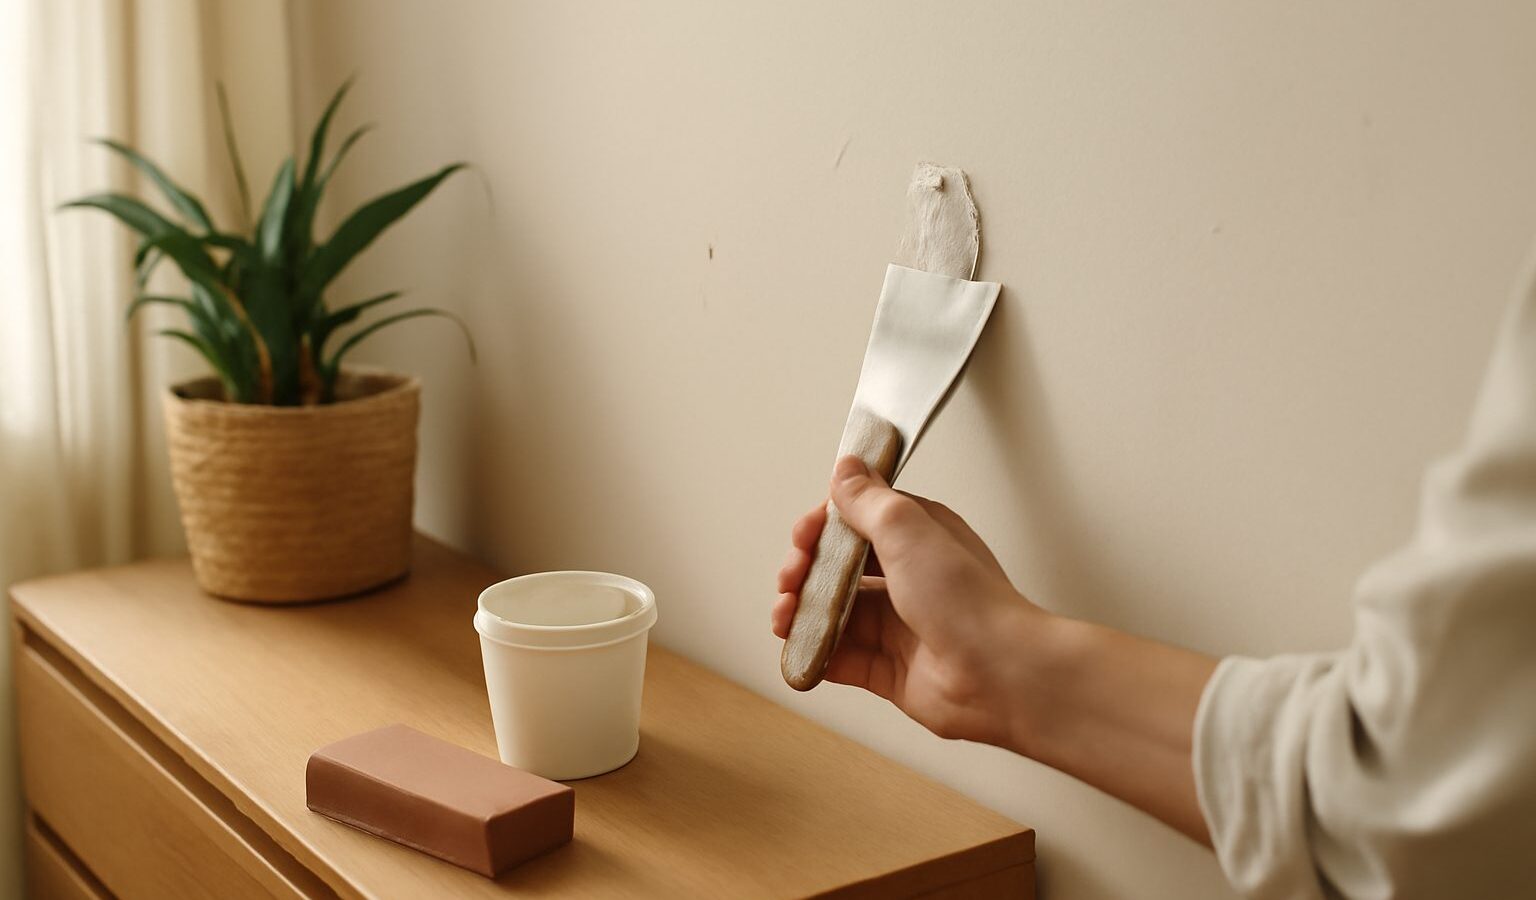
A fresh coat of paint can only ever look as good as the wall underneath it. Old nail holes, hairline cracks, dents from moved furniture and lumpy patches all show through the finish, especially in the flat, unforgiving light of an HDB corridor or a bright afternoon window. That is why filling and sanding walls is the step that separates a tidy, professional-looking job from an amateur one. It is not glamorous work, but it is easy to learn, needs only a few cheap tools, and rewards patience more than skill.
This guide is written for total beginners and renters. You do not need any special training to fill a few holes and smooth them off. Give yourself an unhurried afternoon, work in good light, and remember the golden rule: it is far easier to fix a wall before you paint than to hide a bad patch afterwards.
What You Will Need
You can buy everything for this job at any local hardware shop or DIY store. Ask generically for wall filler and sandpaper if you are unsure; the staff will point you to the right shelf.
- Wall filler, sometimes called spackle or filler paste. Ready-mixed tubs are the easiest for beginners because there is no mixing. A small tub goes a long way for typical holes.
- A filling knife or putty knife, a flat blade for pressing filler into holes and scraping it flush. A flexible blade is more forgiving than a stiff one.
- Sandpaper in a couple of grades. A coarser grit (around 80 to 120) knocks down the bulk, and a finer grit (around 180 to 240) smooths the surface. The lower the number, the rougher the paper.
- A sanding block or a scrap of flat timber to wrap the paper around, so you sand evenly instead of digging grooves with your fingertips.
- A dust mask, plus safety glasses. Sanding filler throws up a fine powder you should not breathe in.
- A damp cloth or sponge, a bucket, and an old bedsheet or newspaper to catch the mess.
That is the whole kit. Nothing here is expensive, and most of it lasts for years.
Preparing the Surface First
Filler sticks properly only to a clean, sound wall, so a little prep saves you grief later. Start by clearing the area and laying down your dust sheet, because filler dust and drips travel further than you expect in a small flat.
Run your putty knife lightly over each hole or crack to scrape away loose bits, flaking paint and dust. If the edges of a hole are ragged or crumbling, scrape them back until you reach firm material. For a hairline crack, it helps to widen it very slightly into a shallow V shape so the filler has something to grip, rather than sitting on top of a thin line. Wipe the area with a damp cloth and let it dry.
Two Singapore-specific warnings are worth heeding. First, never fill over damp or mouldy patches. Our humidity means walls near bathrooms, kitchens and external corners can hold moisture, and filler applied over damp will simply crack or fall out. Track down and fix the source of the damp first. Second, before you dig into any wall, be mindful of what might be behind it. Do not gouge deeply near switches, sockets or wet walls, where concealed wiring or pipes could run.
Filling Holes and Cracks Step by Step
With the wall clean and dry, filling is straightforward. Work in a steady sequence and resist the urge to rush.
- Scoop a small amount of filler onto the edge of your putty knife.
- Press it firmly into the hole at an angle, pushing the filler in rather than smearing it over the top. You want it packed in, with no air pockets.
- Draw the blade across the hole to scrape the surface flush with the wall. Hold the knife almost flat and use one smooth pass where you can.
- For deep holes, fill in two or three thin layers rather than one thick blob. Let each layer dry before adding the next, or the outside will set while the inside stays soft and later sinks.
- Leave the filler very slightly proud of the surface, because it tends to shrink a little as it dries. You will sand the excess back flat.
Drying time depends on the product, the depth of the fill and the weather. In humid Singapore conditions, filler often takes longer to dry than the tub suggests, so be generous with your waiting. The filler should look uniform in colour, feel hard and no longer feel cool or damp to the touch before you sand it. If in doubt, wait another hour.
Sanding Back to Smooth
Sanding is where the wall actually becomes smooth, so take your time and keep the light shining across the surface at an angle to reveal bumps and hollows.
Wear your dust mask and safety glasses for this part, and open a window or door for ventilation. Wrap your coarser sandpaper around the sanding block and rub the filled area using light, circular or back-and-forth strokes. The aim is to bring the filler down level with the surrounding wall, not to scrub a crater into it. Feather the edges outward so the repair blends into the wall with no visible ridge. Then switch to the finer grit for a final smoothing pass.
Run the flat of your clean hand over the patch with your eyes closed; your fingertips will feel ridges your eyes miss. If a patch has sunk below the surface, that is normal, especially on deeper fills. Simply apply a second thin layer of filler, let it dry, and sand again. A good patch often takes two goes. When you are done, wipe away every trace of dust with a slightly damp cloth and let the wall dry, because paint will not bond well to a dusty surface.
Here is a quick guide to matching the sanding grit to the job.
| Situation | Grit to reach for | What it does | Watch out for |
|---|---|---|---|
| Knocking down a proud, dried patch | Coarse, around 80 to 120 | Removes excess filler fast | Easy to oversand, go gently |
| Blending the patch into the wall | Medium, around 150 to 180 | Feathers the edges smooth | Keep the block moving |
| Final pass before painting | Fine, around 220 to 240 | Leaves a paint-ready surface | Do not skip; it removes fine scratches |
Common Mistakes and When to Call a Pro
A few habits trip up beginners. Overfilling and then sanding for ages is harder than filling neatly in the first place, so aim for tidy, packed fills. Sanding before the filler is fully dry just tears it out again. Skipping the dust wipe leaves a gritty surface that shows through paint. And painting over a patch without spot-priming it can leave a dull, patchy sheen, so a dab of primer on bare filler is a smart habit before your topcoat.
Most filling and sanding is well within a beginner’s reach, but know your limits. Large areas of crumbling plaster, walls that keep cracking in the same spot, persistent damp, or any hollow-sounding, bulging section point to a deeper problem that a qualified contractor should assess. If you rent, get your landlord’s permission before making repairs, and stick to filler colours and finishes that match the existing wall. For structural walls, never chisel or hack; that is strictly professional territory and, in HDB flats, subject to renovation rules.
Done patiently, this humble step pays off the moment you roll on the paint and see a flat, even, professional finish staring back at you.
Explore more
- /how-to-paint-a-room-like-a-pro
- /prepping-and-priming-walls-before-painting
- /fixing-peeling-or-flaking-paint
- /touching-up-and-patching-wall-paint