
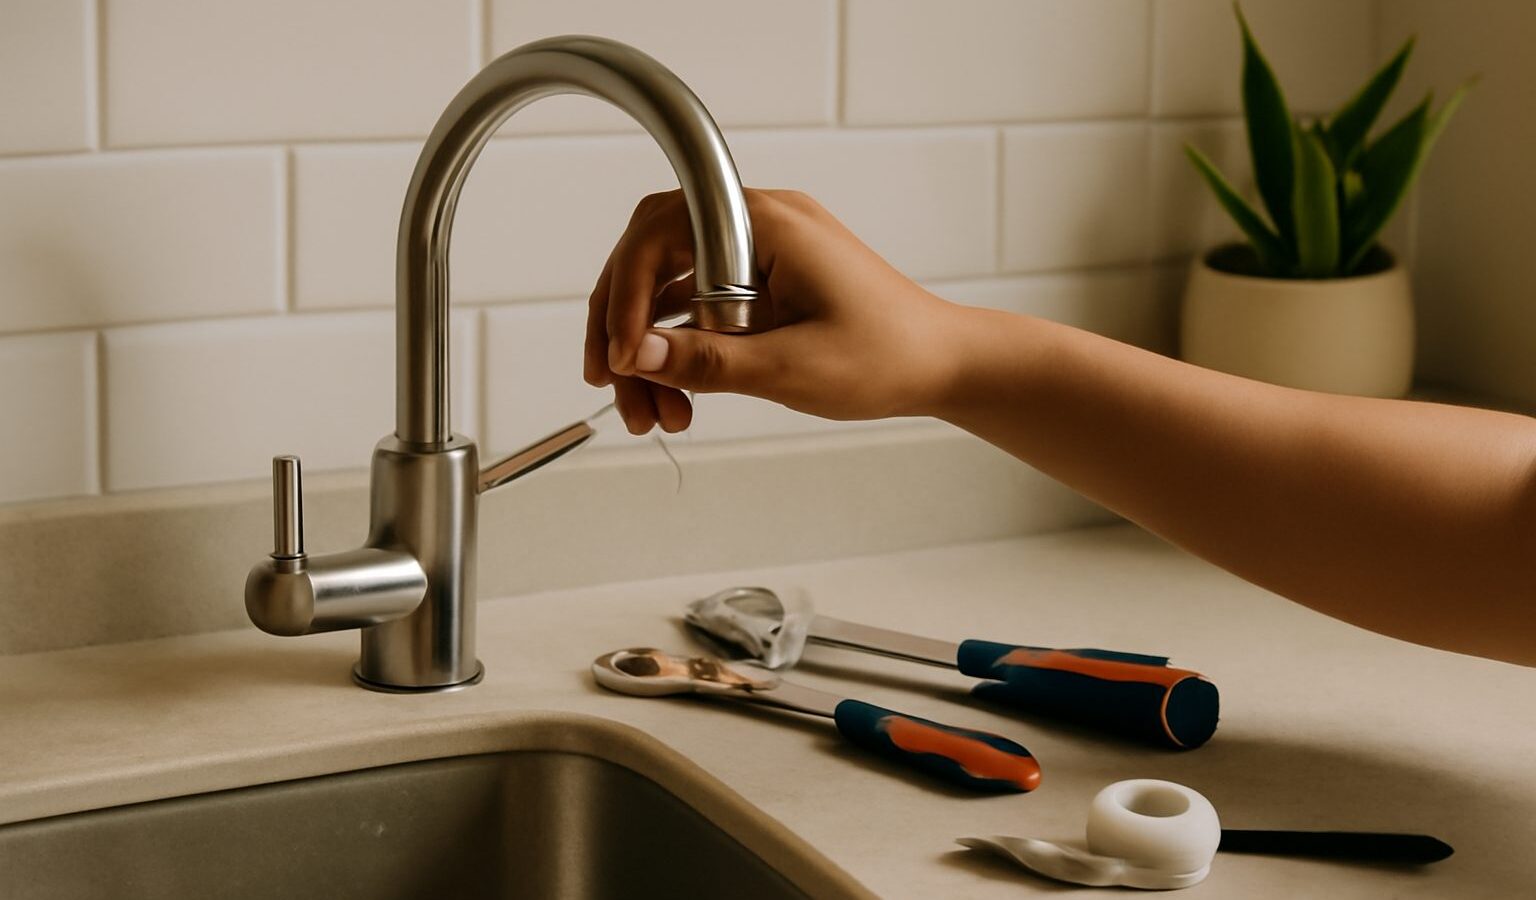
A tap that drips through the night is more than an annoyance. It wastes water, nudges up your utility bill, and the constant drip can stain a sink or leave a chalky ring in our hard, humid climate. The good news is that most home tap leaks are caused by a small worn part, and learning to fix a leaky tap is one of the friendliest jobs a total beginner can take on. If you can turn a spanner and follow a few careful steps, you can very likely sort this out yourself in under an hour.
This guide is written for HDB flats and condos in Singapore, using simple tools you can buy at any neighbourhood hardware shop. We will keep it safe, honest, and beginner friendly, and we will be clear about the point where you should stop and call in a licensed plumber.
Why Taps Drip in the First Place
A tap leak almost always comes down to a worn seal inside. Every time you turn a tap on and off, small parts press against each other to stop the flow. Over months and years, and faster in our warm, mineral-rich water, those parts wear out and let a trickle through.
The three most common culprits are:
- A worn washer. Older taps use a small rubber ring called a washer that presses down to seal the water. When it hardens or splits, the tap drips from the spout.
- A faulty cartridge. Most modern single-lever mixer taps use a cartridge, a self-contained control unit inside the body. When it wears, the tap drips or gets stiff to turn.
- A perished O-ring. This is a rubber ring that seals around the moving parts. A worn O-ring usually causes a leak around the base or handle rather than the spout.
Working out where the water appears from tells you which part to replace. A drip from the spout points to the washer or cartridge, while water seeping around the handle points to an O-ring.
Before You Start: Shut Off the Water Supply
This is the single most important step, so never skip it. Working on a tap with the water still live will leave you soaked and can cause real damage.
- Shut off the water supply first. Look under the sink for the small isolation valve on the pipe feeding the tap and turn it clockwise until it stops. If there is no isolation valve, close the main stopcock for the flat, usually near the kitchen or in the service duct.
- Open the tap to release any water and pressure left in the pipe. It should run dry within a few seconds.
- Plug the drain with a cloth or the sink stopper so small screws cannot vanish down the pipe.
- Lay a towel in the sink and around the base to protect the surface and catch drips.
Only once the water is confirmed off and the tap runs dry should you begin to take anything apart.
What You Will Need
You do not need a fancy kit. For most jobs, gather:
- An adjustable spanner and a set of screwdrivers (flat and cross-head)
- A replacement washer, cartridge, or O-ring to match your tap
- An old cloth and a small dish for parts
- A torch to see inside the tap body
- Optional: plumber’s grease and a pair of gloves
The trick with parts is matching. Taps vary, so the safest approach is to remove the worn part first, take it to the hardware shop, and buy a like-for-like replacement. Prices for these small parts are low, but they do change, so check the current cost when you buy.
Step by Step: Fixing the Drip
With the water off, work slowly and keep your parts in order so reassembly is easy.
- Remove the handle. Prise off the decorative cap on top with a flat screwdriver to reveal a screw, then undo it and lift the handle away.
- Open the tap body. Use the adjustable spanner to loosen the retaining nut. Turn gently and steadily rather than forcing it.
- Take out the worn part. Lift out the cartridge, or unscrew the valve to reach the washer at the bottom. Note the exact order and orientation of everything you remove.
- Replace like for like. Fit the new washer, cartridge, or O-ring. A dab of plumber’s grease on rubber seals helps them last in our humidity.
- Reassemble in reverse. Hand-tighten first, then nip up gently with the spanner. Do not overtighten, as that cracks seals and strips threads.
- Turn the water back on slowly and open the tap. Check for drips at the spout and around the base, then run it for a minute to be sure.
If the drip has stopped, well done. If it persists, the part may be the wrong size, or the seat inside the tap may be worn, which is a job better handed to a plumber.
Which Part Is Failing? A Quick Guide
Use this table to match the symptom to the likely fix before you buy anything.
| Symptom | Likely cause | Beginner fix | Difficulty |
|---|---|---|---|
| Steady drip from the spout | Worn washer or cartridge | Replace washer or cartridge | Easy |
| Leak around the handle or base | Perished O-ring | Replace the O-ring | Easy |
| Stiff or grinding single lever | Worn cartridge | Replace the cartridge | Easy to moderate |
| Damp inside the cabinet or pipe joint | Loose or failing pipe connection | Stop and call a plumber | Pro job |
When to Stop and Call a Licensed Plumber
DIY has clear limits, and knowing them keeps your home and your neighbours below dry. Stop and call a licensed plumber if:
- The leak is coming from the pipework or a joint under the sink rather than the tap itself.
- You find damp or dripping from concealed pipes behind or inside the wall.
- The tap connects to a water heater, or you are unsure about the hot-water side.
- The isolation valve or stopcock will not close, or you cannot stop the water.
- You have replaced the part and it still leaks, which can mean a worn valve seat.
For work involving concealed pipes, water heaters, or your incoming supply, use a licensed plumber as required by PUB. This is not the moment to improvise, since a burst concealed pipe can flood your flat and the units below.
Keeping Taps Drip Free
A little care makes seals last longer. Turn taps off gently rather than cranking them hard, as force is what wears washers out fastest. Wipe taps dry now and then to keep mineral scale from building up around the spout and handles in our humidity. If one tap has worn out, the others of the same age often follow within a year or two, so keep a spare washer or cartridge on hand.
Fixing a small leak the moment it starts saves water, money, and the bigger headache of a stain or a swollen cabinet later. Once you have done it once, you will wonder why you ever put up with that midnight drip.