
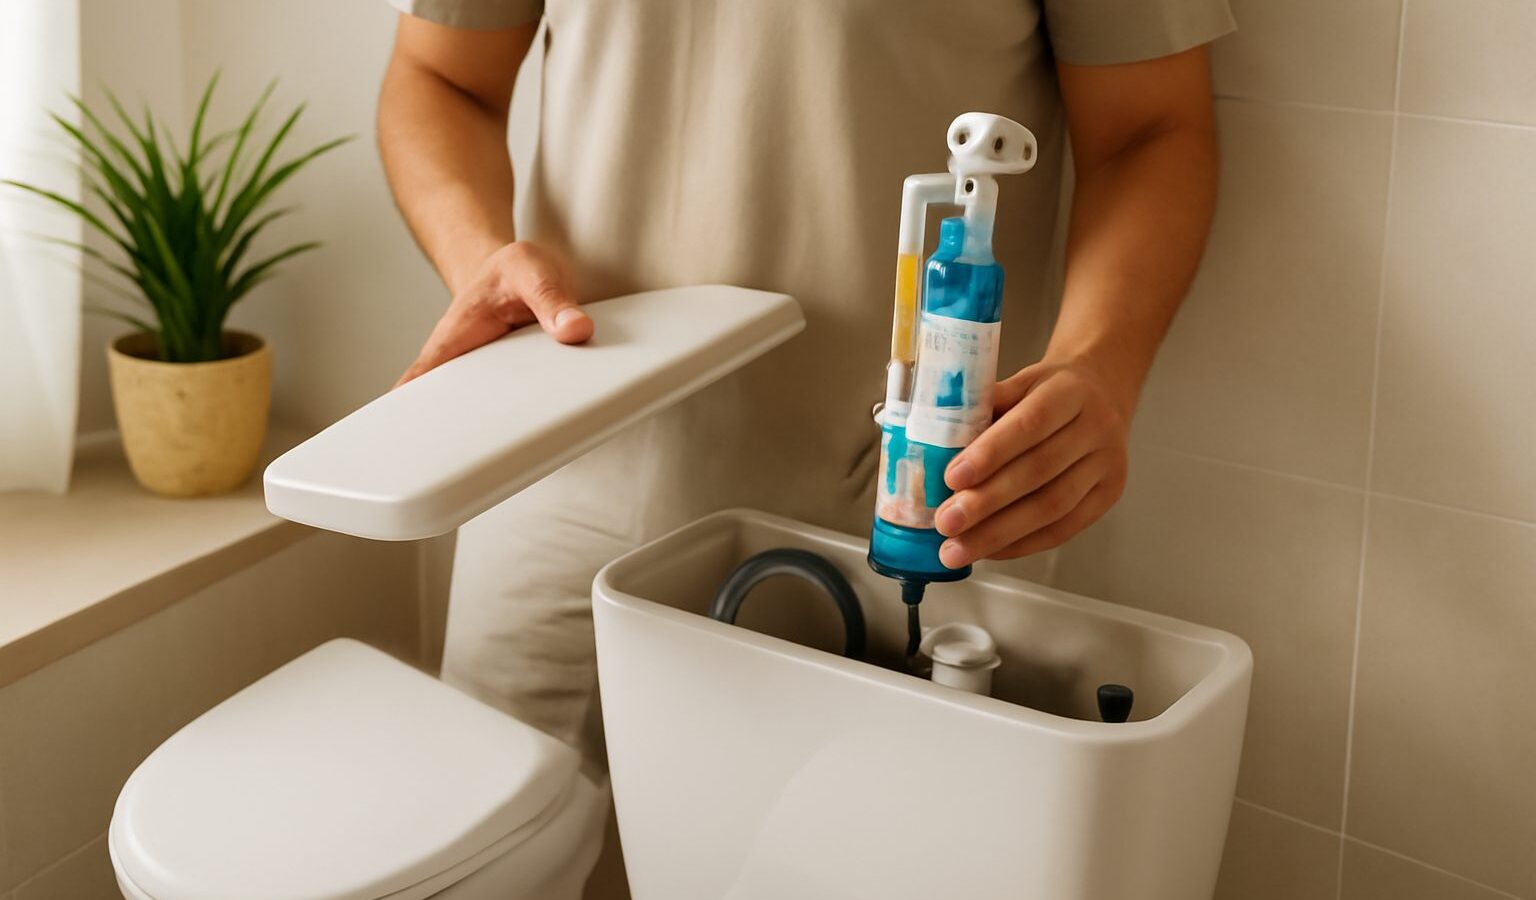
If your loo has stopped flushing properly, runs on and on, or the button feels spongy and useless, the culprit is usually the toilet flush mechanism inside the cistern. The good news is that replacing a toilet flush mechanism is one of the friendliest plumbing jobs a beginner can take on at home, and it rarely calls for more than a screwdriver, an adjustable spanner and half an hour of patience. This is a general guide for common HDB and condo toilets, not professional advice, so if anything looks unusual behind your wall, stop and call a licensed plumber.
What the Flush Mechanism Actually Does
The cistern is the tank of water that sits above or behind the bowl. Inside it are two main parts that do all the work. The fill valve (sometimes called the inlet valve) lets fresh water in and shuts off when the tank is full. The flush valve, which includes the flapper or the drop valve and the flush button, releases that water into the bowl when you press the button.
When flushing goes wrong, one of these is usually to blame. A weak or partial flush often means a worn flush valve seal. A cistern that keeps trickling or refilling points to a fill valve that will not close, or a flapper that no longer seats properly. A dead button that does nothing is often a snapped or dislodged push rod on a modern dual-flush unit. Knowing which part has failed saves you buying the wrong thing at the hardware shop.
Most flats here use one of two cistern styles. A close-coupled cistern sits openly on the back of the bowl and is the easy one to service yourself. A concealed cistern is hidden inside a false wall or vanity, with only the flush plate showing. Concealed cisterns and any pipework behind the wall are a job for a licensed plumber, because getting to them safely means opening up the wall.
Before You Start: Safety and Prep
The single most important step is to shut off the water supply first. Look for the small angle valve on the pipe feeding the cistern, usually low on the wall behind or beside the toilet, and turn it clockwise until it stops. If you cannot find one or it will not budge, close your flat’s main water stopcock instead. Never start unscrewing anything while the supply is live.
Once the water is off, flush the toilet to empty the tank, then mop out the last bit of water at the bottom with a sponge or old towel. Have a bucket handy to catch drips, and lay a cloth down to protect the floor.
A quick word on when to stop. This guide covers open, close-coupled cisterns only. If your cistern is concealed behind a wall, if you see corroded or aged pipes, or if water keeps seeping even with the valve closed, do not force anything. Call a PUB-licensed plumber. There is no shame in it, and it is far cheaper than fixing water damage to a downstairs neighbour’s ceiling.
Choosing the Right Replacement Part
Take the old part, or a clear photo of the whole cistern, to your local hardware shop or DIY store. Universal flush and fill valve kits are widely sold and adjust to fit most tanks, but you still want a close match for the button type and the tank size.
Here is a simple guide to what tends to go wrong and what to buy.
| Symptom | Likely faulty part | Usual fix |
|---|---|---|
| Water keeps running after flushing | Flush valve seal or flapper | Replace the flush valve or seal |
| Cistern never stops refilling | Fill valve not shutting | Replace the fill valve |
| Weak or partial flush | Worn flush valve, low water level | Replace valve or adjust water level |
| Button stuck or does nothing | Push rod or dual-flush unit | Replace the flush button assembly |
If two or more parts are old and brittle, it is often worth replacing the whole flush mechanism as a kit. The parts are inexpensive, and doing it once saves a repeat visit to the shop a month later. Match a dual-flush button to a dual-flush unit; the half and full flush is set by the mechanism, not just the plate you see.
Fitting the New Mechanism Step by Step
Work slowly and keep the old parts beside you as a reference until the new ones are in.
- With the water off and the tank empty, disconnect the water supply hose from the base of the fill valve using an adjustable spanner. Keep the bucket underneath.
- For a close-coupled cistern, undo the large plastic nut under the tank that holds the fill valve, then lift the old valve out. Do the same for the flush valve, which usually means loosening the button on top and the central nut below.
- Clean the openings with a cloth. Old sealant and mineral scale can stop new washers from seating, and Singapore’s hard-ish water leaves plenty of scale.
- Fit the new flush valve first, seating its rubber washer snugly and hand-tightening the nut, then a gentle quarter turn with the spanner. Do not overtighten plastic, or it will crack.
- Fit the new fill valve the same way and reconnect the water hose.
- Set the water level using the adjuster on the fill valve, aiming for the marked line inside the tank, usually a centimetre or two below the overflow.
- Reattach the flush button and check the push rods line up with the valve.
Turn the water back on slowly and let the tank fill. Watch for drips at every joint, then test a few flushes.
Testing, Common Snags and When to Call a Pro
Once refilled, flush several times and watch the tank empty and refill cleanly. Listen for any hissing or trickling after it settles, which means a valve is not fully closing. If water weeps from a joint, turn off the supply, and gently nip the nut a little tighter, but remember that overtightening cracks plastic and makes leaks worse.
If the flush is still weak, check the water level is high enough and that the flapper or drop valve lifts fully. If the button feels wrong, the push rods may need trimming or reseating per the kit instructions.
Call a licensed plumber if the leak is coming from the wall or floor rather than the cistern, if you have a concealed cistern, if the angle valve itself is dripping, or if you simply are not comfortable. Plumbing that stays behind walls is not a beginner job, and water damage in a dense block of flats spreads fast. Done on an open cistern, though, this is a satisfying repair that most people can manage on a quiet weekend morning.
Explore more
- /how-to-fix-a-running-toilet
- /how-to-fix-a-leaky-tap
- /patching-small-holes-and-cracks-in-walls