
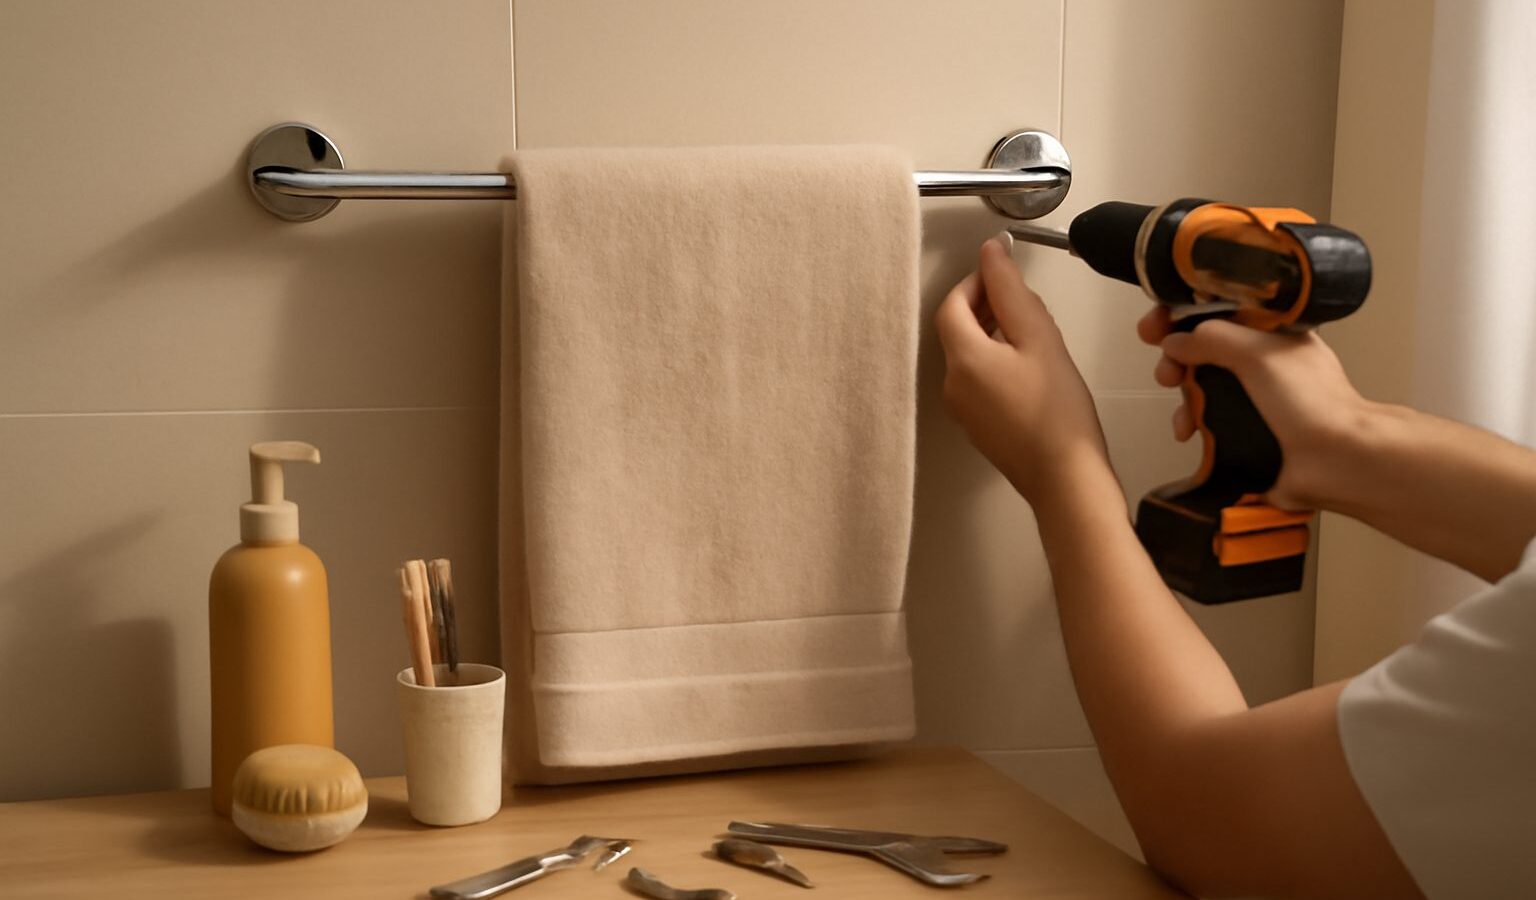
Installing a towel rail looks simple until the drill bit skids across a glazed tile or the whole fitting tears loose a week later. The difference between a rail that holds for years and one that fails is almost always the wall behind it and the fixing you choose. This guide walks you through reading your wall, drilling into tiles safely, and picking between drilled and adhesive fittings for a typical Singapore bathroom.
Know your wall before you drill
Most HDB and condominium bathrooms in Singapore have tiles bonded to a solid substrate. Behind the tile you will usually find one of three things, and each changes your approach.
- Solid masonry (concrete or brick): Common in older HDB flats and structural walls. Strong and reliable once you drill through the tile into the substrate.
- Rendered lightweight or hollow block: Found in some newer builds and non-structural partitions. It holds fixings but needs the right anchor.
- Hollow or dry partition: Less common in wet areas, but possible around vanity walls. Here you must locate studs or use special cavity anchors.
Tap along the wall with your knuckle. A dull, dense sound suggests solid masonry. A hollow, drum-like sound means a cavity behind the tile. If you are unsure, drill one small pilot hole in an inconspicuous spot and feel the resistance.
Tools and materials you will need
Gather everything before you start so you are not walking around a wet room with a drill.
- Cordless drill or a hammer drill with a hammer setting you can switch off
- Tile or masonry drill bits (a carbide or diamond-tipped bit for tiles)
- Masking tape, a pencil, and a spirit level
- Wall anchors and plugs suited to your wall type
- A vacuum or damp cloth to catch dust
- Safety glasses and a dust mask
Drilling into tiles safely
Glazed tiles are hard and slippery, which is exactly why bits wander. Slow down and control the bit and you will get a clean hole every time.
- Mark your hole positions, check them with a spirit level, then stick masking tape over each mark. The tape gives the bit something to grip so it does not skate.
- Start with the drill in a normal rotary setting, never hammer, while you are still going through the tile. Hammering can crack the glaze.
- Use light, steady pressure at a low speed. Let the bit do the work. Keep a little water or a damp sponge nearby to cool the bit if it heats up.
- Once you feel the bit break through the tile into the substrate behind, you can switch to hammer mode if you are into concrete. Stay in rotary mode for softer blocks.
- Vacuum the dust as you go and after, so grit does not scratch the tile or block the anchor.
Take particular care near tile edges and grout lines, where cracks spread easily. Aim for the centre of a tile rather than a corner.
Choosing the right anchor
The plug is what actually carries the load, so match it to your wall. Using wall anchors and plugs correctly is the single biggest factor in whether your rail stays put.
- Solid masonry: A standard expansion plug sized to your screw works well.
- Hollow block or thin render: Use a plug designed for hollow or lightweight walls that grips a wider area.
- True cavity or partition: Use a spring toggle or a metal cavity anchor that opens behind the board.
Never force a screw into a plug that is too small, and never leave a plug loose in an oversized hole. Both lead to a fitting that pulls out under a wet towel.
Drilled versus adhesive fittings
Many towel rails, hooks, and holders now come in adhesive versions, which tempt renters and anyone nervous about drilling. Each approach has a place.
| Factor | Drilled fitting | Adhesive fitting |
|---|---|---|
| Load capacity | High, holds heavy wet towels and bathrobes | Low to moderate, best for light items |
| Wall damage | Leaves holes needing repair | Minimal, though it can lift glaze or paint on removal |
| Suits tiles | Yes, with correct technique | Yes, needs a clean, smooth, dry tile |
| Renter friendly | Less so | More so |
| Longevity | Years when done well | Shorter, adhesive can weaken in humid, hot bathrooms |
| Reversibility | Difficult | Easier |
For a main towel rail that carries weight, a drilled fitting is the dependable choice. For a light hook or a temporary setup, quality adhesive mounts are reasonable, as long as you respect the weight limits printed on the packet.
Renters: keeping it removable
If you rent, you likely want to avoid holes or at least keep them easy to make good. A few practical options:
- Choose heavy-duty adhesive rails rated well above the weight you will hang.
- Use tension-fit rails that press between two walls with no fixings at all.
- If you do drill, keep the offcuts of grout or a colour-matched filler so you can patch neatly when you leave.
- Always check your tenancy agreement first. Some landlords are happy with small, well-repaired holes and others are not.
Installing the rail itself
With holes drilled and plugs seated, the finish line is close.
- Tap the plugs in flush with the tile surface.
- Hold the bracket up, insert the screws, and start them by hand so you do not cross-thread.
- Tighten firmly but stop before you feel the plug spinning or the tile straining. Overtightening cracks tiles.
- Check the rail is level, slide on any cover caps, and give it a gentle test pull before you trust it with a towel.
When to call a professional
Most towel rails are a confident weekend job. Consider hiring help if you hit any of these:
- You suspect concealed pipes or electrical conduit behind the wall.
- The tiles are old, brittle, or a costly imported finish you cannot easily replace.
- You need to mount something heavy such as a grab bar, where a failure has real safety consequences.
A grab bar or any support someone leans on deserves professional judgement on wall strength and fixing type. When in doubt, spend on advice rather than risk a fall.
A tidy finish that lasts
Installing a towel rail well comes down to patience: read the wall, protect the tile, choose the matching anchor, and do not overtighten. Get those right and your bathroom fittings will stay solid through years of steamy Singapore showers. Take your time, keep the space dry while you work, and enjoy a bathroom that feels finished and secure.
Explore more: How to hang things on HDB concrete walls · Using wall anchors and plugs correctly · When to DIY and when to hire a professional