
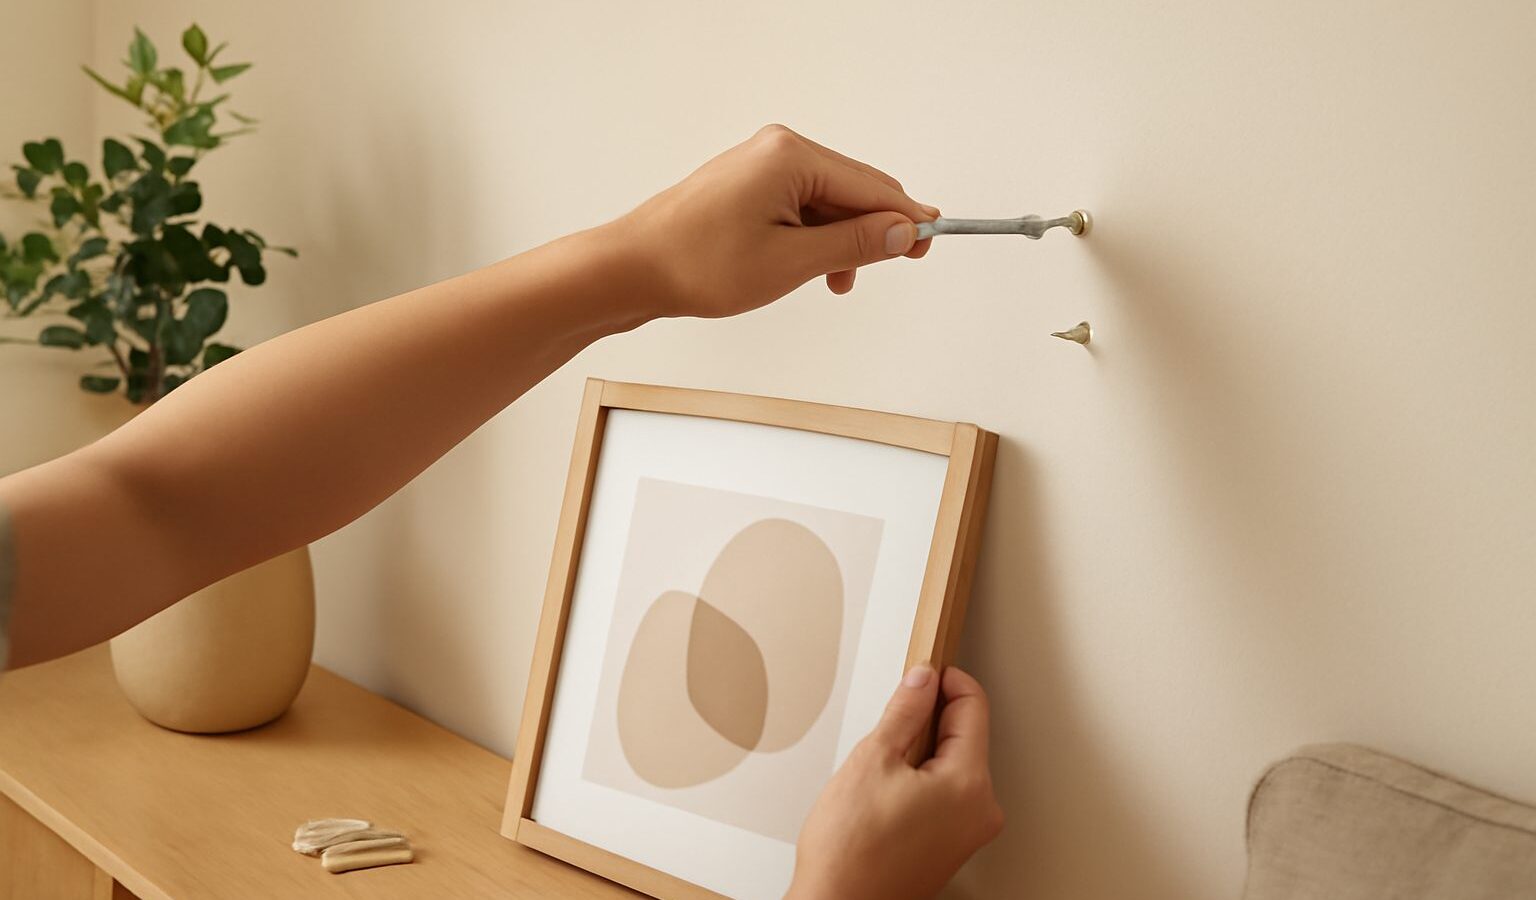
A screw driven straight into a hard wall will either refuse to bite or work loose within weeks, which is why almost every shelf, frame and rail in your home relies on wall anchors and plugs to hold fast. A wall plug is simply a small sleeve, usually plastic, that you push into a drilled hole so that a screw has something to grip. As you drive the screw in, the plug expands and presses hard against the sides of the hole, turning a loose screw into a firm fixing. Get the pairing right and a modest fixing will carry real weight for years. Get it wrong and things fall down, sometimes taking a chunk of wall with them.
This guide explains the common types plainly, how to match them to the wall you actually have in an HDB or condo flat, and the simple steps to fit them without damage. No jargon, no fabricated brand claims, just the method.
Know Your Wall First
Before you buy anything, work out what your wall is made of, because the wall decides the anchor. Most HDB and condo homes have hard, solid walls of concrete, reinforced concrete (RC) or dense brick and block, especially the structural ones. These are strong but tough to drill, and they need a masonry approach.
Some internal partition walls, and boxed-in areas around pipes, are hollow. These are often plasterboard, also called drywall or gypsum board, which is a thin panel with empty space behind it. A plug meant for solid concrete is useless here, because there is nothing solid for it to expand against.
A quick way to tell them apart is to tap the wall with a knuckle. A solid concrete wall feels dead and dull. A hollow partition sounds lighter and slightly drum-like. If you are still unsure, drill one small test hole in an inconspicuous spot: solid walls throw out fine grey dust and resist the bit, while plasterboard gives way easily and produces soft white powder.
One safety point that matters everywhere. Before you drill, check for hidden wiring and pipes. Avoid drilling directly above or below sockets and switches and steer clear of wet walls in kitchens and bathrooms, as cables and pipes often run in those lines. An inexpensive cable and pipe detector is a sensible buy, and if you have any doubt, stop and ask a professional.
The Common Types of Wall Anchors and Plugs
You do not need every product in the shop. A few types cover almost all household jobs, and local hardware shops and DIY stores stock them generically.
- Expansion wall plugs. The classic ribbed plastic sleeve for solid walls. Colour often hints at size, but always match the plug to the screw and drill bit rather than trusting colour alone. Ideal for concrete, RC and brick.
- Plasterboard plugs. Made for hollow partition walls. Self-drilling types screw straight in, while others need a small pilot hole. Fine for light loads like a small frame or a hook.
- Cavity or toggle anchors. For heavier loads on hollow walls, these open out or spread behind the board to spread the weight. Better than a basic plasterboard plug for a shelf or a mirror.
- Frame and hammer fixings. A plug and screw combined, tapped through the item into a solid wall in one go. Handy for fixing battens, frames and skirting to concrete.
For genuinely heavy items on solid walls, such as a large TV bracket, chemical or resin anchors and proper masonry bolts do the serious work, but that is often a job worth handing to a fitter.
Matching Plug, Screw and Drill Bit
The single most common mistake is mixing sizes that do not belong together. The plug, the screw and the drill bit are a set, and the packet usually states the correct combination. Follow it.
| Wall type | Suitable anchor | Drill bit needed | Typical use |
|---|---|---|---|
| Concrete or RC | Expansion plug, frame fixing | Masonry bit with hammer drill | Shelves, rails, TV brackets |
| Brick or block | Expansion plug | Masonry bit | Cabinets, heavy frames |
| Plasterboard (light) | Self-drilling plasterboard plug | Small bit or none | Small frames, hooks |
| Plasterboard (heavier) | Cavity or toggle anchor | Bit sized to the anchor | Mirrors, light shelves |
The hole must match the plug so the plug fits snugly, neither loose nor forced. The screw must be long enough to pass through whatever you are mounting, fully into the plug, plus a little to spare. If the hole ends up too big, do not pack it with tissue and hope; step up to the next plug size or a cavity anchor instead.
Fitting a Wall Plug Step by Step
With the right parts in hand, the method for a solid wall is straightforward. Wear eye protection, and a dust mask helps with fine concrete dust.
- Mark the spot. Measure, check it is level, and mark with a pencil. Confirm the area is clear of wiring and pipes.
- Choose the bit. Use a masonry bit that matches the plug diameter. Drilling concrete or RC needs a hammer drill or an impact drill on the hammer setting; an ordinary drill will struggle.
- Drill the hole. Keep the drill straight and steady, and drill slightly deeper than the plug’s length so it seats fully. Masking tape wrapped on the bit acts as a simple depth marker.
- Clear the dust. Blow or brush the dust out of the hole. A clean hole lets the plug seat properly and grip.
- Insert the plug. Push it in by hand until it sits flush with the wall surface. Tap gently with a hammer if it is stiff, but it should not need forcing.
- Drive the screw. Screw through your fixture into the plug until snug. The plug expands and locks. Stop when it is firm; overtightening can strip the plug or crack the wall face.
For plasterboard plugs, screw the plug into the board first (or into a small pilot hole), then drive your screw into the plug. For toggle anchors, follow the packet, as the folding or spreading mechanism varies by design.
Common Mistakes and When to Call a Pro
A few habits save a lot of grief. Never skip the plug on a solid wall and drive a bare screw in, as it will not hold. Do not overload a light plasterboard plug with a heavy shelf, and always spread heavy loads across two or more well-spaced fixings rather than trusting one. Respect the weight limits printed on the packet, since they are realistic and worth believing.
Renters, take note. Drilling is usually a permanent change, so get your landlord’s permission first, and for lighter items consider damage-free options such as adhesive hooks and strips instead. When you do drill, keep to HDB renovation rules and permitted hours, and never drill into structural or RC walls beyond simple fixings, and certainly never hack or chisel them.
Call a professional when the item is heavy or safety-critical, such as a large mounted TV, a heavy mirror over a bed, or anything a child could pull down. If a hole crumbles, if you keep hitting something hard and hidden, or if you suspect wiring or pipes, stop and get help. Used correctly, wall anchors and plugs are one of the most useful skills in home DIY, and a handful of practice holes on a spare wall will build your confidence quickly.