
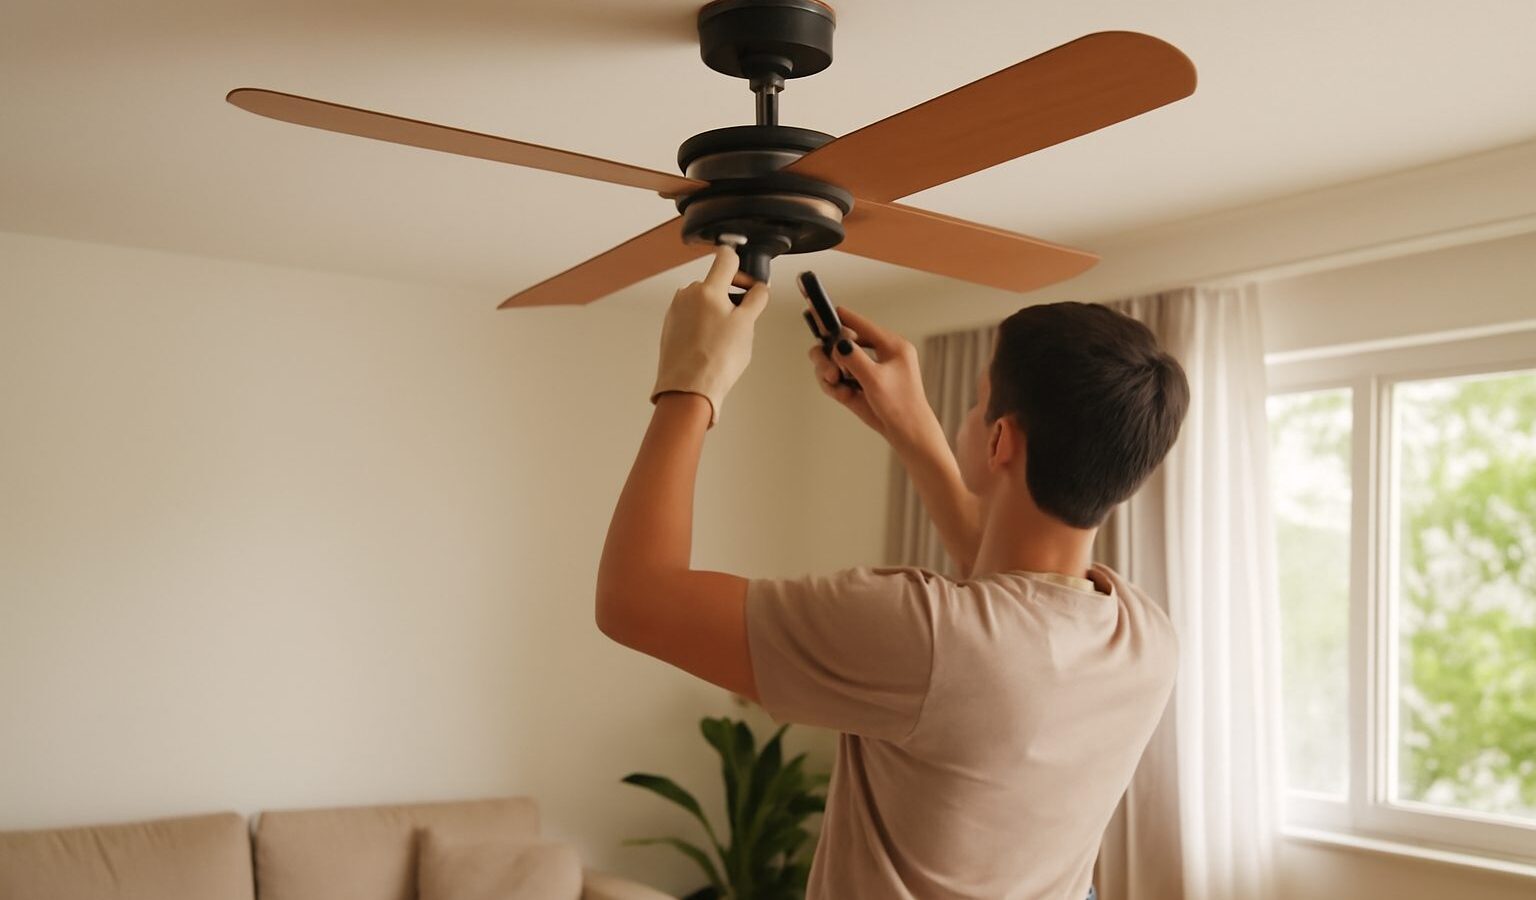
Installing a ceiling fan is one of the most popular home upgrades in Singapore, and for good reason, since a good fan cuts cooling costs and keeps rooms comfortable all year. It is important to be honest from the start, though. This is mains electrical work joined to a heavy fixture mounted overhead, and it is not a casual weekend DIY for most people. This guide explains what installing a ceiling fan really involves, what you can safely do yourself, and when the law and common sense say to hire a professional.
The safety reality you must read first
Please take this seriously before anything else.
- Mains electrical work in Singapore is regulated. Many electrical jobs legally require a Licensed Electrical Worker. Connecting a fan to your home wiring falls into work that should be done by a qualified, licensed person unless you genuinely have the competence and it is permitted.
- Always switch off the power at the mains. Turn off the relevant circuit at your distribution board and confirm the circuit is dead before anyone touches wiring. Do not rely on the wall switch alone.
- Ceiling mounting matters as much as wiring. A ceiling fan is heavy and spins fast. It must be fixed to a proper mounting point or a structural hook rated to carry it, never to a flimsy junction box or a plasterboard fixing that cannot hold the load and vibration.
- If you are unsure, stop. If the job involves new wiring, a new mounting point, or you are not fully confident, hire a qualified electrician. The cost of a professional is small next to the risk of electric shock or a fan coming down.
Do not present this as a simple plug and play task. It is not.
What you can reasonably prepare yourself
There is useful work you can do that does not involve live wiring.
- Choosing the right fan size for the room and ceiling height
- Reading the manufacturer instructions in full and checking the parts
- Clearing the room and setting up stable, safe access
- Confirming your ceiling has a suitable mounting point, or arranging for one
- Gathering the fan, brackets and fixings ready for your electrician
If your home already has a properly rated fan hook and existing fan wiring in place, some homeowners with real electrical competence do handle the swap. Even then, the same rules apply: power off at the mains, verify it is dead, and never guess at connections.
Tools typically involved
- A stable ladder or platform, with a helper to pass parts and steady it
- A voltage tester to confirm the circuit is dead
- A screwdriver set and spanners
- The manufacturer mounting bracket and fixings
- The fan assembly and its instructions
A basic home toolkit covers most hand tools, and if you are drilling any fixings, do it the safe way rather than rushing.
The general sequence for a competent installer
This is an overview so you understand the job, not a licence to attempt live work without the right skills.
- Switch off the circuit at the mains and confirm it is dead with a tester.
- Fit or verify the mounting bracket on a load rated ceiling point.
- Assemble the fan body and blades on the ground where possible.
- Lift and hang the fan on the bracket, supported the whole time.
- Make the electrical connections exactly per the wiring diagram.
- Secure the canopy, then balance and test the blades.
- Restore power and check operation on every speed.
If any of those steps make you hesitate, that hesitation is your answer to call a pro.
Comparison: DIY prep versus licensed work
| Task | Safe to DIY | Needs a licensed professional |
|---|---|---|
| Choosing and buying the fan | Yes | No |
| Setting up safe ladder access | Yes | No |
| Switching off the mains | Yes | No |
| Installing new ceiling wiring | No | Yes |
| Creating a new mounting point | No | Yes, if structural |
| Connecting fan to mains wiring | Only if truly competent | Usually yes |
| Testing after a professional install | Yes, visual and operation | No |
Signs you should not go further
Call a Licensed Electrical Worker or qualified electrician if any of these apply. There is no existing fan wiring at the spot. The ceiling has no suitable, load rated mounting. The wiring looks old, damaged or unclear. You would need to open the distribution board. You feel any uncertainty at all. None of these are failures on your part, they are simply the line where a professional keeps you and your home safe.
Choosing the right fan before you start
Getting the fan choice right makes the whole job easier and safer. Match the blade span to the room, since a fan that is too small for a large living room will never move enough air. Check your ceiling height too. Low ceilings need a low profile or hugger mount so the blades sit at a safe distance above head height, while high ceilings may need a longer down rod. Confirm the ceiling can carry the weight and the vibration before anything is ordered. Thinking this through in advance means your electrician can work quickly and you are not left with a fan that does not suit the room.
After installation
Once your fan is up and running, keep it safe with light maintenance. A wobble usually means the blades need balancing or a fixing has loosened, so switch it off and have it checked rather than letting it worsen. Clean the blades gently and regularly so dust does not build up. If a fan ever hums, buzzes or the switch feels warm, turn it off at the mains and get it inspected.
The sensible bottom line
Installing a ceiling fan is rewarding, but the wiring and the overhead mount put it beyond casual DIY for most homes. Do the prep, understand the job, always switch off at the mains, and bring in a qualified electrician for the electrical connection and any new mounting. Done properly and legally, your fan will keep you cool and safe for years.
Explore more: Ceiling fans and home cooling · How to safely handle a tripped electrical circuit · When to DIY and when to hire a professional