
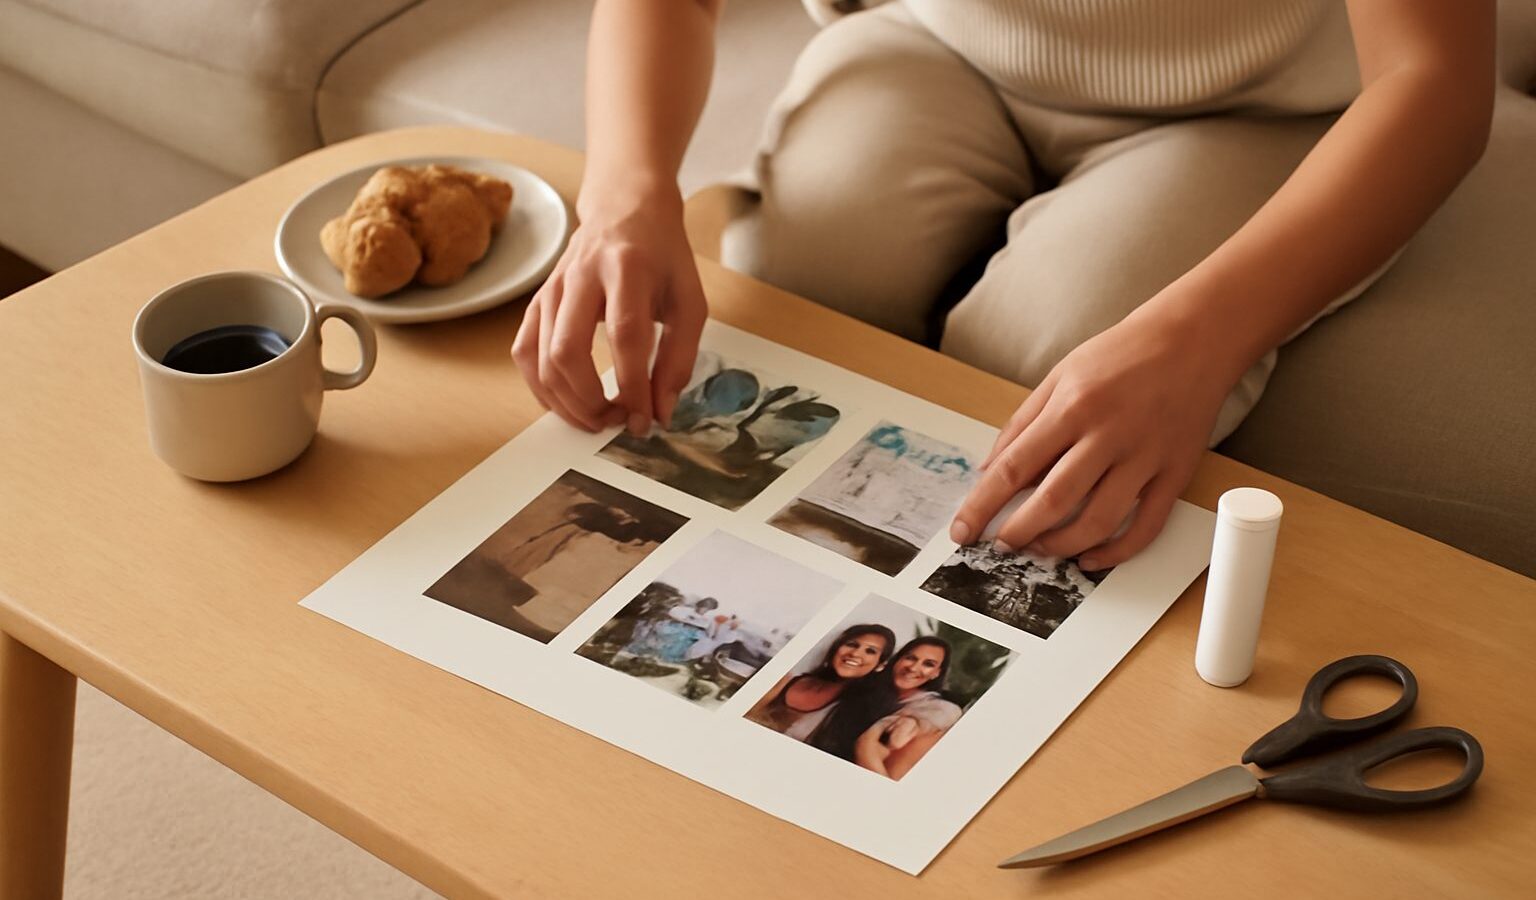
Making a photo collage in Singapore is one of the most satisfying ways to turn a scattered camera roll into a single story. A weekend at Gardens by the Bay, a full wedding day, a child growing up over a year, or a food crawl through a hawker centre can all be told better as a set of images sitting together than as one lonely photo. A collage lets you show variety, sequence, and mood at a glance. In this guide we will cover how to choose the right images, build a clean layout, and export your finished piece so it looks good on a phone screen or a printed wall frame.
The good news is you do not need expensive software. Free and low-cost apps, your phone’s built-in tools, and full editors like Photoshop can all build collages. What matters far more than the tool is the thinking behind it, and that is what we will focus on.
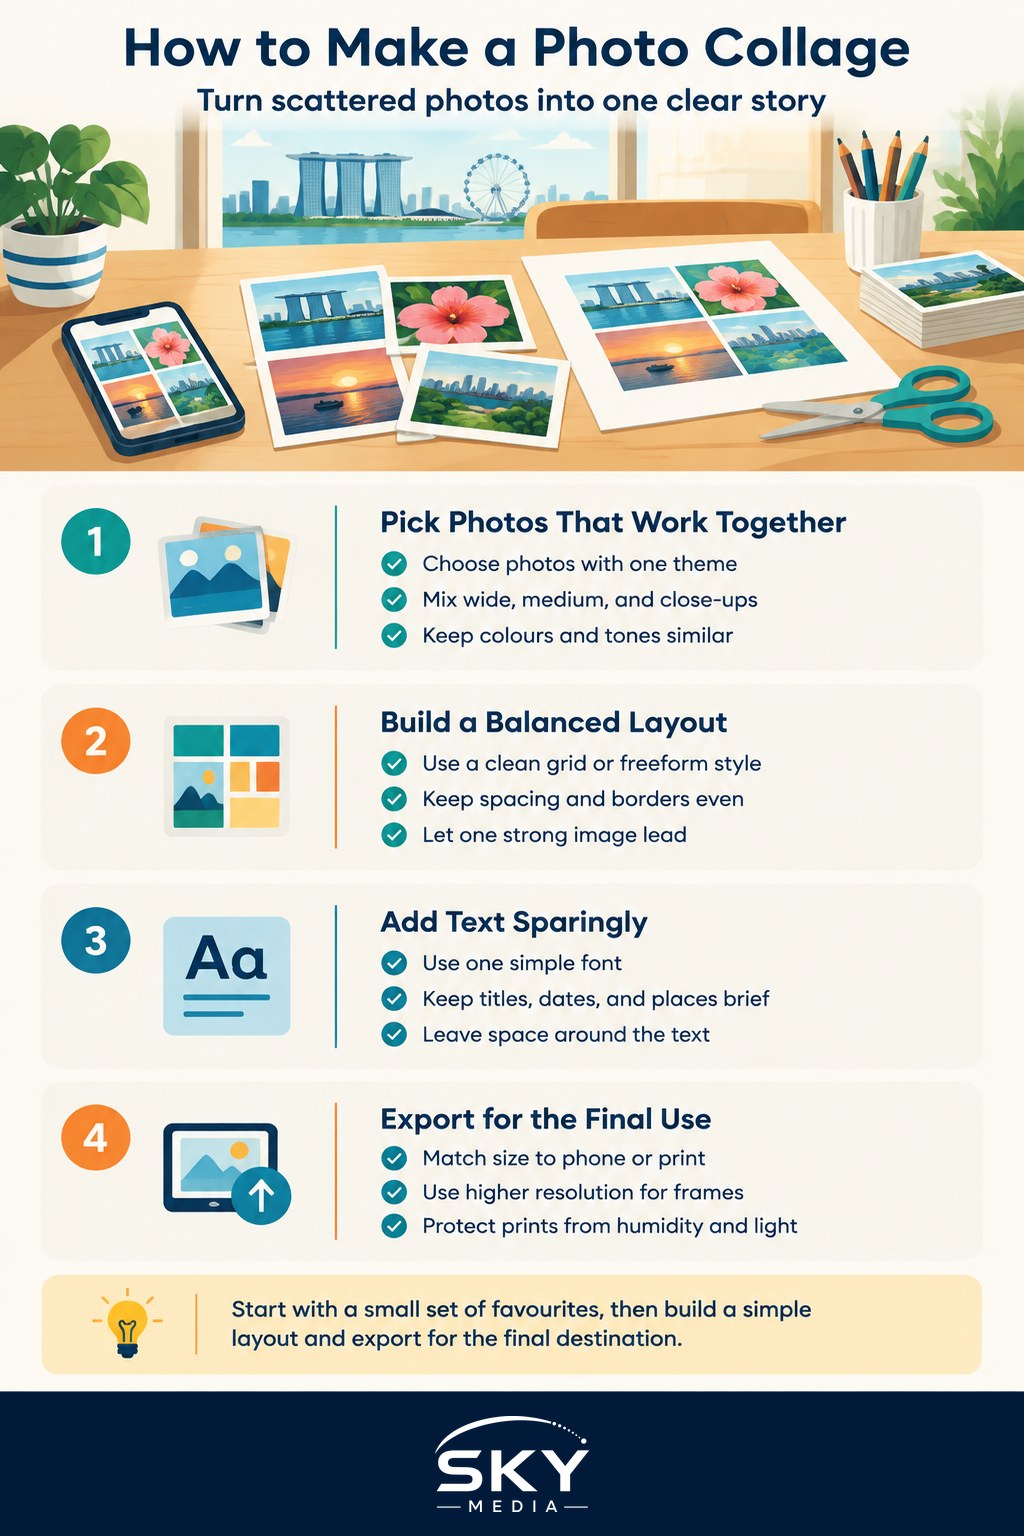
Choose Photos That Belong Together
A strong collage starts with editing down, not piling in. Before you touch any layout, gather your candidate images in one place and be ruthless. Pick photos that share a theme, a time, or a place so the group feels intentional rather than random. If you struggle to cut favourites, how to cull and organise your photos walks through a calm process for choosing keepers.
Variety within a theme is what keeps a collage interesting. Aim for a mix of shot types: a wide establishing view to set the scene, a few medium shots that carry the main action, and a couple of tight close-ups for detail and texture. If every photo is framed the same way, the collage feels repetitive. If every photo is wildly different, it feels chaotic. The sweet spot is unity with variety, the same idea that guides good storytelling in video too.
Colour is the other thread that ties a collage together. Photos that share a similar palette, say the warm tones of golden hour along the Marina Bay waterfront or the cool blues of a rainy afternoon, sit together far more comfortably than a jumble of clashing colours. If your images vary a lot, a quick editing pass to bring their white balance and tone closer will make the whole collage feel like one piece. A consistent look across the set is exactly what how to develop a consistent editing style is about.
Build a Clean, Balanced Layout
Once your photos are chosen, the layout does the heavy lifting. Grid collages, where images sit in neat rows and columns, are clean, modern, and easy to read. Freeform or scrapbook layouts, where photos overlap at slight angles, feel more casual and personal. Neither is better; pick the mood that suits your subject. A corporate event might call for a tidy grid, while a family holiday might suit something looser.
A few practical rules keep any layout looking professional rather than cluttered. Give your images consistent spacing, often called gutters, so they breathe. Uneven gaps look like a mistake. Decide on a background colour that supports the photos rather than fighting them; white, black, and soft neutral greys are safe and let the images stay the stars. Keep any borders the same width all the way round.
Think about visual weight and balance. A single strong image can anchor the collage as a hero, with smaller supporting photos arranged around it. This is a natural fit for grids that allow different cell sizes. Placing your most eye-catching photo slightly off-centre often feels more dynamic than dead centre, which echoes the rule of thirds and composition basics. Read the collage as a whole and check that your eye flows across it comfortably rather than getting stuck or bouncing around.
If you are adding text, such as a title, a date, or a location, keep it minimal and legible. One clean font, used sparingly, looks far more polished than several decorative typefaces competing for attention. Leave enough empty space around text so it does not crowd the images.
Export for Its Final Home
How you save the collage depends on where it will live. For Instagram or WhatsApp, export at a size and shape that suits the platform, since a tall image and a square image display very differently in a feed. For a printed frame to hang at home, you will need a much higher resolution file so it stays sharp on paper. Getting this right matters, and exporting photos for web and print in Singapore explains the settings in detail.
A quick tip for our climate: if you are printing to display, humidity and light can affect prints over time, so choose a decent lab and a frame with glass to protect your work.
Making a photo collage in Singapore is really about curation and calm arrangement rather than fancy effects. Choose photos that belong together, give them room to breathe, keep colours and spacing consistent, and export for the right destination. Start with a small set of six to nine favourites, build one clean grid, and you will quickly get a feel for what works. Before long you will be turning every trip, celebration, and food adventure into a piece worth sharing or framing.
Frequently Asked Questions
Which free apps can I use to make a photo collage on my phone? Plenty of free options exist, including the gallery tools already built into many phones and a range of collage apps. Pick one that lets you adjust spacing, borders and background colour, since those controls matter more than flashy templates. Try two or three before settling on one.
How many photos should go into one collage? Fewer than most people expect. For a first attempt, six to nine well-chosen images make a clean grid that reads at a glance. Adding more tends to shrink each photo until the story gets lost, so split a big event into several collages instead.
Should I make a grid collage or a scrapbook-style one? It depends on the mood. A grid looks tidy and modern, which suits corporate events or a neat year-in-review. Overlapping scrapbook layouts feel warmer and more personal, so they work for family holidays and birthdays. Choose based on who will see it.
What resolution does a collage need for a wall frame? A framed print needs a far larger, sharper file than a social post, so export at the highest quality your app allows. Ask your print lab for its recommended pixel dimensions for the frame size before you finalise the layout.
Can I make one collage that works on Instagram and also for printing? Not ideally, because the shape and file size needed are different. Build the layout once, then export a screen-sized version for social media and a high-resolution version for print. Check how the edges are cropped on each before sharing.