
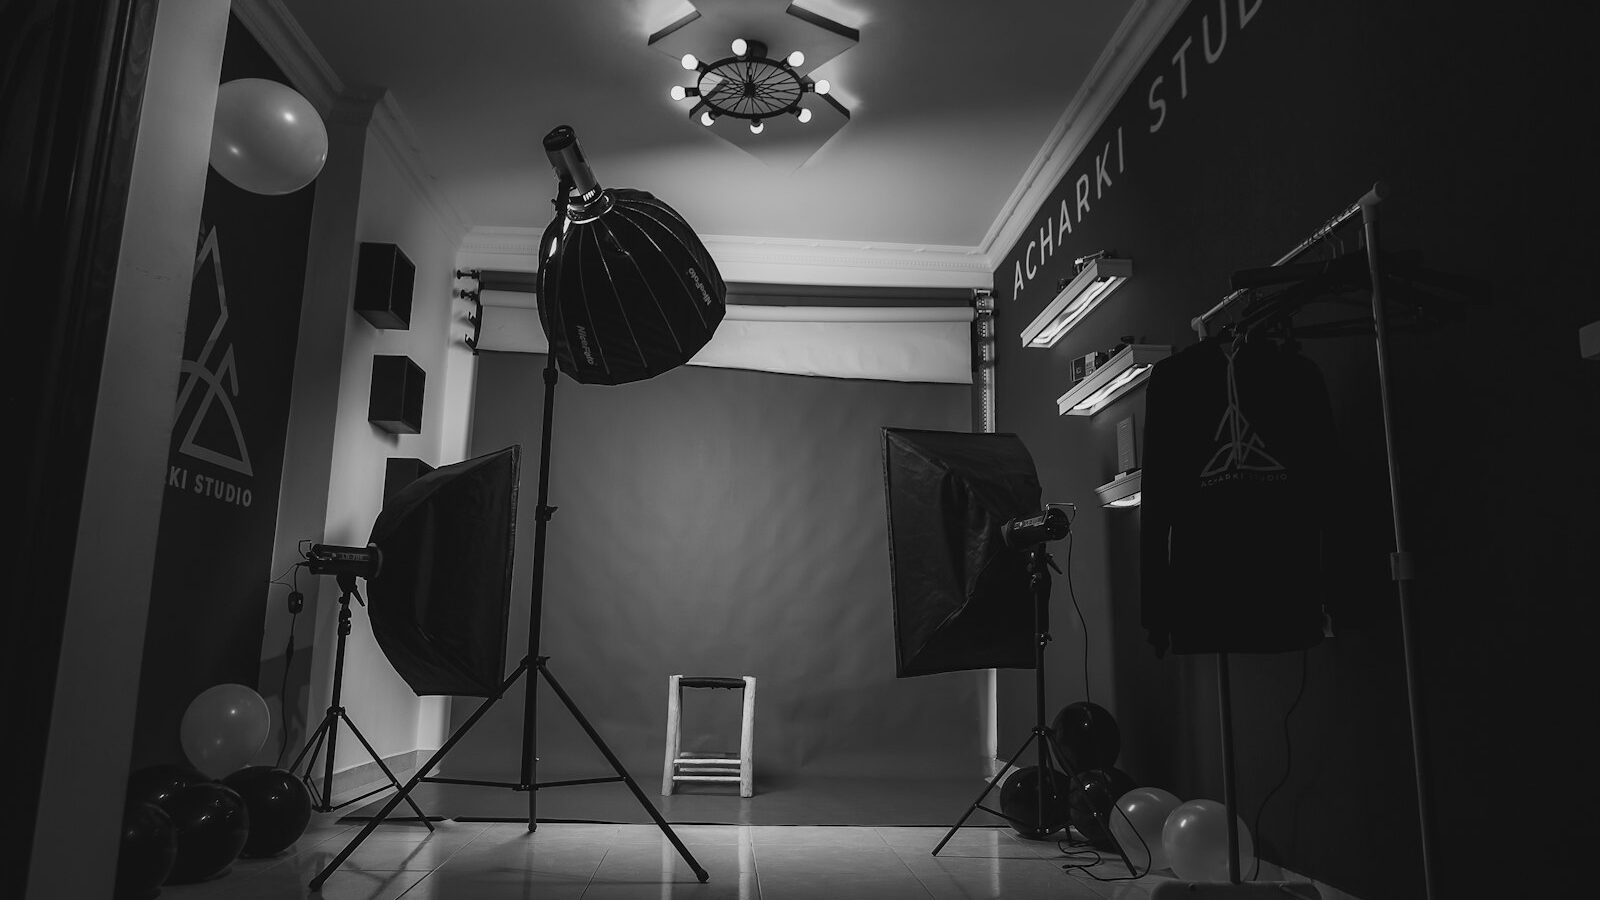
Self-photo studios have become a favourite way for friends, couples and families to mark birthdays, anniversaries and graduations without hiring a photographer. Inspired by the self-portrait studios popular in South Korea, these spaces give you professional lighting, a clean backdrop and a remote shutter, then leave you alone to shoot. If you are planning your first visit to a self photo studio in Singapore, this guide explains how a session works, what to check when booking, and how to come away with photos you actually like.

How a Self-Photo Studio Works
The format is simple. You book a time slot, arrive at the studio, and step into a small private room or booth set up with lighting, a backdrop and a camera mounted in front of a large mirror or screen. You hold a handheld remote or press a button with your foot, and the camera fires. A live preview or mirror lets you check your pose before each shot.
At the end of the shooting time, you usually move to a separate station to choose your favourite frames. Depending on the studio and package, you may get prints, digital files, or both. Many studios offer black-and-white or colour options, a few backdrop colours, and props such as hats, sunglasses, flowers and headbands.
There are broadly two kinds of setup in Singapore:
- Self-portrait studio rooms. A private room with professional lights, a single backdrop and a DSLR or mirrorless camera. Sessions are timed, and you choose a set number of photos to edit and print. This is the closest to the Korean self-studio experience.
- Photo-strip booths. Smaller kiosks that take a short burst of frames and print a strip or grid on the spot, often with decorative frames. Quicker and cheaper, but with less control.
What to Check When Booking
Most studios take bookings online. Before you pay, check the details that affect your experience. Terms vary and can change, so read the studio’s own booking page.
- Session length. Shooting time is often short. Find out whether selection time is included or separate.
- Number of people. Many rooms have a maximum group size, and pricing may be per person or per room.
- What you get. The number of prints, print size, whether digital files are included, and any retouching.
- Backdrop and colour options. Some studios let you switch backdrops mid-session; others fix one per booking.
- Add-ons. Extra prints, frames, extra time or pets (some allow them, many do not).
- Arrival rules. Late arrival usually eats into your slot. Ask about rescheduling and cancellation terms.
- Changing area. Useful if you plan an outfit change, but it may take time from your session.
Weekend afternoons and festive seasons, such as the weeks before Chinese New Year and Valentine’s Day, tend to be busiest. Book ahead, or choose a weekday slot for a calmer experience.
Self-Studio vs Hiring a Photographer
| Factor | Self-photo studio | Photo-strip booth | Hired photographer |
|---|---|---|---|
| Control over poses | Full, you press the shutter | Limited, timed burst | Guided by the photographer |
| Privacy | Private room, no one watching | Semi-private | Photographer present |
| Image quality | Professional lighting, fixed setup | Decent, small prints | Highest, with editing |
| Time needed | Short timed session | A few minutes | Usually an hour or more |
| Best for | Friends, couples, solo portraits | Quick fun keepsakes | Weddings, family portraits, branding |
Poses That Work in a Small Studio
With the clock running, it helps to arrive with ideas. These poses suit the tight frame and flat lighting of most self studios.
For solo shots:
- Turn your body slightly to one side and face the camera with your head. It is more flattering than standing square-on.
- Try a close-up with your hand resting lightly near your chin or hair, fingers relaxed.
- Look away from the lens, then back, and fire the shutter as you return. It creates natural expressions.
- Sit on the floor or a stool, if provided, for variety.
For couples and pairs:
- Lean heads together, cheek to cheek, for a classic close-up.
- Stand back to back and look over your shoulders at the camera.
- One person looks at the camera, the other looks at their partner.
- Recreate a meaningful pose, such as your first photo together.
For groups:
- Stagger heights: some sit, some stand, some crouch, so faces do not line up in a row.
- Plan one serious shot, one silly shot and one “everyone jump” shot.
- Keep everyone close; gaps look larger on camera than in the mirror.
Remote Shutter Tips for Better Shots
The remote is what makes self studios different, and using it well transforms your results.
- Hide the remote. Hold it low, behind your back or in your palm. Some people pass it to whoever is at the edge of the frame.
- Shoot in bursts. Press several times during one pose. Blinks and half-smiles are common, and more frames give you choice.
- Count down out loud in groups so everyone is ready before the click.
- Check the preview, then forget it. Glance at the mirror or screen to set up, then look at the lens. Staring at the screen makes your eyes look off-centre.
- Relax your face between shots. Shake out your shoulders and breathe out before each press to avoid stiff smiles.
- Move a little between frames. A slight change of angle, hand position or expression gives you variety without needing a new pose.
Styling and Preparation
- Choose solid colours that contrast with the backdrop. Large logos and busy patterns can distract.
- Coordinate, do not match exactly. For groups, pick a shared colour palette rather than identical outfits.
- Bring a comb, oil-blotting paper and lip balm. Studio lights show shine, and Singapore’s humidity does the rest by the time you arrive.
- Plan outfit changes carefully if your session is short.
- Save poses on your phone as reference images, and agree on them with your group beforehand.
If you enjoy the process, you might try setting up your own lighting at home with our guide on how to shoot in a home studio in Singapore, or improve your everyday shots with better phone photography tips.
Explore more: How to Shoot in a Home Studio in Singapore · Pet Photography Tips and Studios in Singapore · How to Take Better Photos With Your Phone
Frequently Asked Questions
What happens if I arrive late for a self-photo studio booking? Your shooting time will usually be cut short, because slots are back to back. Arrive a little early to settle in and change, and read the studio’s booking page for its rules on lateness, rescheduling and cancellation before you pay.
I feel awkward in front of the camera, will a self-photo studio suit me? It can suit you well, since the room is private and nobody is watching. Start with a few relaxed shots, use the mirror to set up, then look at the lens. Going with a friend and agreeing on poses beforehand also helps you loosen up.
Are self-photo studios a good idea for families with young children? They can be, if you keep expectations flexible. Timed sessions are short, so plan simple poses, bring a favourite small prop and shoot the most important frames first. Check the studio’s maximum group size and whether children count as people for pricing.
Should I choose prints or digital files at a self-photo studio? It depends on what you want to do with the photos. Prints make good keepsakes, while digital files are easier to share and reprint. Packages differ, so check what is included, what costs extra and whether retouching is offered before you book.
Is a self-photo studio worth it compared with hiring a photographer? It is worth it for casual, fun portraits of friends, couples or yourself, with a private room and professional lighting. For weddings, family portraits or branding shoots, a photographer who guides poses and edits the images will usually give more polished results.
Further reading: How to Make a Photo Collage