
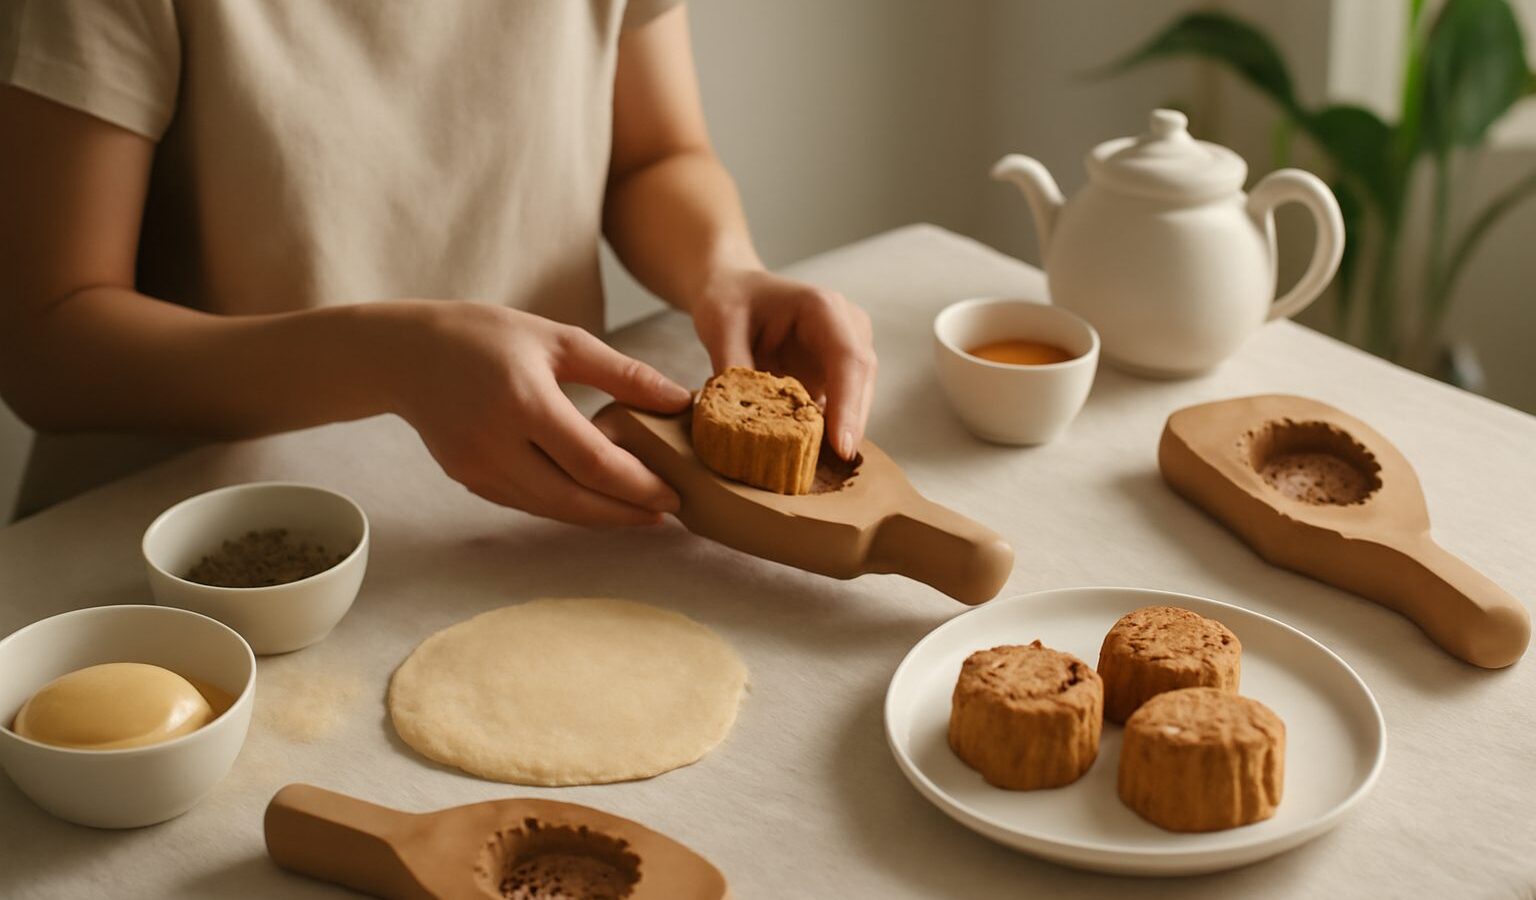
Every Mid Autumn Festival brings the warm ritual of sharing mooncakes over tea and lantern light. Buying them is easy, but making your own is a rewarding project that lets you control the sweetness, the filling and the finish. Making mooncakes in Singapore at home takes a little patience and a mould, yet the process is more forgiving than its reputation suggests. This guide covers the classic baked variety and gives you a home baker’s approach rather than a rigid recipe.
A traditional baked mooncake has three parts, a thin tender skin, a smooth sweet paste filling, and often a salted egg yolk at the centre. Understanding how these come together is the key to a neat, professional looking result.
Ingredients and What They Do
For the skin you need a soft dough made from flour, a fragrant golden syrup, a small amount of alkaline water, and a little oil. The syrup gives colour, flavour and that characteristic soft, slightly chewy texture, while the alkaline water helps the skin brown and tenderise. This dough is meant to be soft and pliable, not firm like a biscuit dough.
For the filling, the classic choice is smooth lotus seed paste, though red bean paste and other sweet pastes are popular too. Many bakers tuck a salted egg yolk inside to represent the moon and to balance the sweetness with a savoury note. You can make paste from scratch by cooking down the seeds or beans with sugar and oil until thick, or use a good ready made paste to save time.
Please pay close attention to allergens, as mooncakes are a common source of them. Depending on your filling and toppings they can contain gluten, egg, and very often nuts and seeds such as lotus seed, melon seed or other mixed nuts in the popular assorted fillings. Always tell anyone you share them with what is inside. Handle the salted egg yolks and any eggwash safely, keeping them chilled until use and baking the mooncakes through fully. If you are newer to baking, our baking basics for complete beginners guide will make the steps below feel less daunting, and the mooncake guide for Singapore gives helpful background on the different styles.
The Method Step by Step
Start by making the skin dough. Combine the golden syrup, oil and alkaline water, then stir in the flour until it comes together into a soft dough. Let it rest, covered, for a while so it relaxes and becomes easier to handle. Resting is important, because a freshly mixed dough is sticky and springs back, while a rested one rolls out smoothly.
While the dough rests, portion your filling. Roll the paste into even balls. If you are using salted egg yolks, wrap each yolk inside a ball of paste so it sits at the centre, then smooth the paste over so no yolk shows. Keeping the filling balls a consistent size means your finished mooncakes will look uniform.
Now assemble. Divide the rested dough into portions, keeping the skin to filling ratio generous on filling, since a thin skin is the hallmark of a good mooncake. Flatten a piece of dough into a small round, place a filling ball in the middle, and gently work the dough up and around the filling until it is fully enclosed. Take your time here, as a well sealed mooncake will not split in the oven.
To shape, lightly dust your mooncake mould, place the wrapped ball inside, and press firmly onto a lined tray to imprint the pattern. Release it gently. A light dusting of flour on the ball helps it come out cleanly with a crisp design.
Before baking, mist the mooncakes lightly with water and give them a short first bake to set the pattern. Then brush the tops sparingly with a thin eggwash and return them to the oven to finish until golden. Use the eggwash very lightly, because too much pools in the pattern and blurs the design. Bake them fully so the skin is cooked through and the filling is heated properly.
Common Pitfalls, Resting and Storage
The most common frustration is a cracked or misshapen mooncake. Cracks usually mean the dough was too dry or the skin too thick, so aim for a soft, well rested dough and a thin even wrapping. If the pattern comes out blurry, you likely used too much eggwash or pressed the mould unevenly. If the skin looks pale, it may need a touch more colour from the syrup or a slightly longer bake.
Here is the part that surprises first time bakers. Freshly baked mooncakes look dry and dull, with a firm skin. They are not meant to be eaten straight away. They need a resting period of a couple of days, often called returning the oil, during which the syrup and oil in the skin migrate outward. The skin softens, darkens to a glossy brown and develops that classic tender bite. Patience genuinely transforms them.
For storage, cool the mooncakes completely, then keep them in an airtight container. Because of the rich paste and any egg yolk inside, they are best eaten within a week or so, and refrigeration helps if your kitchen is warm, which it usually is here. Always let refrigerated mooncakes come back to room temperature before serving so the skin regains its softness. If a mooncake smells off or shows any spoilage, do not eat it.
Making your own mooncakes turns a simple festival treat into a meaningful afternoon in the kitchen. Share them with family over tea, and enjoy knowing exactly what went into every bite.