
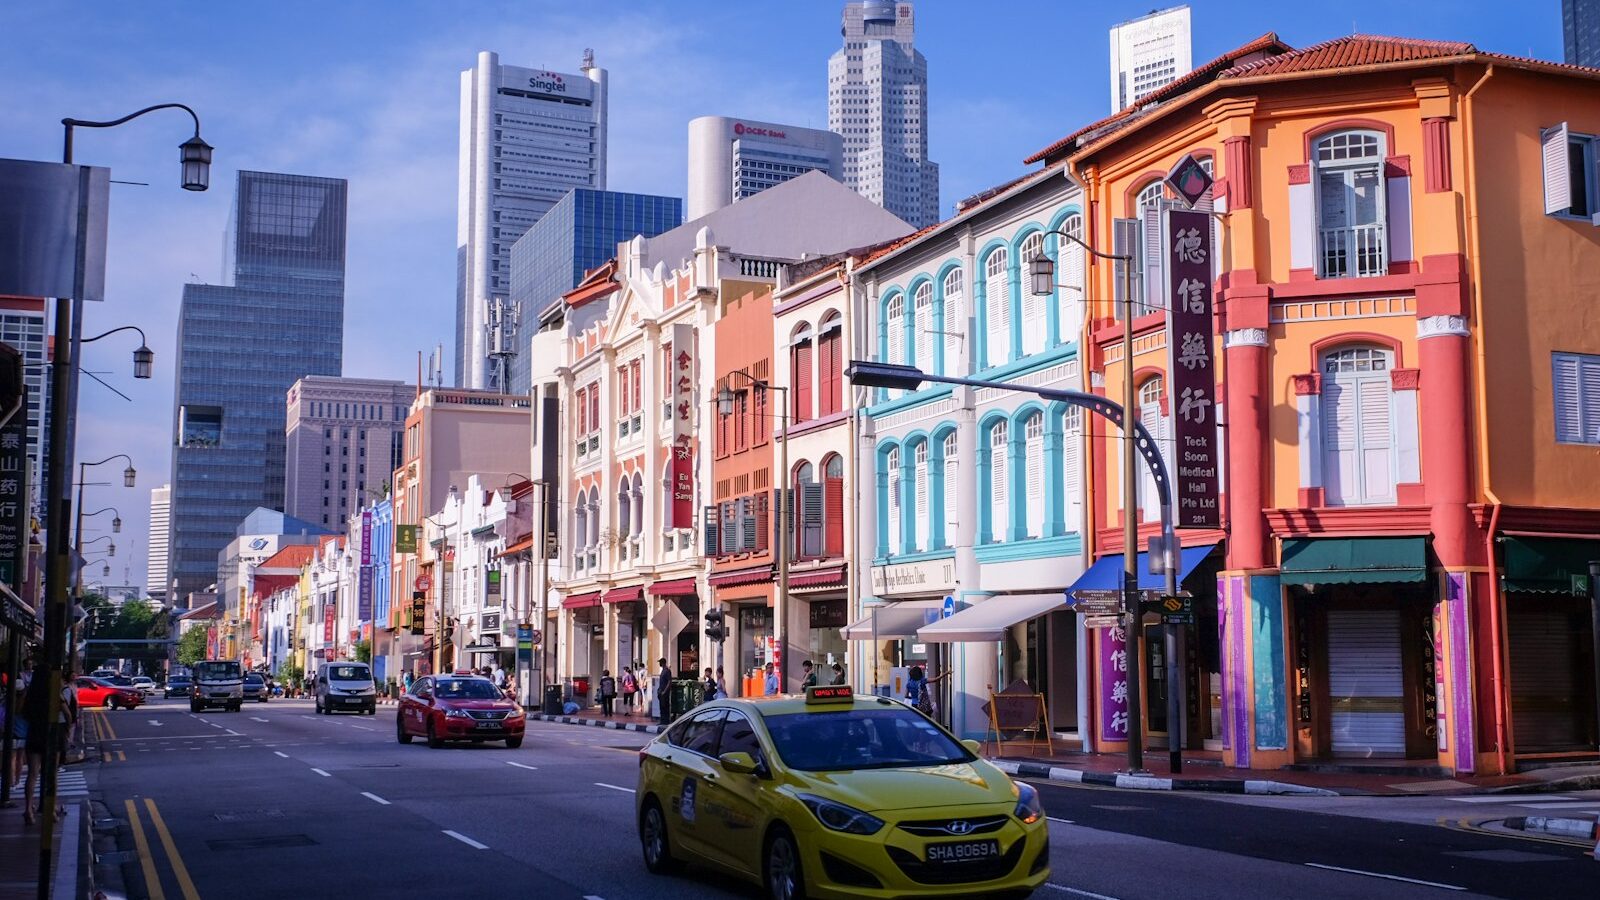
Car photography rewards patience and observation more than expensive kit. A car is a giant curved mirror, so half the skill is controlling what those panels reflect, including you. This guide covers the angles, the light, the backgrounds and the settings that make a vehicle look sculpted and clean, whether you are shooting a friend’s weekend car or a hawker’s delivery van.
Gear and settings to start with
Almost any camera works, from a mirrorless body to a capable phone. What matters is control over the frame.
A useful starting kit is a mid-range zoom covering roughly 24mm to 70mm. Wide for dramatic three-quarter hero shots, longer for compressed detail crops that flatten distracting backgrounds.
Sensible starting settings for a parked car:
- Aperture: f/8 to f/11 to keep the whole vehicle sharp front to back.
- Shutter speed: whatever gives a correct exposure once the aperture is set; on a tripod this can be slow.
- ISO: keep it low, 100 to 200, for clean panels and smooth reflections.
- Focus: single point on the front wheel arch or badge.
Shoot RAW so you can recover highlights on bright bodywork and lift shadow detail in dark wheels and tyres.
The reflection problem, and how to beat it
A car’s paint mirrors everything around it, so the biggest skill in car photography is managing reflections.
First, avoid photographing your own reflection. Watch the door panels and bonnet as you frame. If you can see yourself, move, crouch, shoot from the side, or use a longer lens from further back so you shrink in the reflection. A tripod with a remote or self-timer lets you step out of the panel’s line of sight entirely.
Second, control what the paint reflects. Move the car so a clean sky, a plain wall or greenery falls onto the panels rather than clutter, overhead cables or bins. On dark cars especially, a soft even sky reflected across the bonnet looks premium; a jumble of buildings looks messy.
Third, consider a polarising filter. Rotating a circular polariser cuts glare on the windscreen and paint, letting you see through glass to the interior and deepening the sky. It is one of the few filters genuinely worth carrying for vehicles.
Light and time of day
Hard midday sun creates ugly hotspots and harsh shadows on curved metal. Soft, directional light is far kinder.
Golden hour gives warm, raking light that traces the car’s body lines and makes the paint glow. The blue hour just after sunset is a favourite for a reason; switch on the headlights, balance them against the deep blue sky, and you get a moody, showroom feel. Overcast days act as a huge softbox and are ideal for clean, reflection-controlled work. For a deeper look at shaping available light, see using natural light in photography.
Angles that flatter a vehicle
Where you stand changes everything.
- The three-quarter hero: stand near a front corner, crouch slightly to bumper height, and shoot with a wide-ish lens. This shows the front and one side together and is the classic strong angle.
- Low and close: getting down low makes the car look planted and aggressive. Bumper height or lower is your default; eye level makes cars look small.
- The detail crop: badges, wheels, headlights and lines reward a longer lens and a wide aperture. These fill out a set and tell the story of a car.
- The panning shot: for a moving vehicle, drop to around 1/60s or slower, track the car smoothly as it passes, and fire while following through. The car stays sharp while the background streaks, conveying speed.
Use leading lines in the road or kerb to draw the eye towards the vehicle; our guide on using leading lines in your photos applies directly here.
Settings by scenario: a quick reference
| Scenario | Aperture | Shutter | ISO | Note |
|---|---|---|---|---|
| Parked hero shot | f/8 | 1/125s | 100 | Tripod, low angle, clean background |
| Blue hour with lights on | f/8 | 2s | 100 | Tripod essential, headlights on |
| Detail crop of wheel or badge | f/4 | 1/250s | 200 | Longer lens, isolate the detail |
| Panning a moving car | f/11 | 1/60s | 100 | Track smoothly, follow through |
| Overcast clean product look | f/9 | 1/160s | 200 | Polariser to cut paint glare |
Choosing a background
The background makes or breaks a vehicle shot. Look for clean, uncluttered settings: a quiet multi-storey car park deck, an industrial estate wall, a stretch of open road, or greenery that complements the paint colour. Avoid busy backdrops with poles, bins and signboards sprouting from the roofline.
Colour matters too. A red car pops against a grey concrete wall; a white car needs a darker backdrop so it does not disappear. Walk around the car once before shooting and pick the cleanest sightline.
Common mistakes to avoid
- Ignoring your own reflection. The number one giveaway of a rushed car shot is the photographer standing in the door panel.
- Shooting at eye level. Get low. Cars almost always look better from below their beltline.
- Harsh midday sun. Hotspots on curved metal are hard to fix. Wait for softer light or find shade.
- Cluttered backgrounds. Move the car a few metres to lose the bin or the cable.
- Forgetting the details. A hero shot alone is thin. Wheels, badges and interior details complete the set.
- Dirty bodywork. A quick wipe of dust and fingerprints saves an hour of editing.
Bringing it together
Control the reflections, get low, wait for soft light and keep the background clean. Those four habits carry car photography further than any lens upgrade. Walk a full lap of the vehicle before you commit, watch what the paint is mirroring, and build a small set of wide heroes and tight details. Do that consistently and even an ordinary car parked on an ordinary street starts to look like it belongs in a brochure.
Explore more: Using Leading Lines in Your Photos · Using Natural Light in Photography · Best Places to Photograph in Singapore