
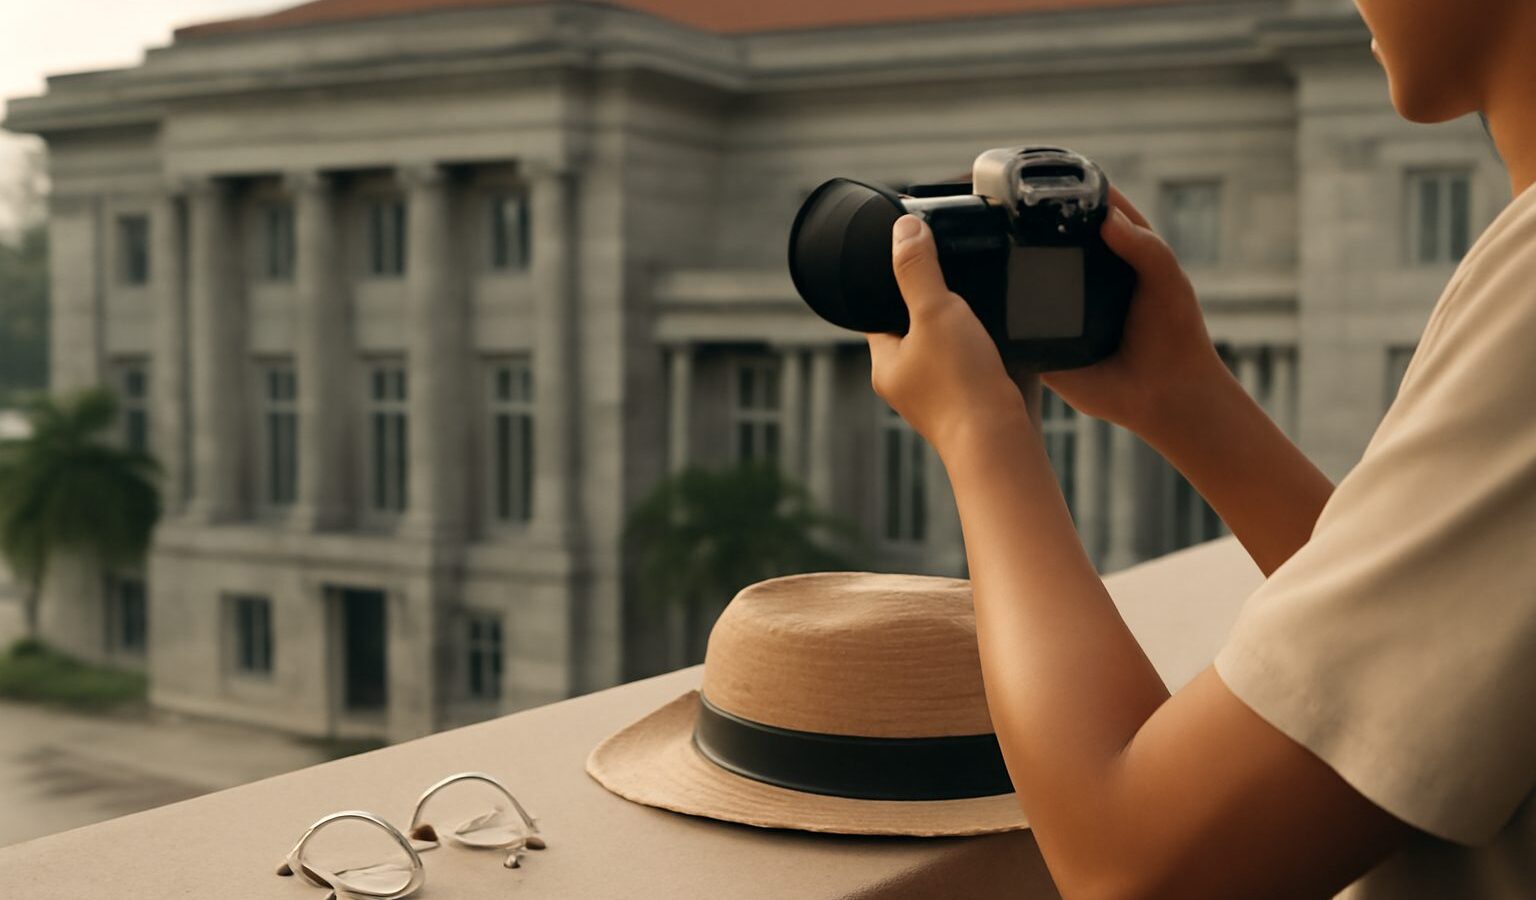
Few subjects are as generous to a beginner as buildings. They stand still, they wait patiently for the light to improve, and Singapore is packed with them, from the glass towers of the CBD to a weathered row of shophouses in Kampong Glam. Architecture photography is the craft of showing a structure at its best: capturing its shape, its lines and its mood so the picture feels as deliberate as the building itself. You do not need a specialist camera to start. A phone, an entry-level mirrorless or a hand-me-down DSLR will all do the job once you understand what to look for.
This guide walks through the handful of ideas that make the biggest difference: reading the light, arranging clean lines, keeping your verticals straight, and choosing sensible settings without spending a fortune. Every tip is something you can try this weekend near where you live.
Reading the Light on Buildings
A building looks completely different depending on when you photograph it. Our tropical midday sun sits high and harsh, flattening facades and dropping ugly shadows across doorways and pillars. It is the least flattering time to shoot, yet it is when most people are out with a camera.
The kinder windows are early morning and the golden hour before sunset, when low, warm light rakes across a surface and reveals texture: the grain of old plaster, the ridges of a modern louvred wall, the carved details above a shophouse five-foot-way. Blue hour, the short spell just after sunset, is the classic time for the Marina Bay skyline, because the sky turns a deep blue while the office lights switch on, giving you a balanced mix of natural and artificial light.
Weather helps too. A bright overcast sky, common before one of our afternoon downpours, acts like a giant softbox and evens out a busy facade. After the rain, wet pavements and puddles hand you free reflections. So the first skill is patience: pick your building, then return at the hour the light suits it.
Composition and Lines That Flatter Structures
Buildings are built from lines, so your job is to arrange those lines with intent rather than pointing and hoping.
- Use leading lines. Let a railing, a covered walkway or a row of columns carry the eye into the frame. The repeating arches of a shophouse terrace or an HDB corridor stretching into the distance make natural guides.
- Look for patterns and symmetry. Rows of windows, tiled floors and balcony grilles reward a straight-on, centred shot. When a scene is genuinely symmetrical, placing your subject dead centre is the right call, not a mistake.
- Find a foreground. A tree, a lamp or a person gives a sense of scale and depth, so the viewer understands how tall or grand the building really is.
- Isolate the detail. You do not always need the whole building. A single ornate window, a spiral staircase or a pattern of air-conditioner ledges can say more than a full facade.
- Mind the clutter. Wait for a bus to pass, step sideways to hide a bin, or shoot slightly upward to lose messy signage. Clean edges make a photo look considered.
A useful habit is to walk a full lap around a building before raising the camera. The best angle is rarely the first one you see from the pavement.
Keeping Your Verticals Straight
The most common giveaway of an amateur building shot is the “falling over” look, where the sides of a tower lean inward towards the top. This is called converging verticals, or keystoning, and it happens when you tilt the camera upwards to fit a tall structure in.
You can reduce it in a few honest ways:
- Step back and keep the camera level. If you can move far enough away to hold the camera flat rather than tilted up, the verticals stay parallel.
- Shoot from higher up. A linkway, an overhead bridge or a car-park deck lets you photograph the middle of the building rather than craning up at it.
- Fix it later. Most editing apps, including free ones, have a perspective or keystone correction tool that straightens leaning lines with a slider.
- Or lean into it. Sometimes an exaggerated look straight up the middle of a tower is a bold, deliberate choice. The trick is to make it obvious, not accidental.
Turn on your camera or phone’s grid lines while you learn. Lining up a real edge of the building against a grid line trains your eye quickly.
Gear and Settings Without Overspending
You can photograph architecture with whatever you own, but a few choices help. A wide-angle lens or your phone’s wide setting fits more of a building into tight streets like those in Chinatown. A standard or short telephoto lets you pick out details and compress a row of towers. Gear and prices change fast, so check current specs before buying, and remember that technique matters far more than the badge on the camera.
For settings, aim for sharpness front to back. Use a narrow aperture (a higher f-number such as f/8 or f/11), keep ISO low for clean files, and let the shutter be as slow as it needs to be. In low light, a small tripod keeps things sharp and lets you photograph the blue-hour skyline without raising ISO.
| Approach | Best for | Watch out for |
|---|---|---|
| Wide-angle, close up | Tight streets and full facades | Distortion and leaning verticals |
| Standard lens, stepped back | Balanced, natural-looking views | Needing room to move back |
| Telephoto, from a distance | Details and compressed skylines | Camera shake, so brace or use a tripod |
| Phone with grid on | Everyday, spur-of-the-moment shots | Noisy files in dim light |
Start with whatever gives you room to work, then experiment. Shooting the same building three ways in one visit teaches you more than reading ever will.
Shooting Respectfully Around Singapore
Singapore rewards the architecture photographer, but a little courtesy goes a long way. The Marina Bay skyline, the civic district and our public parks are open and easy. Heritage districts such as Chinatown, Little India and Kampong Glam are wonderful, though they are also homes and places of worship, so be considerate: keep out of doorways, lower your voice near temples and mosques, and do not photograph people at prayer without asking.
Crucially, respect private property. Many buildings, malls and condominium grounds are privately owned, and security may ask you to stop or to move on, which is their right. Look for posted no-photography signs and follow them. Shooting from a public pavement is generally fine; wandering into a lobby or onto private grounds is not. A polite question often earns you a better vantage point than sneaking around ever would.
The heart of good architecture photography is not a pricey lens. It is turning up at the right hour, arranging your lines with care, keeping the camera honest, and treating the places and people around you with respect. Do that, and the buildings will do the rest.
Explore more
Sharpen your framing next with our guide to the rule of thirds and composition basics, then time your visits using golden hour and blue hour. To turn moving traffic and clouds around a building into silky streaks, try long exposure photography basics.