

If you have ever fumbled between windows mid stream, missing an alert or switching to the wrong scene, a control pad solves it. Learning how to use a stream deck turns a wall of hotkeys into a grid of labelled buttons you press without looking. This guide explains what these devices are, the controls worth setting up first, and the alternatives if you are not ready to buy.
What a stream deck actually is
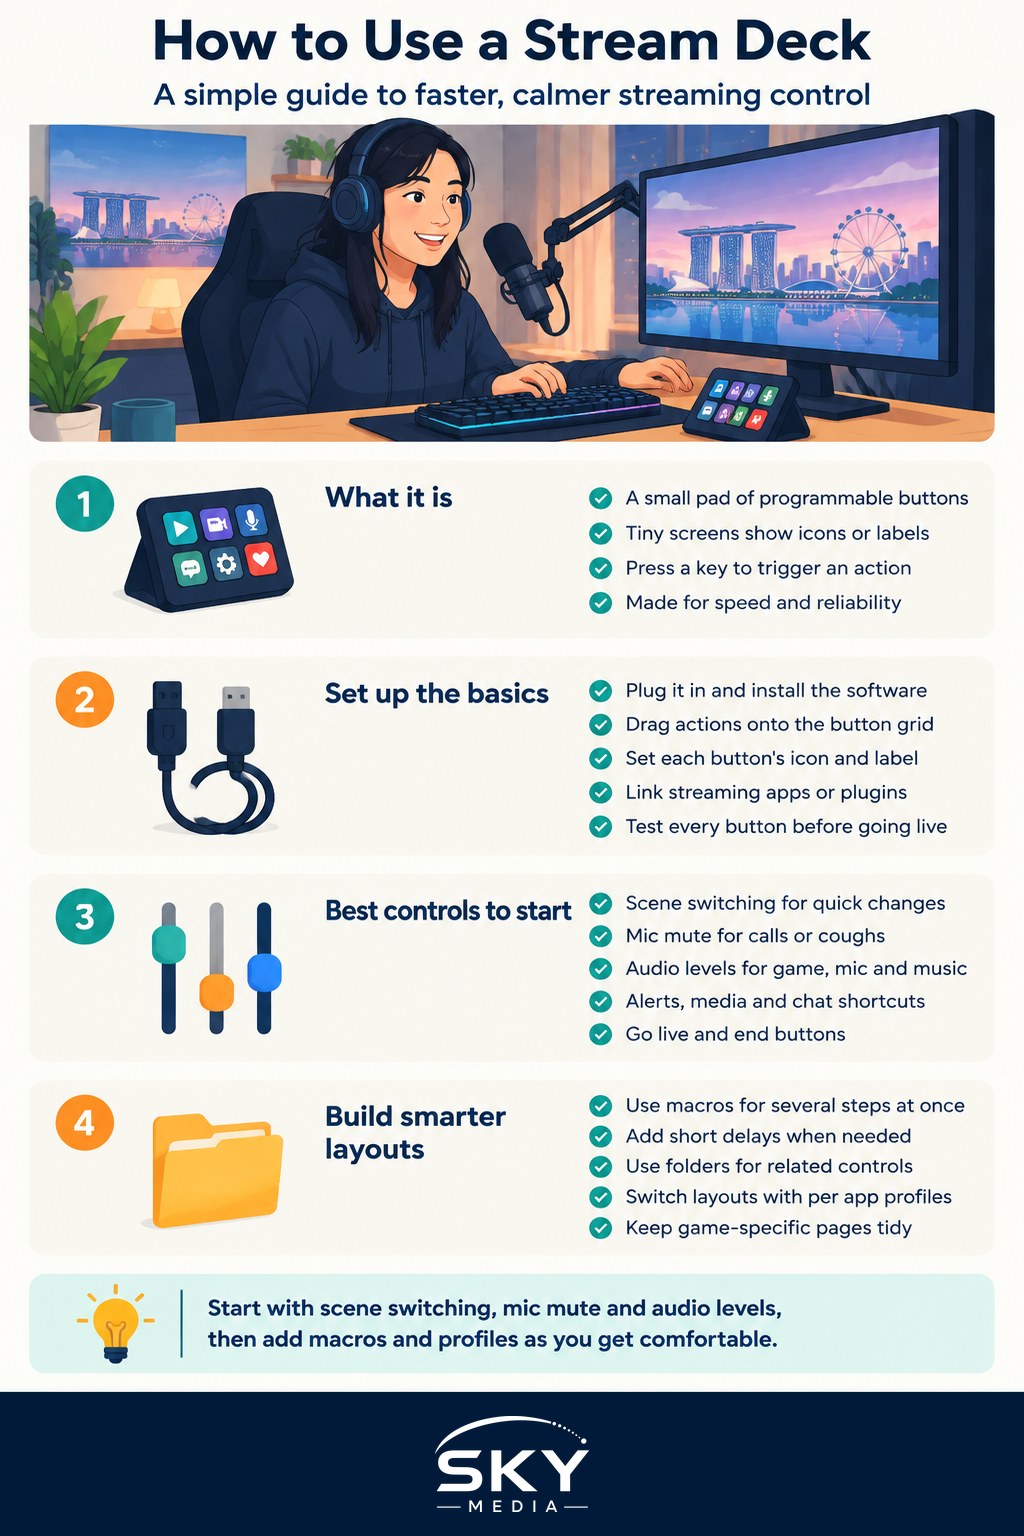
A stream deck is a small pad of programmable buttons, usually with tiny screens under each key that show a custom icon or label. You assign each button an action through its companion software. Press a key and it fires that action instantly, whether that is switching scenes, muting your mic, or launching an app.
The point is speed and reliability. Instead of remembering a dozen keyboard shortcuts or clicking around while you talk, you glance at a labelled grid and tap. That frees your attention for the game and your audience, which is the whole reason to learn how to use a stream deck.
Getting set up
The basic flow is the same across these devices.
- Plug the pad into your PC over USB and install its companion software.
- Open the software to see a grid that mirrors the physical buttons.
- Drag an action onto a button, then set its icon and label.
- Link it to your streaming software, mixer or apps as prompted.
- Test each button before you go live so there are no surprises.
Most streaming and audio tools integrate through official plugins, so connecting your scene switcher or mixer is usually a matter of installing the right plugin and picking the action from a list.
The controls to set up first
Do not fill every button at once. Start with the handful you reach for most.
- Scene switching. Assign one button per scene, such as Starting Soon, Gameplay, Just Chatting, and Be Right Back. This is the single most useful thing a stream deck does.
- Mic mute. A one tap mute for coughs, calls, or a quick word to someone at home. Give it a clear icon that shows muted or live.
- Audio levels. Buttons or dials to raise and lower game audio, mic, and music independently keep your mix balanced without opening a mixer.
- Alerts and media. Trigger sound effects, replays, or on screen media on cue.
- Chat and social shortcuts. Open your chat, drop a canned message, or post a link with one press.
- Go live and end. A start and stop button removes the panic of hunting for the right control at the top and tail of a stream.
Once these feel natural, add more.
Macros and multi actions
The real power appears when one button does several things in sequence. This is where learning how to use a stream deck pays off.
- Scene plus audio. Switch to your Be Right Back scene, mute your mic, and lower game audio, all from one key.
- Stream start routine. Open your streaming software, launch your chat, set the opening scene, and play an intro sound in one press.
- Shutdown routine. End the stream, stop recording, and unmute your desktop, tidily wrapping up.
- Timed sequences. Some actions let you add short delays between steps so everything fires in the right order.
Build macros gradually. Get one working, use it for a few streams, then add the next. A pad crammed with untested macros causes more mistakes than it prevents.
Profiles and folders
You will quickly run out of buttons, and profiles solve that.
- Folders. Group related buttons behind a single key. Tap it to reveal a page of audio controls or scene options, with a back button to return.
- Per app profiles. The pad can switch its whole layout depending on which app is in focus. Your buttons can change automatically when you move from your game to your editing software.
- Game specific pages. Keep a page of shortcuts for each game you stream, so the layout always matches what you are doing.
Good organisation is what separates a tidy, fast setup from a confusing one.
Do you need one? Alternatives to consider
A dedicated pad is convenient, but it is not the only way. Here is how the options compare.
| Option | Cost | Strengths | Trade offs |
|---|---|---|---|
| Dedicated hardware pad | Higher | Labelled screens, instant, reliable, tidy | You pay for the device |
| Phone or tablet app | Low or free | Uses a spare phone, flexible, touchscreen | Relies on your network, less tactile |
| Keyboard hotkeys | Free | No extra gear, works everywhere | Hard to remember, easy to misfire |
| A spare macro keypad | Low | Physical keys you can relabel | No screens, more manual setup |
Many creators start with a free phone app version that turns a spare phone or tablet into a touchscreen control pad over your home network. It is an excellent way to learn how to use a stream deck workflow before spending anything. If you find yourself relying on it every stream, the hardware version with its physical, labelled keys becomes an easy upgrade.
Tips for a smooth setup
- Use clear, high contrast icons and short labels so you read them at a glance.
- Group by function, keeping all audio together and all scenes together.
- Leave a couple of buttons empty at first so you can add controls as needs appear.
- Keep a consistent layout across profiles so muscle memory carries over.
- Rehearse your start and end routines before an important stream.
Closing thoughts
Knowing how to use a stream deck is really about reducing friction so you can focus on your game and your audience. Start with scene switching, mic mute and audio levels, then grow into macros and profiles as your confidence builds. Try a free phone app first, and upgrade to hardware only when you know it earns a place on your desk.
Explore more: Setting up stream overlays and alerts in Singapore · Setting up to stream your gameplay · Audio gear for streaming in Singapore
Frequently Asked Questions
Is a Stream Deck worth it for a small or new streamer? Not always. It earns its place once you switch scenes, mute and adjust audio every session and feel the fumbling. If you are just starting out, try a free phone app or keyboard hotkeys first, and buy hardware only when you rely on those every stream.
Can I use a Stream Deck for things other than streaming? Yes. Because each button simply fires an action, people also use them for launching apps, controlling music, muting in video calls and editing shortcuts. Per-app profiles can switch the layout automatically, so the same pad can serve your game, your editor and your work apps.
How many buttons do I really need? Fewer than you might think. Scene switching, mic mute and a few audio controls cover most needs, and folders let you tuck extra actions behind a single key. Leave a couple of spots empty so you can add controls as you find gaps.
What if a button does not trigger my streaming software? First check that the right plugin is installed and the action is linked to the correct software, then confirm that software is open and connected. Test every button before going live. If one still fails, reassign the action or reinstall the plugin.
Is a phone app good enough as a Stream Deck replacement? For learning the workflow, yes. A phone or tablet app gives you a touchscreen pad over your home network at little or no cost. The trade-offs are less tactile buttons and reliance on your Wi-Fi, which is why many creators later move to physical keys.
Further reading: How to Improve Your Stream Audio Quality · How to Stream on Multiple Platforms