
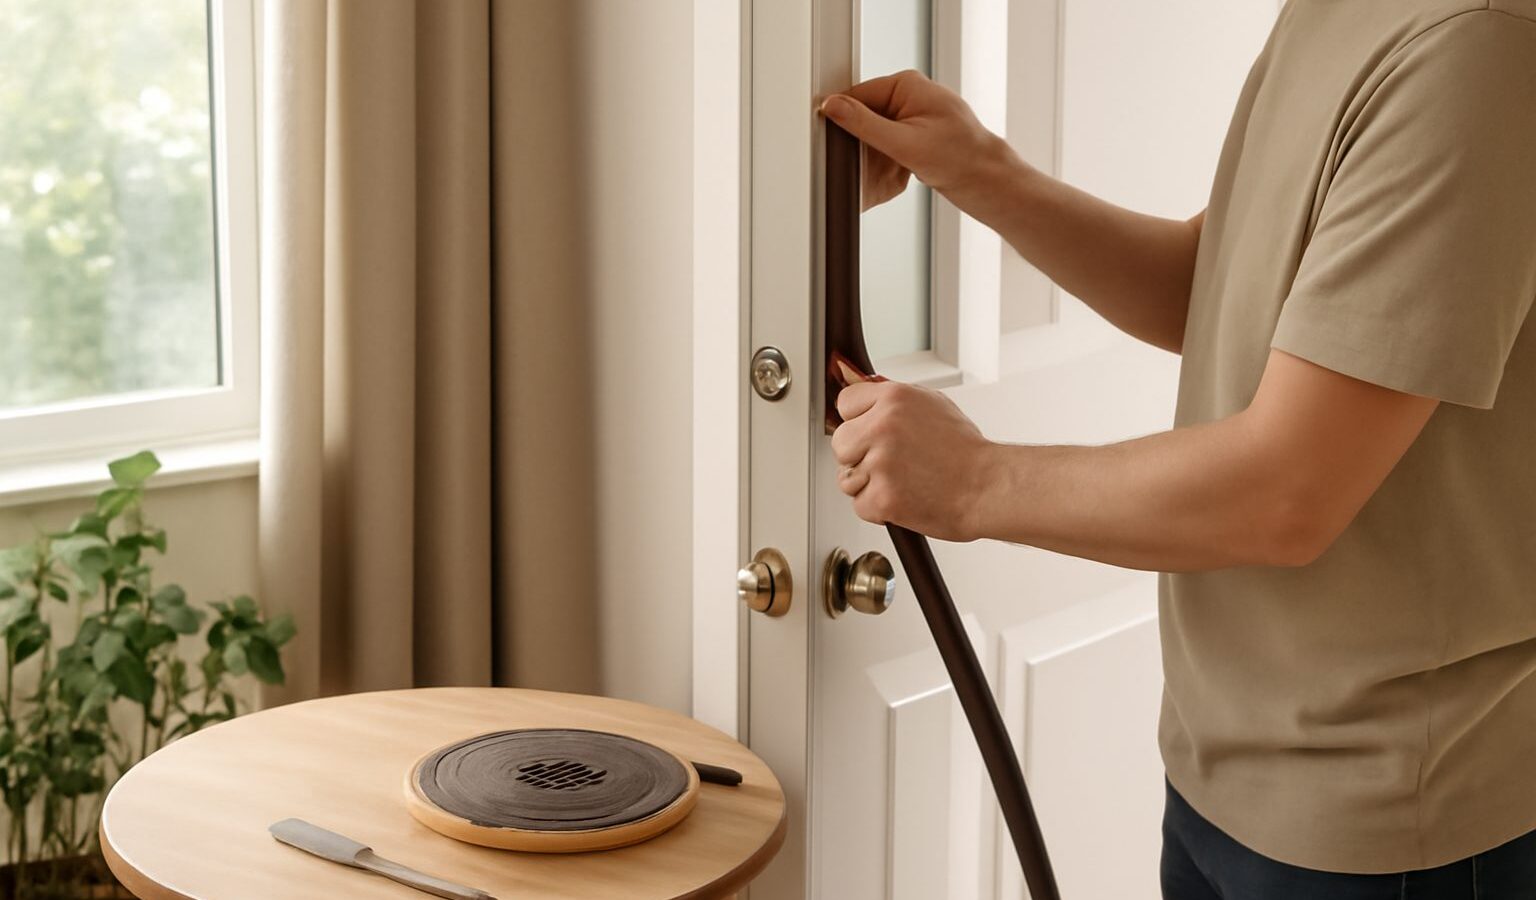
Weatherstripping at home is one of the easiest, lowest risk improvements you can make, and it pays you back every day. In Singapore the goal is not to keep out the cold but to keep cooled air in, block dust and insects, cut down corridor noise and stop rain from creeping under doors. Sealing the small gaps around doors and windows takes an afternoon, costs little and needs no special skills. This guide shows you exactly how to do it.
Why sealing gaps is worth it here
Every gap around a door or window is a two way opening. Your air conditioning leaks out through it, which makes the unit work harder and your bill climb. At the same time, dust, haze, mosquitoes, ants and the smell of the neighbour’s cooking drift in. Rain can seep under an ill fitting main door. A few dollars of weatherstripping tackles all of this at once, which is why it is such a satisfying job.
Tools and materials you will need
- Adhesive foam or rubber weatherstrip tape
- A door sweep or draught excluder for the bottom of doors
- Silicone sealant and a caulking gun for fixed gaps
- A tape measure
- Scissors or a utility knife
- A clean cloth and some rubbing alcohol for prepping surfaces
- A pencil for marking
Find the gaps first
Before you buy anything, work out where your gaps actually are.
- The hand test. On a breezy day or with the aircon on, run your hand slowly around the door and window frames to feel for moving air.
- The light test. At night, have someone shine a torch around a closed door from outside while you look from inside. Any light showing through is a gap.
- The paper test. Close a door or window on a strip of paper. If it pulls out easily, the seal at that point is weak.
- Look low. The bottom of the main door is usually the biggest offender for both draughts and insects.
How to weatherstrip doors and windows
Weatherstripping at home is mostly measuring, cutting and sticking. Take your time and the results look neat.
- Clean the surface. Wipe the frame where the tape will go with a cloth and a little rubbing alcohol, then let it dry. Adhesive will not hold on dusty or greasy surfaces.
- Measure each side. Measure the length you need for each section of the frame and cut the weatherstrip to fit.
- Peel and press. Peel back a little of the backing, line the strip up carefully, then press it down firmly as you go, removing the backing gradually.
- Do not stretch it. Lay the strip in place without pulling it tight, or it will shrink back and lift at the ends.
- Fit a door sweep. For the gap under a door, screw or stick a door sweep or draught excluder along the bottom so it just brushes the floor without dragging.
- Test the close. Open and shut the door or window a few times to check it still seals and latches properly.
Sealing fixed gaps with caulk
Some gaps do not open and close, such as the joint where a window frame meets the wall, or a crack letting in water. These are sealed with silicone rather than tape.
- Clean and dry the gap thoroughly.
- Cut the sealant nozzle at an angle to match the gap width.
- Run a steady, even bead along the gap in one smooth motion.
- Smooth the bead with a wetted fingertip or a tool before it skins over.
- Leave it to cure fully as the product directs before exposing it to water.
Comparison: which seal for which gap
| Gap type | Best solution | Difficulty | Notes |
|---|---|---|---|
| Moving door edge | Foam or rubber weatherstrip tape | Easy | Clean surface first |
| Bottom of a door | Door sweep or draught excluder | Easy | Blocks insects and rain |
| Moving window edge | Self adhesive weatherstrip | Easy | Do not stretch the strip |
| Fixed frame to wall joint | Silicone sealant | Moderate | Smooth the bead neatly |
| Wide or irregular gap | Backer rod plus sealant | Moderate | Fills depth before caulking |
How long weatherstripping lasts
Weatherstripping is not quite fit and forget, so it helps to know what to expect. Adhesive foam and rubber strips on well used doors gradually compress and lose their spring, and in our humid weather the adhesive can loosen over time, so check these every year and replace any that have flattened or lifted. Door sweeps wear at the bottom edge where they brush the floor and may need swapping after heavy use. Silicone sealant on fixed joints lasts far longer, often several years, but inspect it for cracks or gaps where water could get in and reseal as needed. A quick annual look around your doors and windows keeps everything working and costs almost nothing.
Common mistakes to avoid
Do not apply weatherstrip to a dirty frame, as it will peel within days. Do not overfill a gap so the door or window will no longer close, since a seal that stops things latching is worse than no seal. Avoid the very cheapest thin foam for high traffic doors, because it crushes flat quickly. And remember that a little airflow is healthy, so you are sealing gaps, not making a room airtight.
A low-risk win
Weatherstripping at home is about as safe and beginner friendly as DIY gets. There is no wiring, no plumbing and no ladder work beyond a step stool. Find your gaps, clean the surfaces, cut carefully and press firmly. Within an afternoon your rooms hold their cool better, the dust and mosquitoes ease off, and the corridor noise softens. It is a small job with a daily reward.
Explore more: Building a basic home toolkit · When to DIY and when to hire a professional · How to clean high and hard to reach places