
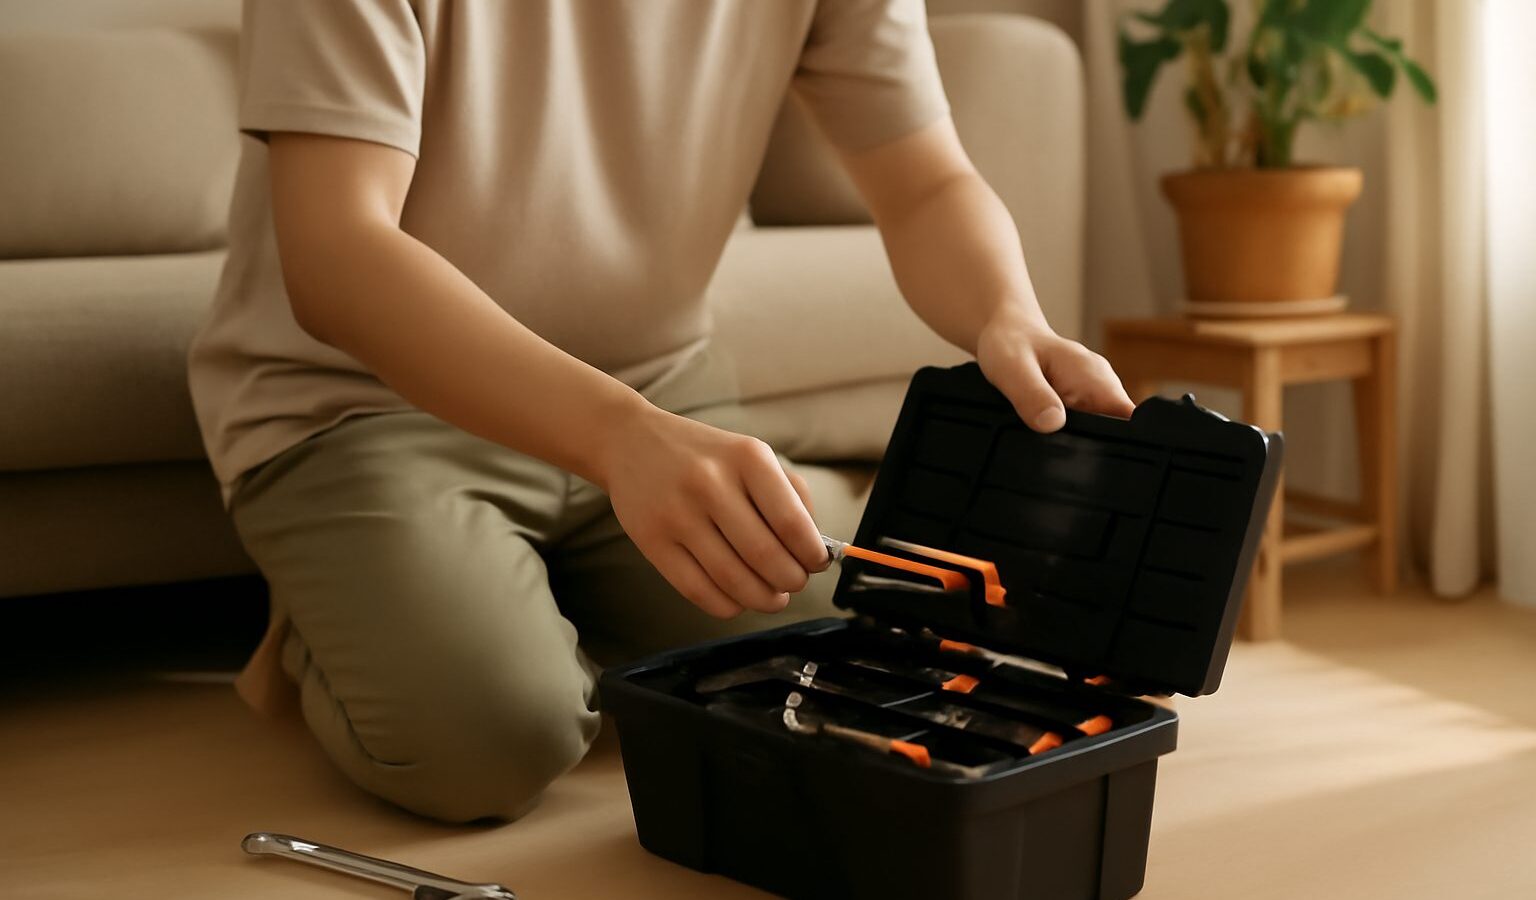
A well-chosen home toolkit is one of the quietest upgrades you can make to daily life. Instead of waiting days for a handyman to tighten a hinge or hang a mirror, you reach for a box under the bed and it is done. This guide walks total beginners and renters through building a basic home toolkit for an HDB flat or condo: what to buy first, in what order, how to store it in a small space, and when a job belongs to a licensed pro. It is a general overview, not professional advice, so defer to a qualified trade for electrical or plumbing work.
Start With The Job, Not The Gadget
The fastest way to waste money is to buy a huge boxed set where you use six pieces and the rest gather dust. A better starting point is to picture the jobs a typical flat throws at you: assembling furniture, hanging things on walls, tightening what has come loose, and small seals and fixes in the kitchen and bathroom.
Once you think in jobs, the shopping list almost writes itself. Each tool should earn its place by covering a real task you can already name. If you cannot picture using it in the next few months, leave it on the shelf. You can always add later, and a lean kit is easier to store and carry around a compact home.
Pre-packed “starter kits” can be decent value, but check the contents against your actual needs. A kit heavy on spanners you will rarely use is worse than a handful of quality tools you reach for weekly.
The First Ten Tools To Buy
If you own nothing, this shortlist covers the overwhelming majority of home tasks. Buy the everyday grippers and spinners as well as you can afford, since these are the ones that frustrate you most when they are cheap and nasty.
- Screwdriver set, or one handle with cross-head (Phillips) and flathead bits.
- Claw hammer of medium weight, for nails in and nails out.
- Tape measure, 3m to 5m, for furniture, frames and curtains.
- Spirit level, small, so shelves and pictures sit straight.
- Combination pliers for gripping, bending and snipping light wire.
- Utility knife with a retractable blade for boxes, sealant and scoring.
- Adjustable spanner for nuts, bolts and the odd tap fitting.
- Allen keys (hex keys), ideally a folding set, for flat-pack furniture.
- A cordless drill-driver once a wall job appears, since HDB and condo walls are usually hard concrete.
- A torch or headtorch, because so many fixes hide in dark cupboards and corners.
Keep a small stock of consumables alongside them: mixed screws and nails, wall plugs (the plastic sleeves that let a screw grip masonry), picture hooks and a roll of tape. A mixed pack from a local hardware shop costs little and saves late-night dashes for a single screw.
A Sensible Order For Growing Your Kit
You do not need everything on day one. Spreading purchases across a few pay cheques keeps it painless and lets you learn each tool before the next arrives. This table shows a comfortable order for most homes.
| Stage | What to add | Why now |
|---|---|---|
| Move-in week | Screwdrivers, hammer, tape measure, Allen keys | Furniture and quick fixes start immediately |
| First month | Pliers, utility knife, spirit level, torch | Hanging, trimming and small repairs |
| When a wall job appears | Cordless drill-driver, masonry bits, wall plugs | Shelves and heavier items on concrete |
| As needs grow | Adjustable spanner, sealant gun, sanding block | Taps, resealing and finishing touches |
| Rare heavy jobs | Borrow or rent larger tools | Cheaper than owning what you seldom use |
Renters have an extra reason to go slow: favour non-permanent, damage-free options such as adhesive hooks and tension fittings where they will hold, and always get your landlord’s permission before drilling or making permanent changes.
Storing And Caring For Your Toolkit
In a compact flat, storage decides whether your toolkit gets used or buried. Keep everything in one place so you never hunt for a screwdriver mid-job.
- One box or bag. A sturdy toolbox or a zipped tool bag keeps the core kit together and portable.
- Small parts sorted. A divided container or a few labelled zip bags stop screws and plugs turning into one hopeless jumble.
- Guard the sharp and heavy. Cap or retract blades, and store the hammer and drill so they cannot fall.
- Fight the humidity. Our climate rusts bare metal quickly. A dry cupboard, a silica gel sachet or two, and wiping tools dry after damp jobs all help.
- Out of reach of children. Height or a latched cupboard is simplest.
A little care pays off. Wipe grime off after messy work, keep drill bits from rolling loose, and recharge a cordless drill every so often so it is ready when you need it rather than flat.
Safety And When To Call A Pro
A toolkit is only as good as the habits around it. Wear eye protection when drilling or cutting, a dust mask when sanding or drilling concrete, and gloves for rough work. Stand on a stable step stool rather than a chair, read the instructions that come with tools and products, and open the windows when using paint, sealant or solvents so fumes can clear.
Knowing your limits is part of the skill. Call a pro if:
- The job touches mains or fixed wiring. Only a Licensed Electrical Worker (LEW) should do that; switch off at the mains first and defer to EMA and your town council.
- It involves a water heater, concealed pipes or pipework behind walls. Shut off the water and call a licensed plumber.
- You would need to alter a structural or reinforced concrete (RC) wall, or the work needs a permit and an HDB-registered contractor.
- Anything feels unstable or beyond your confidence. Stopping and calling for help is the sensible, skilled choice.
Build your home toolkit slowly, one honest need at a time, and store it where you will actually reach for it. With a handful of good tools and careful habits, most everyday fixes become a quick, satisfying job rather than a long wait for someone else.