

Planning a trip to Delhi, Goa, Kerala or Chennai? Singapore passport holders generally need a visa to visit India, and for most short trips the simplest route is the India e-Visa for Singaporeans, applied for online through the Government of India’s official portal. There is no need to visit an embassy, and the approval arrives by email.
This step-by-step guide covers the main e-Visa types, the documents and photo rules that trip people up, how fees work, and how to avoid unofficial websites that charge extra. Visa rules can change at short notice, so always confirm current details on the official Indian visa website or with the High Commission of India in Singapore before you book.
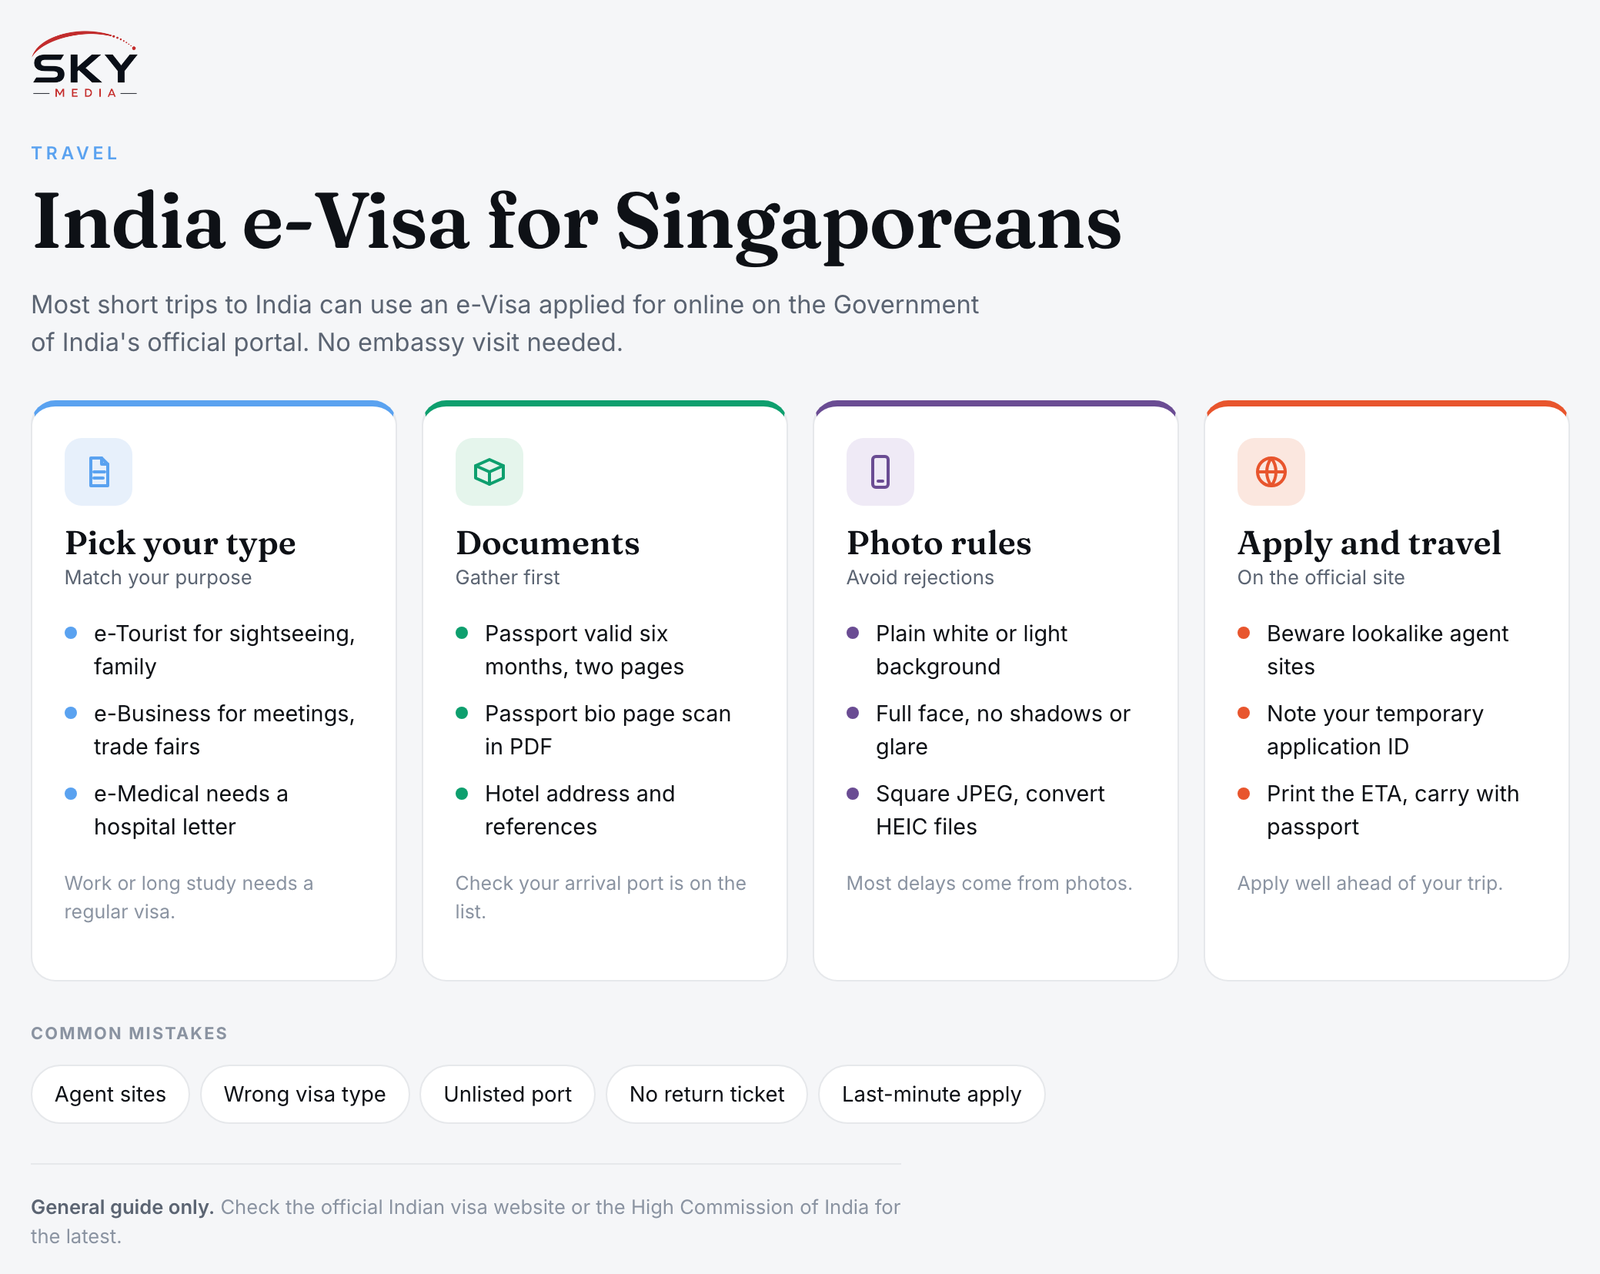
Which Indian e-Visa Type Do You Need?
The e-Visa scheme is split by purpose of travel. Choose the one that matches what you will actually do in India, because using the wrong category can cause problems at immigration.
| e-Visa type | Typical purpose | Things to note |
|---|---|---|
| e-Tourist Visa | Sightseeing, visiting friends or relatives, short yoga or casual courses | Usually offered in more than one validity option; check which suit your trip |
| e-Business Visa | Meetings, trade fairs, sales or business trips | You may be asked for business cards or an invitation letter |
| e-Medical Visa | Medical treatment at a recognised hospital in India | A letter from the Indian hospital is generally required |
| e-Medical Attendant Visa | Accompanying a patient who holds an e-Medical Visa | Linked to the patient’s application |
| e-Conference Visa | Attending a conference organised by a government body or approved organiser | Event clearance documents are usually needed |
Other categories have existed, such as one for traditional Indian medicine (AYUSH) treatment. The current list, with conditions for each, is published on the official portal.
The e-Visa does not cover everything. If you plan to work, study long-term, do journalism, or live in India, you will typically need a regular visa through the High Commission’s appointed visa service provider instead.
Before You Apply: Documents Checklist
Gather these before you open the form, so you can complete it in one sitting:
- Passport valid for at least six months from your date of arrival in India, with at least two blank pages for stamps. This is a long-standing rule, but confirm it on the portal.
- Digital photo that meets the specifications (see the next section).
- Scan of your passport bio page in the required file format and size.
- Travel details, including your expected port of arrival. e-Visa holders must enter through designated airports or seaports, so check that your arrival point is on the list.
- Address in India, such as your first hotel or your host’s address.
- Reference contacts, usually one in India and one in Singapore, with names, addresses and phone numbers.
- Purpose-specific documents, such as a hospital letter for medical visas or a business invitation for business visas.
- A card for payment that works for international online transactions.
Photo and Scan Rules That Cause Rejections
Most delays come from photos. The portal lists exact requirements, which commonly include:
- A recent colour photo with a plain white or very light background.
- Full face, front view, eyes open, and no shadows on the face or background.
- No glasses with glare, and no head coverings unless worn for religious reasons.
- A square format within the allowed file size range, in JPEG.
- The passport scan must be clear, show the whole bio page and be in PDF within the size limit.
Tips that help:
- Take the photo against a white wall in daylight, then crop it square.
- Do not use filters, beauty modes or heavy compression.
- If your phone produces HEIC files, convert them to JPEG before uploading.
- Check the preview after uploading. If anything looks stretched or blurry, redo it.
Step-by-Step: Applying on the Official Portal
- Go to the official Government of India visa website. Search carefully: many lookalike sites appear in search results and charge service fees on top of the government fee. The official site is run by the Indian government, not a private agency.
- Select e-Visa and fill in the application. Choose your nationality as Singapore, your passport type, port of arrival, expected date of arrival and visa type.
- Note your temporary application ID. Write it down or screenshot it, so you can return to the form if your session times out.
- Complete your personal and passport details. Enter everything exactly as it appears on your passport, including the order of names.
- Add family, address and reference details. You may be asked about parents, spouse and previous visits to India.
- Answer the security questions honestly.
- Upload your photo and passport scan, plus any supporting documents.
- Review every field. Mistakes in names, passport number or dates are hard to fix later.
- Pay the fee online. After payment, the status should change to show the application is under process.
- Wait for the email. Approved applicants receive an Electronic Travel Authorisation (ETA). Check the status on the portal using your application ID.
Apply well ahead. The portal sets a minimum number of days before arrival and a maximum window in advance; build in extra time in case your photo is rejected or more information is requested.
Fees, Validity and Entry Conditions
Fees for the Indian e-Visa vary by nationality, visa type and duration, and they are revised from time to time. We are not quoting a figure here because it may be out of date. The current fee for Singapore passport holders is shown on the official portal during the application, and bank or card charges may apply on top.
Points to understand before you travel:
- Validity runs from the date of grant, not arrival for some visa types, so do not apply too early.
- Stay limits apply per visit, and the number of entries depends on the visa type and duration.
- The e-Visa is not extendable in the usual way, and it generally cannot be converted into another visa type once you are in India.
- Print your ETA and carry it with your passport. Some airlines check it at check-in in Singapore.
- Restricted and protected areas in some border and remote regions need separate permits, even with a valid e-Visa.
- Biometrics are usually taken on arrival at the immigration counter.
Common Mistakes Singaporeans Make
- Paying an agent site by accident. Check the web address and the payment page before entering card details.
- Choosing a tourist visa for a business trip. If the main purpose is work meetings, apply for the business category.
- Arriving at a port not on the list. Overland or less common entry points may not accept e-Visas.
- Forgetting about the return journey. Have proof of onward or return travel ready.
- Last-minute applications. Peak travel periods, such as school holidays and festival seasons, are not the time to gamble.
If you hold a different passport, such as a PR in Singapore with another nationality, apply under your passport’s nationality, as conditions differ. For a broader look at how visa applications work from Singapore, see Applying for Travel Visas From Singapore, and for destinations that skip the paperwork entirely, browse Visa-Free Countries for Singaporeans.
Getting Ready for the Trip
Once your ETA arrives, you are close to done. Save a PDF copy on your phone, print a hard copy, and check that the passport number on the ETA matches the passport you will carry. Then sort out travel insurance, the vaccinations or health advice your doctor recommends for your destination, and a plan for mobile data and payments.
Want a taste of India before you fly? A wander through Little India in Singapore, with our Little India Heritage Guide in hand, is a good warm-up for the food, temples and textiles you will meet on the trip.
Frequently Asked Questions
How long does it take to get an Indian e-Visa approved? Processing time varies and can change, so check the official portal for the current estimate. Apply well ahead of travel, since the portal sets minimum and maximum windows before arrival, and a rejected photo or request for more information can add delay.
Can I extend my Indian e-Visa once I am in India? Generally no. The e-Visa is not extendable in the usual way and usually cannot be converted into another visa type once you are in India. Plan your stay length carefully when choosing the validity option, and confirm the rules on the official portal.
Do children and babies need their own Indian e-Visa? Each traveller normally needs their own application, using their own passport, so check the portal for how minors are handled. Prepare a compliant photo and passport scan for each child, and apply early to leave room for corrections.
What if my name on the e-Visa does not match my passport? Mismatches in names, passport numbers or dates are hard to fix later, so enter everything exactly as printed on your passport. If an error appears after approval, contact the High Commission of India in Singapore or the official helpdesk promptly, before you book non-refundable travel.
Is the Indian e-Visa safe to apply for through an agent? Using an agent is allowed but costs extra, and many lookalike sites charge service fees on top of the government fee. Applying yourself on the official Government of India portal is simple. Check the web address and the payment page before entering card details.
Further reading: The UK ETA for Singaporeans: How to Apply