
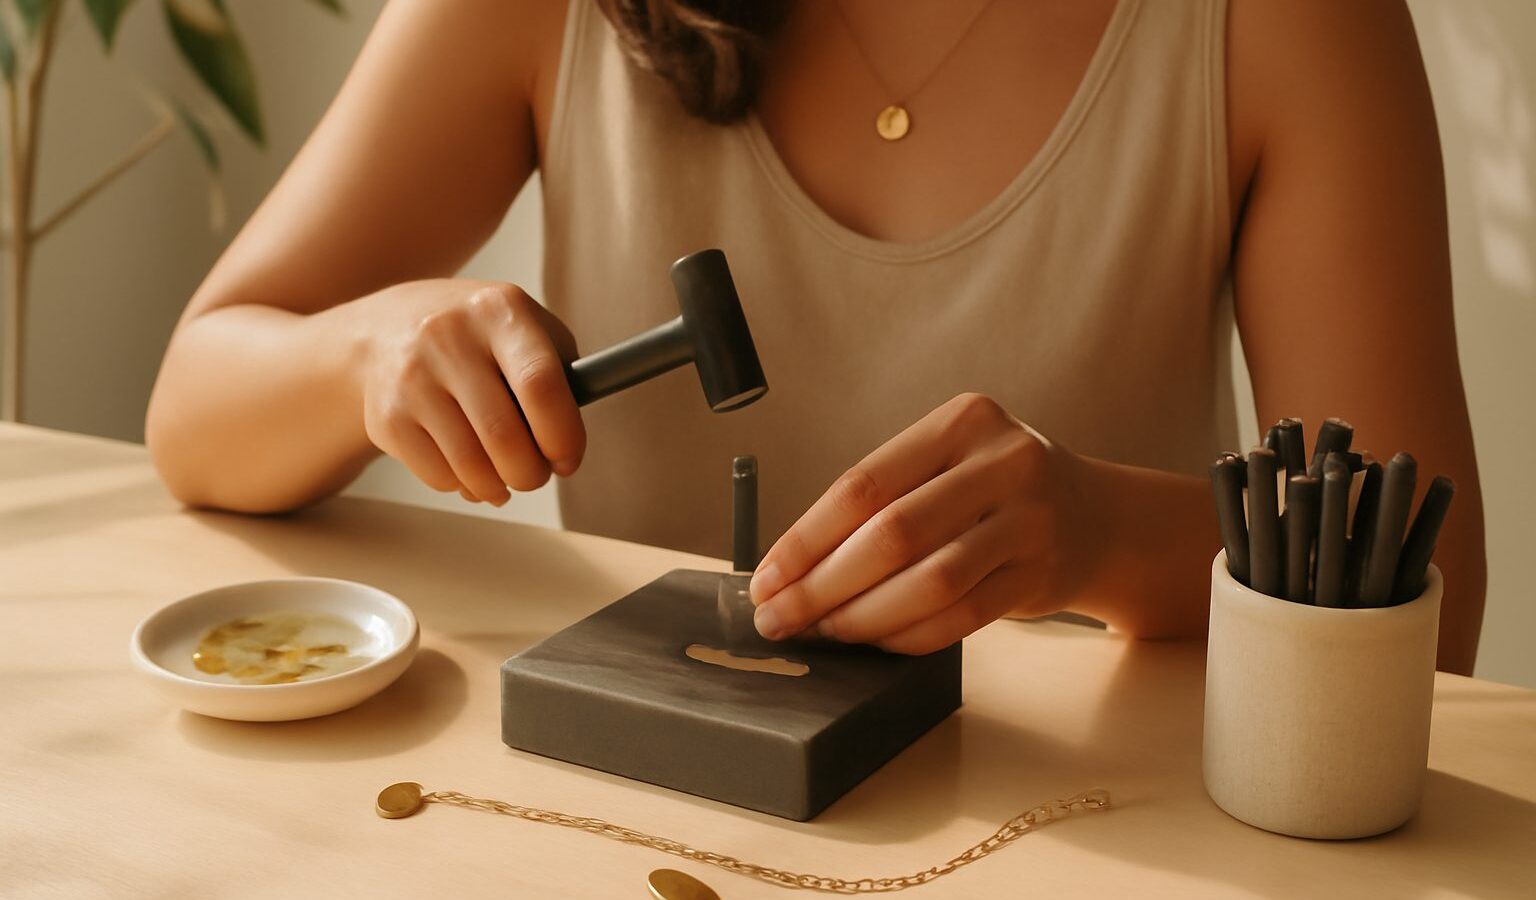
There is something deeply satisfying about pressing a letter or a tiny symbol into metal and knowing it will last for years. Metal stamping jewellery in Singapore is an approachable, hands-on craft where you strike small steel stamps onto blanks of soft metal to make personalised pendants, keyrings, bracelets and gift tags. It needs very little space, the results look genuinely professional with practice, and a finished piece makes a heartfelt gift. This guide walks you through what the craft involves, the gear you need, how to stamp safely, and how to make your first piece without spending much.

What metal stamping is
Metal stamping is simple in idea. You place a metal blank on a hard steel surface, position a stamp, which is a hardened steel rod with a raised letter or design on the tip, and strike it once with a hammer to leave a crisp impression. Build up letters and shapes one strike at a time and you have a word, a name, a date or a little picture pressed permanently into the metal.
A few plain-word terms help. A “blank” is the pre-cut piece of metal you stamp onto, often a disc, bar or heart shape. A “stamp” is the tool that carries the design. A “bench block” is the flat steel plate you stamp against so the force goes into the metal, not your table. “Oxidising” and “polishing” are finishing steps that darken the stamped marks and shine the surface so your design stands out.
Beginners usually start with softer metals such as aluminium or copper, which take an impression easily and cost less, before moving on to brass or sterling silver. Softer metal means less force and fewer mistakes while you learn.
What you need to start
You can begin with a modest kit: a set of letter stamps, a few blanks, a one-pound brass or steel hammer, a bench block, and some low-tack tape to hold blanks steady. A permanent marker and a soft cloth help you fill and wipe the stamped marks so they read clearly. Simple pliers and jump rings let you turn a stamped blank into a wearable pendant.
The table below gives a general sense of how costs tend to tier up. Prices vary and change over time, so treat these as a guide and check current retail.
| Tier | What it covers | Good for |
|---|---|---|
| Just trying | One alphabet stamp set, aluminium blanks, hammer, bench block | Making your first tag or pendant cheaply |
| Getting keen | Design stamps, mixed metal blanks, a stamp guide or jig, finishing supplies | Regular makers building consistency |
| Serious | Full stamp collection, quality silver blanks, a bench setup and better finishing tools | Committed hobbyists and gift makers |
Space is not a problem for HDB and condo living, since a sturdy table and a small box of tools are enough. Do put a mat or offcut of wood under your bench block, because the striking is loud and the surface takes a beating.
Working safely with hammers and metal
The tools here are sturdy rather than delicate, so a little care keeps you safe. Wear eye protection, because tiny metal flakes can flick up when you strike. The hammering is genuinely loud, so consider ear protection and be mindful of neighbours in close quarters by stamping at reasonable hours. Keep your fingers clear of the stamp and hammer path, hold stamps upright, and strike with a single firm tap rather than many nervous ones, which also gives a cleaner mark.
When you file or sand edges to smooth them, work away from your body and keep the piece secured. If you use any oxidising solution, polish or solvent, follow the label, work in a well ventilated space, keep lids closed, and store it safely. Metal blanks can have sharp edges when new, so handle them carefully and file rough spots. Keep tools and any chemicals away from children, and supervise closely if a young helper wants to try a safe step.
Making your first piece
Start with a short word or a single initial on an aluminium blank. Draw a light guideline with a marker and ruler so your letters sit straight, then line up each stamp against it. Tape the blank to your bench block so it cannot shift. Strike each letter once, firmly and squarely, resisting the urge to tap twice, which causes a blurred double image. When the word is done, rub a marker over the marks, wipe the surface clean, and the recessed letters stay dark and readable.
Add a jump ring, thread a chain or cord, and you have a finished pendant. Do not worry if your first spacing wanders. Straight, even lettering is the main skill, and it comes quickly with a jig and practice.
Finding your feet and a community
If you enjoy making small wearable things, this craft sits happily beside related hobbies. Have a look at jewellery making for beginners for beads, wire and settings that pair well with stamped pieces, and leathercraft for beginners if you fancy stamping and tooling leather goods too. For another precise handcraft with natural materials, marquetry and wood inlay is a lovely companion.
Many community clubs and maker spaces run beginner jewellery or metalwork sessions where you can try tools before committing, and online groups happily share designs and tips. Metal stamping jewellery in Singapore is one of those crafts you can pick up in an afternoon and keep improving at for years, so start with a few cheap blanks, enjoy the rhythm of the hammer, and make something with a name on it.
Frequently Asked Questions
Which metal is best for a first stamping project? Aluminium is a good first choice because it is soft, cheap and takes an impression easily. Once your strikes are consistent, move to copper, brass or sterling silver for a more lasting piece.
Why do my stamped letters come out blurry or doubled? Blur usually comes from a second tap or a stamp that shifted as you struck. Tape the blank to your bench block, hold the stamp upright, and give each letter one firm, square blow.
How do I keep my stamped lettering straight and evenly spaced? Draw a light guideline with a marker and ruler, then line each stamp up against it. A stamp guide or jig makes spacing much easier once you start making more pieces.
Is hammering metal at home too noisy for neighbours? It can be loud, particularly in flats, so stamp at reasonable hours and place a mat or wood offcut under your bench block. Ear protection helps you too, and fewer, firmer strikes keep noise down.
How can I make stamped marks stand out on the finished piece? Rub a permanent marker into the recessed marks and wipe the surface clean, and the letters stay dark and readable. Oxidising and polishing are also finishing steps that follow the product label.
Further reading: Chainmaille Jewellery Making · Copper Enamelling for Beginners: Torch-Fired Enamel Jewellery