
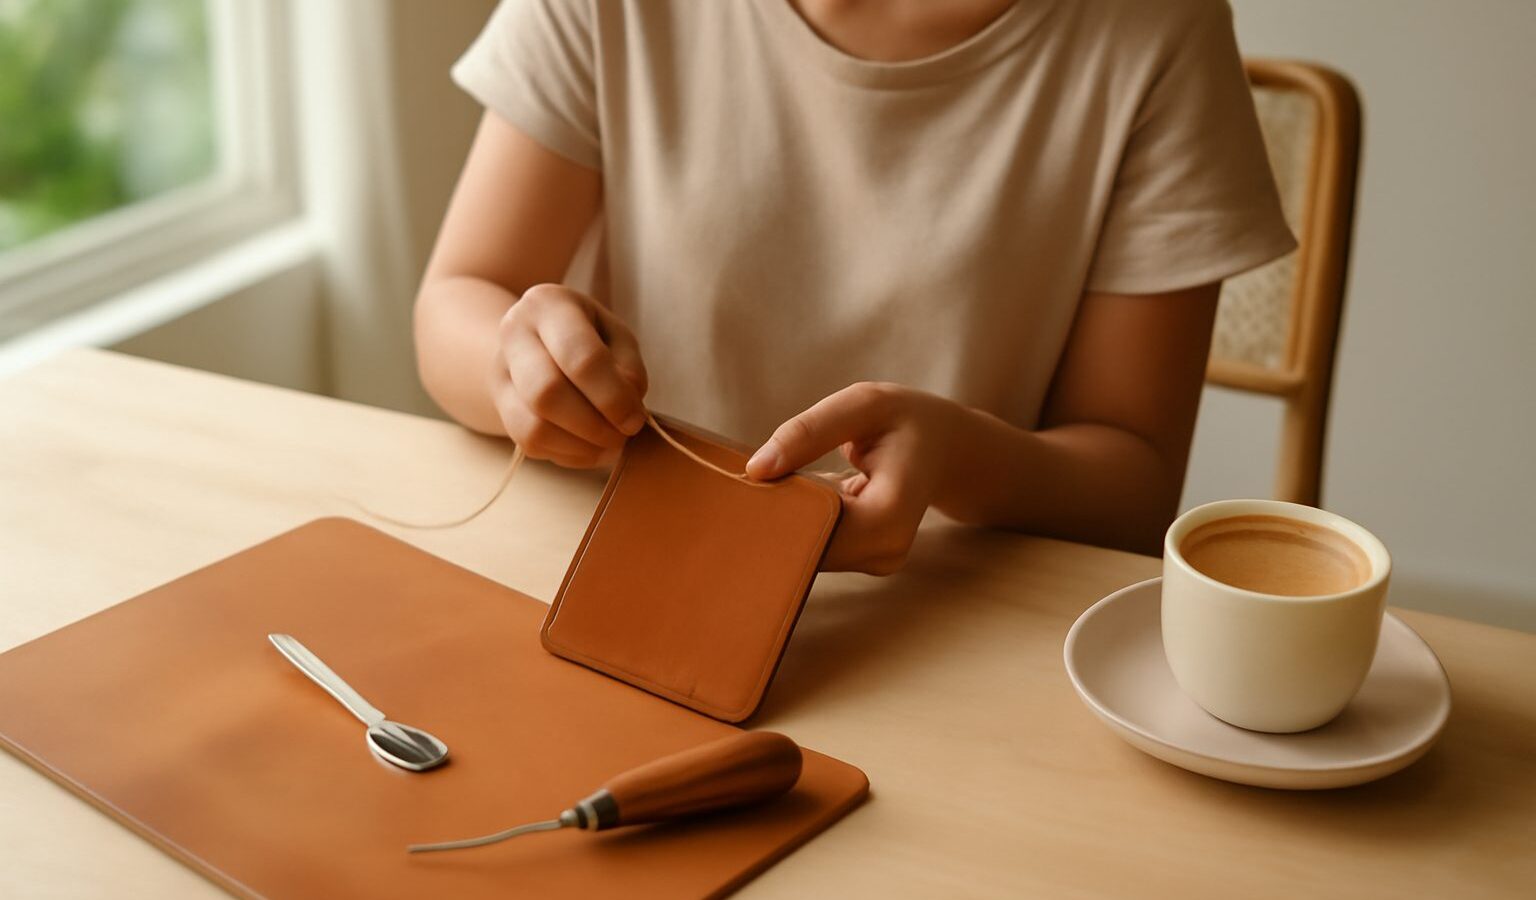
Few crafts feel as grown-up and lasting as leatherwork. A hand-stitched card holder or belt can outlive the person who made it, and the smell and feel of good leather is a pleasure in itself. Best of all, leathercraft for a total beginner is far more approachable than it looks. You do not need a workshop or a big budget to start; a small piece of hide, a handful of tools, and a quiet table are enough. This guide takes a Singapore beginner through the tools, the leather, the safety habits that keep your fingers safe, and a first project you can genuinely be proud of.
Why Leathercraft Is Worth Trying
Leathercraft sits in a lovely sweet spot for beginners. It is precise enough to feel like a real skill, yet forgiving enough that a first project comes out looking good. Because most starter work is hand stitched rather than machine sewn, it is quiet and tidy, which suits an HDB flat or a small balcony. There is no loud machinery, no fumes if you keep to simple projects, and nothing that will annoy the neighbours.
It is also a craft that grows with you. The same core skills of cutting, punching holes, and saddle stitching will carry you from a keyring to a wallet to a bag. And leather goods are genuinely useful, so you end up with things you use every day rather than clutter for a shelf. That mix of usefulness, durability, and steady skill-building is what hooks most people after their very first piece.
Working Safely with Sharp Tools
Leathercraft leans on genuinely sharp blades and pointed awls, so a few firm safety habits matter from the start. Read this before you cut anything, because good habits early on keep the hobby fun rather than painful.
- Always cut away from your body. Guide the knife away from your hands and torso, never towards yourself. A leather knife is very sharp and slices skin as easily as hide.
- Wear a cut-resistant glove. A carving or cut-resistant glove on your non-knife hand turns a slip into a near miss. It is cheap and worth every cent.
- Keep blades sharp. A sharp blade cuts where you guide it; a dull one needs force and skids off the line. Strop your edge often, because sharp is safe.
- Mind the awl and needles. A stitching awl is a spike, so keep fingers behind the point and push through a mat, never towards your palm.
- Keep a first-aid kit nearby. A plaster and a clean cloth within reach means a small nick stays small.
- Store tools away from children. Keep knives and awls sheathed, high up, and out of little hands.
Cut on a proper cutting mat, take your time, and never rush a cut just to finish faster. Calm, deliberate hands are safe hands.
Your Starter Tools and Materials
The lovely thing about leathercraft is that a modest kit goes a long way. Look in a general craft shop, an art-supply store, a hardware store, or an online marketplace, and you can assemble the basics without spending much.
- A leather knife or a sturdy craft knife. For cutting your pieces cleanly on a mat.
- A stitching chisel or pricking iron. This punches evenly spaced holes so your stitches come out neat.
- A stitching awl. For opening or tidying holes as you sew.
- Waxed thread and two blunt needles. Blunt needles are safer and correct for saddle stitching.
- An edge beveller and a burnishing tool. For rounding and smoothing raw edges, which instantly makes work look professional.
- A cutting mat, a metal ruler, and a wooden mallet. Your workbench essentials.
You do not need a stitching pony, a splitter, or a big tool roll at the start. Add those only if the craft sticks.
Choosing the Right Leather
Leather choice trips up more beginners than any tool, because the shops offer several types and thicknesses and the labels are confusing. The table below compares the common options so you can buy with confidence.
| Leather type | How it behaves | Best for beginners? |
|---|---|---|
| Vegetable tanned | Firm, holds shape, tools and stamps well | Yes, the ideal first leather |
| Chrome tanned | Soft and floppy, hard to stitch neatly | Better once you have some practice |
| Thin garment leather | Stretchy and slippery to cut | No, too soft to control |
| Scrap or offcut bags | Mixed quality but very cheap | Yes, perfect for practice cuts |
For a first project, buy a small piece of vegetable tanned leather around one and a half to two millimetres thick. It is firm enough to cut cleanly, punch evenly, and stitch neatly, and it takes an edge finish beautifully.
Your First Project: A Simple Card Holder
A flat card holder is the classic beginner win because it teaches every core skill in miniature: cutting, hole punching, saddle stitching, and edge finishing. Cut two small rectangles of vegetable tanned leather to the same size, using a metal ruler and a sharp knife on your mat, always drawing the blade away from you.
Mark a stitch line a few millimetres in from the edge, then tap your stitching chisel along it with the mallet to punch evenly spaced holes. Now learn the saddle stitch, the heart of hand leatherwork: with a needle on each end of one thread, pass both needles through the same hole from opposite sides, pull snug, and repeat down the line. This double-sided stitch is far stronger than machine sewing and looks handsome from both faces. Finish by bevelling the raw edges, then rub them with a burnishing tool and a little water until they turn smooth and glossy. Your first holder will have a wobble or two, and that honest handmade character is part of its charm.
Common Beginner Mistakes
A handful of slips catch nearly everyone, and knowing them in advance saves both your leather and your patience.
- Choosing floppy leather. Soft, thin hide is miserable to cut and stitch. Start firm with vegetable tanned.
- Uneven stitch holes. Punch with the chisel held straight up and take your time; crooked holes make crooked stitches.
- Rushing the cut. One confident pass along a ruler beats several nervous saws. Sharp blade, steady hand.
- Skipping the edges. Bevelling and burnishing is what separates a homemade look from a handmade one. Never leave edges raw.
Storing Leather in Singapore’s Humidity
Our warm, damp climate is the one real enemy of leather goods, because trapped moisture invites mould and mildew. Store your hide and finished pieces somewhere dry and airy, never sealed in a plastic bag where condensation collects. A breathable cotton dust bag is far better. Keep a sachet of silica gel in your leather box to draw out damp, and if you spot the faint bloom of mildew, wipe it gently with a barely damp cloth and let the piece air-dry fully away from direct sun. Keep your metal tools lightly oiled too, since the same humidity that troubles leather will rust an awl or knife left unattended.
How to Improve and Go Further
Once a card holder or two are behind you, the natural next step is a bifold wallet, which repeats the same skills with a few more pieces to align. From there you can try a belt, a key case, or a simple pouch. Free video tutorials will teach you edge painting, leather dyeing, and neater stitching, and a beginner pattern gives you templates to trace. Resist buying a huge tool set early; a beginner improves far faster with a few familiar tools and plenty of practice than with a drawer full of gadgets.
Explore more
If making useful things by hand appeals to you, there is more to explore in this batch. For another craft built on a sharp blade and patient hands, try whittling and wood carving, or build something larger at a bench with woodworking for beginners. If you enjoy fiddly, precise work, wire wrapping and wire art is a lovely companion to leathercraft.