
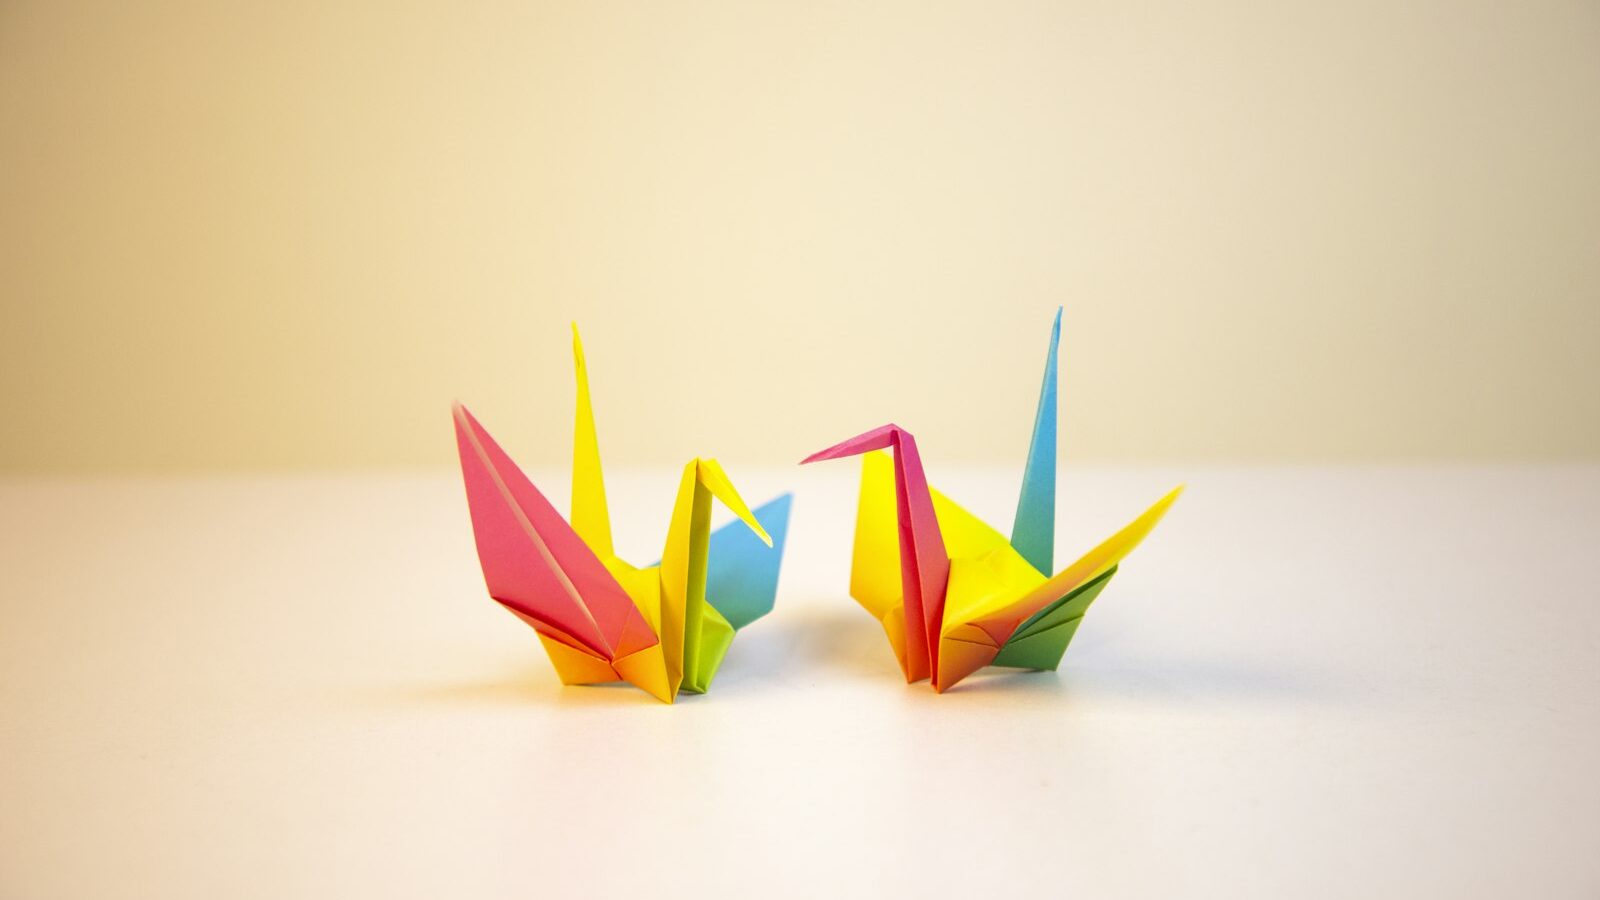
The paper crane is the most famous model in origami, and for good reason. It needs only one square of paper, no scissors and no glue, yet the finished bird looks elegant enough to hang in a window or give as a gift. Learning to fold an origami paper crane also teaches you the key bases and folds used in hundreds of other models. This guide takes you through each step slowly, explains the terms as they come up and helps you fix the mistakes most beginners make.
Choosing Paper for Your First Crane
Any square of paper will do, but the right paper makes your first attempts far less frustrating. Origami paper, often sold as “kami”, is thin, crisp and coloured on one side, which makes it easy to see which side you are folding. You can find it at stationery shops, art supply stores and bookshops in most malls.
| Paper type | Good for | Drawbacks |
|---|---|---|
| Standard origami paper (15 cm square) | First cranes and practice | Can tear if you unfold and refold many times |
| Printer or copy paper cut square | Practice when you have nothing else | Thicker, so the final folds are harder |
| Washi or patterned Japanese paper | Gifts and decorations | Softer, so creases are less sharp |
| Foil-backed paper | Cranes that hold shape well | Shows every wrong crease permanently |
To make a square from an A4 sheet, fold one short edge down to meet a long edge to form a triangle, then cut or tear off the leftover strip. Start with a 15 cm square. Smaller squares are fiddly and larger ones are floppy.
Folds and Terms You Need to Know
A few words come up again and again in origami instructions. Learn these and every diagram becomes easier to follow.
- Valley fold. Fold the paper towards you so the crease sinks like a valley.
- Mountain fold. Fold the paper away from you so the crease rises like a ridge.
- Crease. Fold firmly, run your fingernail along the edge, then unfold. The line guides later folds.
- Squash fold. Open a flap and flatten it into a new shape.
- Petal fold. Lift one layer up along existing creases while folding the sides in, creating a long diamond.
- Inside reverse fold. Push a point inside itself so it changes direction between the layers. This forms the crane’s neck, tail and head.
Work on a hard, flat table. Precise, sharp creases are the single biggest difference between a messy crane and a neat one.
Step by Step: Folding the Paper Crane
Take your time on the first few steps. Small errors early on grow larger with every fold.
Make the square base
- Place the paper coloured side up. Fold it in half diagonally both ways, unfolding after each, so you have an X crease.
- Turn the paper over to the white side. Fold it in half edge to edge both ways, unfolding after each, so you have a plus sign crease.
- Hold the paper by two opposite corners and bring all four corners together at the bottom. The paper collapses along the creases into a small square with open flaps at the bottom. This is the square base, also called the preliminary base.
Turn it into a bird base
- With the open end pointing towards you, fold the left and right lower edges of the top layer in to meet the centre line. It now looks like a kite.
- Fold the top triangle down over the kite flaps and crease firmly. Unfold the triangle and the two kite flaps.
- Lift the bottom corner of the top layer upwards along the horizontal crease you just made. As you lift, the sides fold inwards along the kite creases. Flatten it into a long diamond. This is the petal fold.
- Turn the model over and repeat steps 4 to 6 on the other side. You now have the bird base, a long diamond with two “legs” at the bottom that can separate.
Shape the crane
- On the top layer, fold the lower left and right edges in to the centre line to make the legs thinner. Turn over and repeat on the other side.
- Inside reverse fold one thin leg upwards between the body layers to form the neck. Repeat with the other leg to form the tail.
- Inside reverse fold the tip of the neck downwards to make the head.
- Fold the wings down on each side. Gently pull the wings apart while pressing the centre of the back to puff out the body.
Your first crane may look a little lopsided. That is normal. Most people need three to five tries before the steps feel natural.
Fixing Common Beginner Mistakes
- The square base will not collapse. Your creases are probably on the wrong side. Recheck that the diagonal folds were made coloured side up and the edge folds white side up.
- The petal fold tears. The paper is too thick, or the creases from step 5 are not sharp enough. Re-crease firmly before lifting.
- The neck and tail are uneven. Make sure the thinning folds in step 8 meet the centre line exactly on both sides.
- The head looks bulky. Use a smaller reverse fold, about the length of your thumbnail on a 15 cm sheet.
- The body stays flat. Hold the wings close to the body and pull gently, rather than tugging from the tips.
Senbazuru: The Thousand Paper Cranes
In Japan, the crane is a symbol of long life and good fortune, and folding 1,000 cranes, known as senbazuru, is a traditional gesture for a wish, a wedding or a recovery. The custom became known worldwide through the story of Sadako Sasaki, a girl in Hiroshima who folded cranes while ill after the atomic bombing, and paper cranes are now widely seen as a symbol of peace.
If you want to try a senbazuru project, a few practical tips help:
- Use smaller paper, such as 7.5 cm squares, so the finished strings are not too heavy.
- String cranes in strands of around 25 to 40 with a needle and strong thread, using a small bead at the bottom of each strand to stop them sliding off.
- Fold a set number each day. It turns a huge task into a calm daily habit.
- Invite family or colleagues to help. Group folding is a lovely way to make a gift for someone who is unwell or getting married.
Where to Go After the Crane
Once you can fold a crane without instructions, you have learnt the bird base, which opens up flapping birds, lilies and many animal models. If you enjoy working with paper, our guide to origami and paper folding covers more models and the wider hobby, while paper quilling for beginners and making crepe paper flowers are relaxing next steps that use similar patience and precision.
Frequently Asked Questions
How long does it take to fold a paper crane? Your first one may take 15 to 20 minutes with instructions. With practice, most people fold a crane in a few minutes.
What size paper is best for a paper crane? A 15 cm square is ideal for learning. Smaller squares suit senbazuru strings and decorations.
Can children fold an origami paper crane? Older children who can follow multi-step instructions usually manage with help. Younger children may enjoy simpler models first, such as a cup or a jumping frog.
Why does my crane not stand up? Cranes balance best when the body is puffed out evenly and the neck and tail are the same length. Adjust the wings slightly until it sits level.
Where can I buy origami paper in Singapore? Stationery shops, art supply stores and bookshops in most malls usually stock origami paper, often sold as kami. If you have none at hand, you can cut a square from an A4 printer sheet for practice, though thicker paper makes the final folds harder.
What does a paper crane symbolise? In Japan the crane stands for long life and good fortune, and folding a thousand cranes is a traditional gesture for a wish, a wedding or a recovery. Through the story of Sadako Sasaki in Hiroshima, paper cranes are also widely seen as a symbol of peace.
How do I make a paper crane that flaps its wings? The flapping bird is a different model, but it starts from the same bird base you learn for the crane. Once you can fold the bird base confidently, look up a flapping bird diagram; the neck and tail are folded differently so pulling the tail moves the wings.
Is origami a good activity for kids’ fine motor skills? Many parents and teachers use origami for exactly that, since it needs careful hand movements, sequencing and patience. Start younger children with simple models such as a cup or jumping frog, then move to the crane once they can follow multi-step instructions.
How do I hang paper cranes as decorations? Thread them with a needle and strong thread through the centre of the body, using a small bead at the bottom of each strand to stop them slipping off. Smaller squares keep the strands light enough to hang from a window or ceiling.