

Browser extensions block ads on one browser on one device. But a typical Singapore household has laptops, phones, tablets, a smart TV, a streaming stick and a few smart plugs, all quietly loading ads and phoning home to trackers. A Pi-hole ad blocker solves this at the network level. Installed on a small Raspberry Pi, it filters ad and tracking domains for every device that connects to your home Wi-Fi, with no app to install on each one. This guide explains how it works, how to set it up and the limits you should know before you start.
If you have never used a Raspberry Pi before, start with our beginner’s guide to setting up a Raspberry Pi. This article picks up from there and focuses on Pi-hole itself.
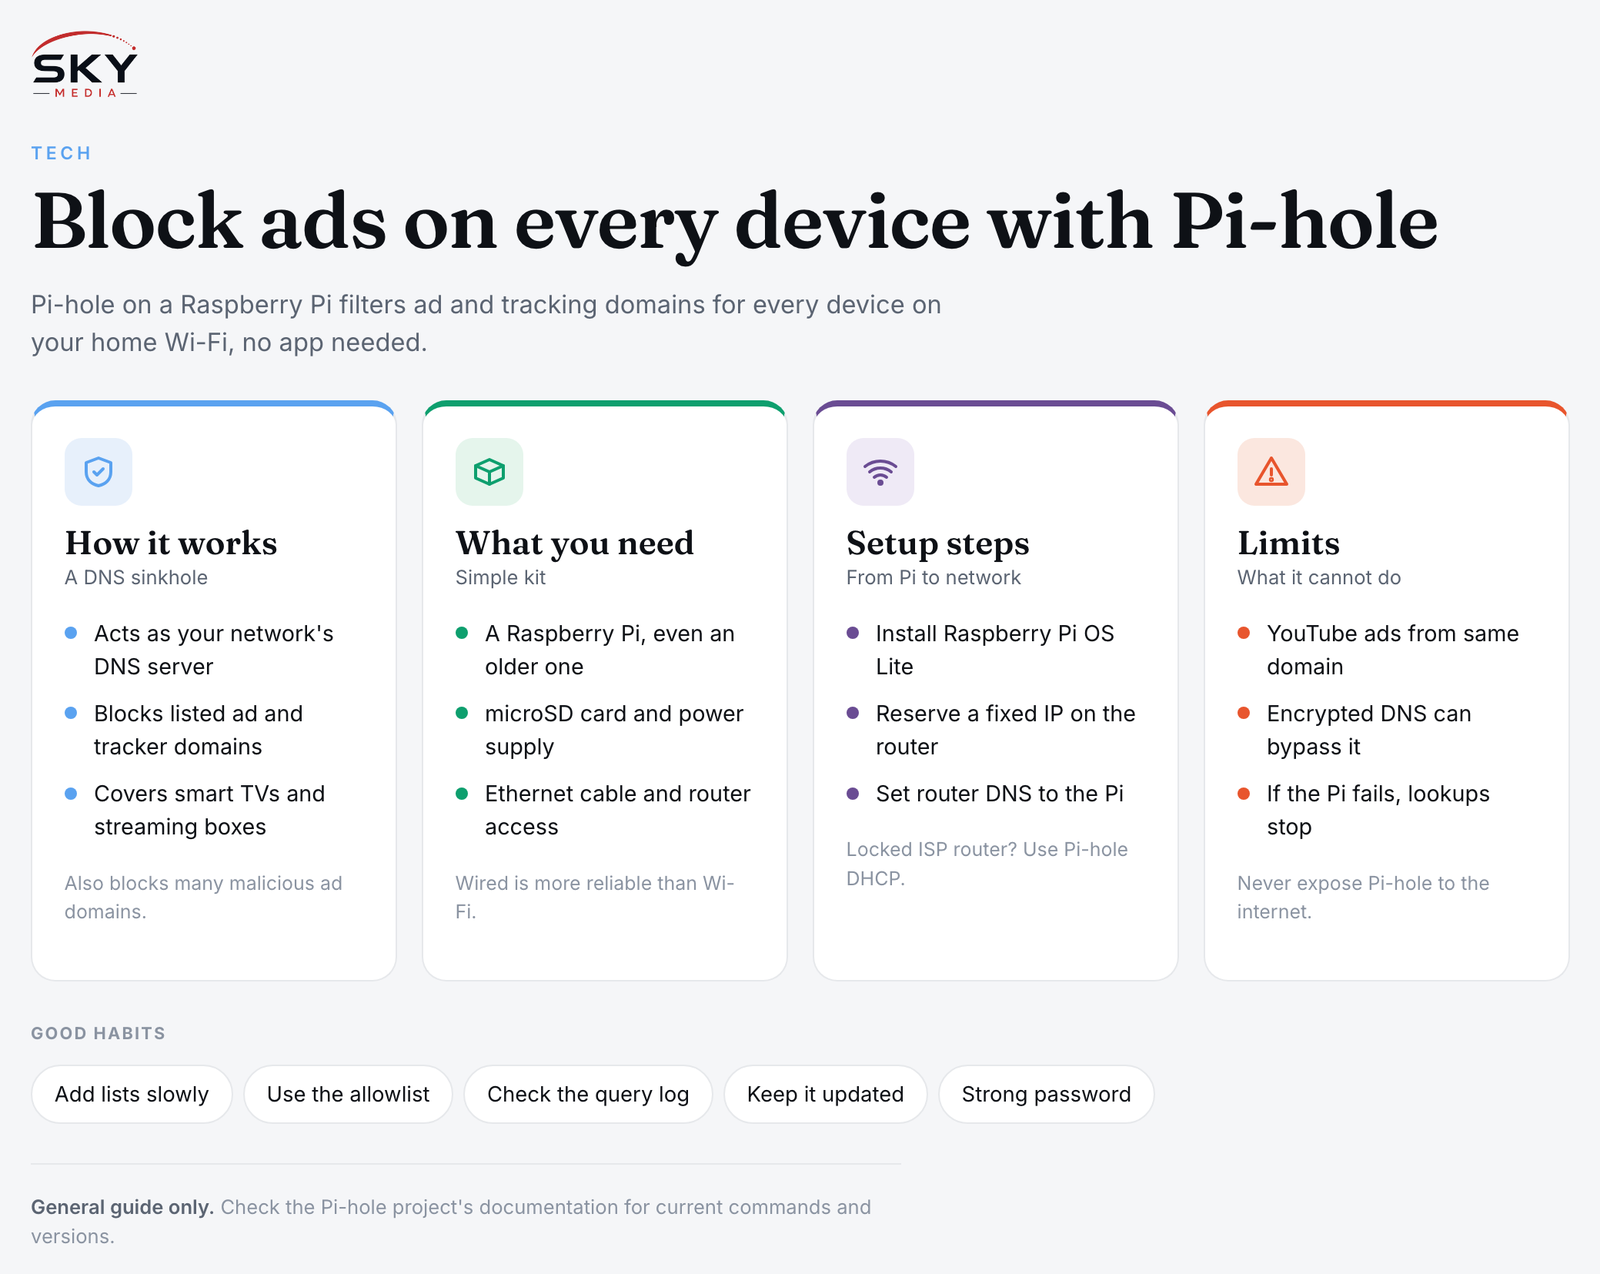
How Pi-hole Blocks Ads
Every time a device loads a website or app, it first asks a DNS (Domain Name System) server to translate names like an ad server’s domain into an IP address. Normally your router passes these questions to your internet provider’s DNS servers.
Pi-hole puts itself in the middle as your network’s DNS server. It checks every request against blocklists of known ad, tracking and malware domains. If a domain is on the list, Pi-hole answers with a dead end, so the ad never loads. If it is not, Pi-hole passes the request on to an upstream DNS provider of your choice and returns the answer. This approach is called a DNS sinkhole.
Because it works on DNS, Pi-hole protects devices that cannot run ad blockers at all, such as smart TVs and some streaming boxes, and it can reduce the tracking that our guide to ad tracking and cookies describes. It also blocks many domains associated with malicious ads, adding a layer of defence against the problems covered in understanding malvertising.
What You Need
- A Raspberry Pi. Pi-hole is lightweight, so even an older or entry-level model is usually enough for a home. A model with a wired Ethernet port is ideal.
- A microSD card and power supply suitable for your Pi model.
- An Ethernet cable to connect the Pi directly to your router. A wired connection is more reliable than Wi-Fi for a device every other device depends on.
- Access to your router’s admin page. You will need it to reserve an IP address and change DNS settings.
Pi-hole can also run on other Linux machines, in a container or on some network storage devices, but a dedicated Raspberry Pi is the simplest, quietest option and uses little power.
Step-by-Step Setup
1. Prepare the Raspberry Pi
Use the official Raspberry Pi Imager to install Raspberry Pi OS Lite (the version without a desktop) on the microSD card. In the imager’s settings, enable SSH, set a username and strong password, and set your time zone to Singapore. Insert the card, plug the Pi into the router with Ethernet and power it on.
2. Give the Pi a fixed address
Every device needs to find Pi-hole at the same address. Log in to your router, find the Pi in the list of connected devices and create a DHCP reservation (sometimes called a static lease or address binding) so it always receives the same IP.
3. Install Pi-hole
Connect to the Pi over SSH from your computer, update the system, then run the official installer from the Pi-hole project’s website. The installer walks you through choosing an upstream DNS provider, the default blocklist and whether to install the web admin interface. Say yes to the web interface. At the end, it shows the admin address and password details. You can change the admin password later from the command line; the exact command depends on your Pi-hole version, so check the project’s documentation.
4. Point your network at Pi-hole
This is the step that turns Pi-hole on for the whole household. In your router’s settings, find the DHCP or LAN section and set the DNS server to the Pi’s fixed IP address. Devices pick up the new setting when they reconnect or renew their address, so restarting Wi-Fi on each device speeds things up.
Some ISP-supplied routers do not let you change the DNS server handed to devices. If yours is one of them, you have two options: turn off DHCP on the router and enable Pi-hole’s built-in DHCP server instead, or use your own router behind the ISP’s equipment. Our guide to home Wi-Fi and mesh networks explains how many households set up their own router.
5. Check it is working
Open the Pi-hole dashboard in a browser. You should see queries arriving from your devices and a percentage of them blocked. Visit a few ad-heavy sites to confirm.
Choosing a Setup Approach
| Approach | How it works | Pros | Cons |
|---|---|---|---|
| Router hands out Pi-hole as DNS | Router’s DHCP tells every device to use the Pi | Easiest, every device covered automatically | Not possible on some locked ISP routers |
| Pi-hole as DHCP server | Router’s DHCP is off; Pi-hole assigns addresses and DNS | Works with locked routers, shows device names in logs | If the Pi goes down, new devices cannot get an address |
| Per-device DNS setting | You set DNS manually on chosen devices | Good for testing or protecting a few devices | Easy to miss devices; guests not covered |
| Pi-hole plus a private resolver | Pi-hole forwards to a local recursive resolver such as Unbound | No single upstream provider sees all your lookups | More setup and troubleshooting |
Tuning Blocklists and Fixing Breakages
The default blocklist is a sensible start. You can add more lists from the dashboard, then update Pi-hole’s database (called “gravity”) for them to take effect. More lists mean more blocking, but also more chance of breaking something. Add lists gradually.
When a site or app stops working:
- Open the query log and look for blocked domains from that device at the time of the problem.
- Add the needed domain to the allowlist (formerly called the whitelist).
- Test again. Shopping links, cashback sites and some banking or e-payment apps sometimes rely on tracking domains to work.
You can also pause blocking for a few minutes from the dashboard when a family member needs something to work right away.
Limits You Should Know
- Some ads are served from the same domain as the content. Video platforms, such as YouTube, and some social media apps deliver ads this way, so Pi-hole cannot separate them. A browser extension still helps there.
- Encrypted DNS can bypass it. Browsers and apps using DNS over HTTPS may skip Pi-hole. Disable secure DNS in browser settings, or block known encrypted DNS providers.
- Hard-coded DNS. Some smart devices ignore your network’s DNS and use their own servers.
- IPv6. If your network uses IPv6, make sure devices also receive Pi-hole as their IPv6 DNS server, or they may route around it.
- Single point of failure. If the Pi crashes, name lookups stop and the internet seems down. Use a reliable power supply and keep a note of how to switch DNS back on the router. Advanced users run a second Pi-hole as a backup.
Keep the Pi updated, change default credentials and keep the admin page reachable only from inside your home network. Never expose Pi-hole to the open internet, as an open DNS server can be abused.
Is Pi-hole Worth It?
For a household with many devices, a Pi-hole ad blocker is one of the most satisfying weekend tech projects you can do. Pages load with less clutter, smart TVs show fewer ads and you get a clear picture of how chatty your devices really are. It does not replace good security habits or browser-level blockers, but as a network-wide first filter it is hard to beat for the cost of a small single-board computer.