
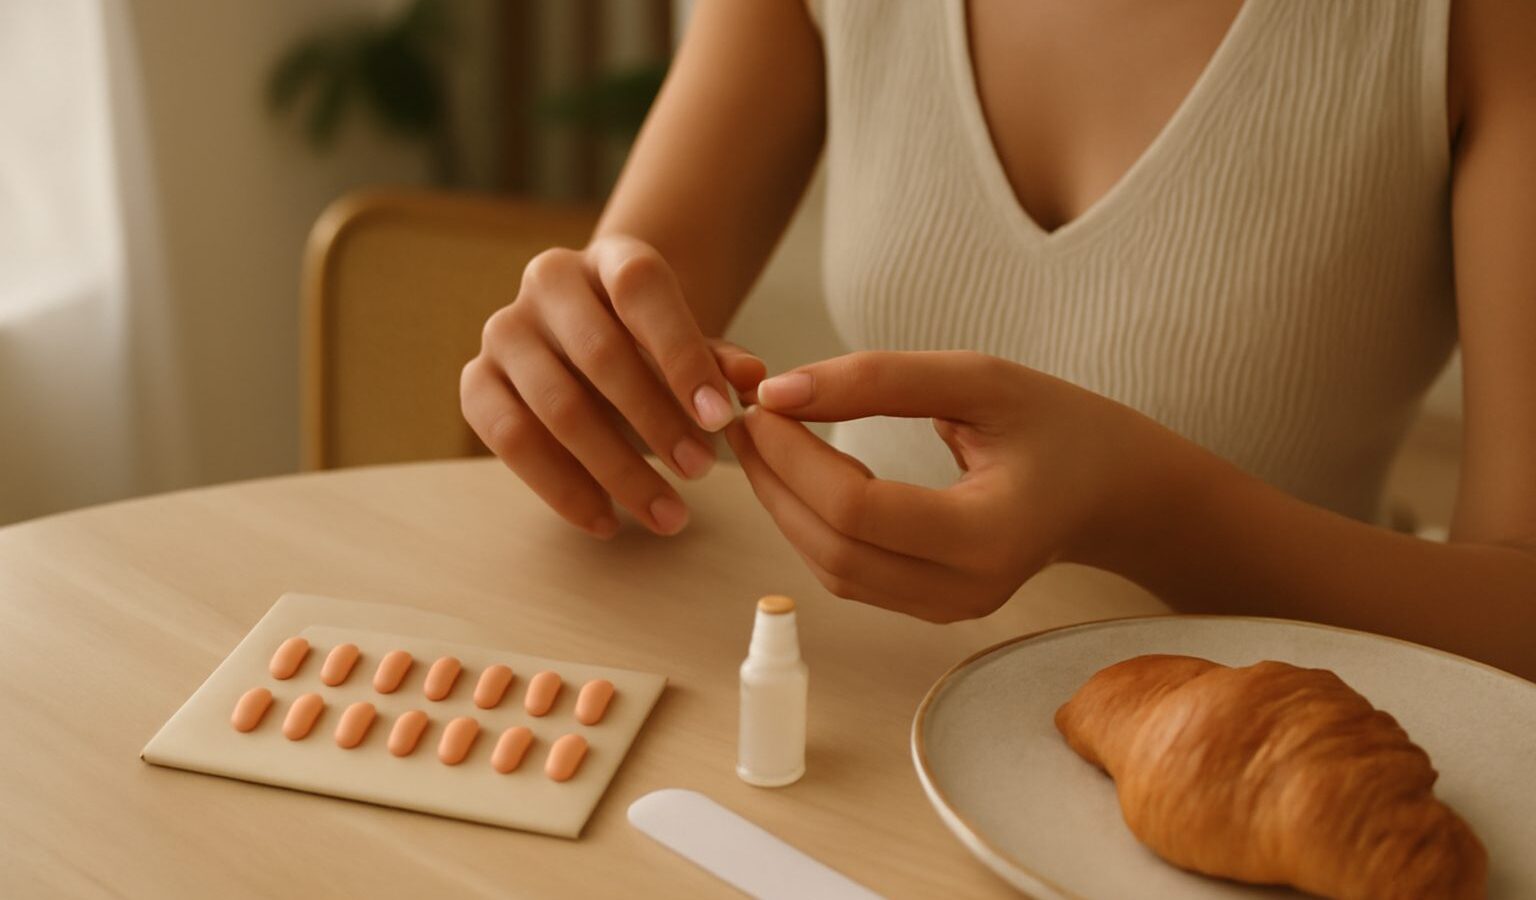
Press-ons have come a long way from the flimsy sets of years ago, and today press on nails singapore shoppers can find them in beautiful shapes, finishes and lengths that rival a salon manicure. They are quick, they are reusable, and they let you change your look for a wedding, a holiday or a Monday without committing to weeks of gel. Best of all, applied and removed with a little care, they are one of the gentlest options for your natural nails. This guide covers what they are, how to apply them so they actually last in our heat, and how to take them off without doing any damage.
What Press-Ons Are and How to Apply Them
A press-on is a pre shaped artificial nail, usually made of a light plastic, that attaches over your natural nail with either an adhesive tab or a nail glue. Tabs are gentle double sided stickers that peel off easily and are ideal for a day or an evening. Glue holds far longer, often several days to a week, but needs more care on removal. Many sets come with a range of sizes so you can match each finger, along with a small file, a cuticle stick and adhesive.
Good application is mostly about preparation. Start with clean, dry, oil free nails, because any moisture or lotion stops the adhesive gripping. Push back your cuticles gently, lightly buff the surface of the natural nail to take off the shine, and wipe each nail so it is completely clean. Then size every press-on before you stick anything down. Lay the tips out in order and match each one to the right finger, choosing a size that covers the nail wall to wall without pressing into the skin.
When you are happy with the fit, apply your adhesive. For glue, a thin line on the natural nail or the back of the tip is enough, since too much squeezes out messily. Position the press-on just above the cuticle, press it down firmly from the base to the tip to push out any air bubbles, and hold for a good twenty to thirty seconds. Work one nail at a time. Once they are all on, you can gently file the free edge to your preferred shape and length.
Our climate is the real test of a good application. Heat, humidity and sweat all work against adhesive, so clean, dry, oil free prep matters even more here than in a cooler place. Avoid long soaks and hot water for the first hour, and keep your hands out of dishwater or the pool right after applying.
Making Them Last and Taking Them Off Safely
A few habits make press-ons hold on far longer. Keep hand cream and cuticle oil away from the nail itself on application day, since oil is the enemy of adhesive. Wear gloves for washing up and cleaning. Avoid using your nails as tools to open cans or peel stickers, because a snagged press-on can lift the tip painfully. If one does start to lift at the edge, do not carry on regardless and do not rip it off. A lifted nail that traps water underneath can invite irritation or infection, so remove it properly and reapply.
Removal is the part that protects your natural nails, so never be tempted to just pull them off. Yanking a glued press-on tears away layers of your own nail and leaves it thin and sore. The safe way is to soak. Fill a bowl with warm water and a little gentle soap, or use acetone for stronger glue, and let your fingertips soak for ten to fifteen minutes until the adhesive softens. Then gently wiggle each tip loose from the base, or ease it off with a cuticle stick. If it resists, soak longer rather than forcing it. Once off, buff away any leftover glue gently and finish with cuticle oil.
Here is a quick comparison of the two main ways to attach them.
| Adhesive type | How long it lasts | Best for | Removal |
|---|---|---|---|
| Sticky tabs | A few hours to a day | Events, trying a look | Peel off gently |
| Nail glue | Several days to a week | Longer everyday wear | Soak to soften first |
| Reusing a set | Depends on care | Budget and eco minded | Clean glue off after each wear |
Reusing Your Sets
One of the quiet joys of press-ons is that a good set can be worn again. After a gentle soak-off, clean the old adhesive from the back of each tip, wash them, and store them flat in their case. A single kit can give you several wears, which makes them friendly on both your wallet and your natural nails compared with repeated salon visits. Keep a little pot of spare glue and tabs on hand so you are always ready.
Keeping Your Natural Nails Healthy
Press-ons are gentle by nature, but a few sensible habits keep your own nails in good shape. Give your nails a breather between sets rather than reapplying immediately, and use those breaks to massage in cuticle oil and let the nail rehydrate. Never file your natural nail down aggressively to fit a tip, and go easy with the buffer, since you only want to dull the shine, not thin the nail.
Watch how your skin responds, especially with glue, as some people react to the adhesive. If the skin around the nail becomes red, itchy, swollen or painful, or if a nail lifts and the area looks or feels infected with throbbing or pus, stop wearing them and see a doctor or pharmacist. Repeated ripping, picking or wearing them too long without a break can weaken the nail over time, so the golden rules are simple: prep well, remove by soaking, and rest between sets.
With a careful application and a patient soak-off, press-ons give you a fresh, salon style look whenever you fancy one, and they leave your natural nails no worse for it. Size them properly, keep oil away on application day, and take them off gently, and you can change your nails as often as your mood.
Explore more
Nail Art for Beginners
An At-Home Manicure Guide
Nail Health and Care in Singapore
Gel vs Acrylic Nails in Singapore