
A tidy set of nails does not require a salon appointment or a drawer full of gadgets. A good at-home manicure is really just a sensible order of simple steps: clean, shape, tend the cuticles, buff and, if you like, polish. Do them in the right sequence with a little patience and your hands look cared for in about half an hour. In Singapore, where heat and humidity mean hands are washed and sanitised constantly and polish is forever chipping in the aircon-to-outdoors shuffle, a repeatable home routine is genuinely useful. This guide walks through the whole process, the tools worth owning, and how to keep everything hygienic so a relaxing habit never turns into a sore finger.
What You Need Before You Start
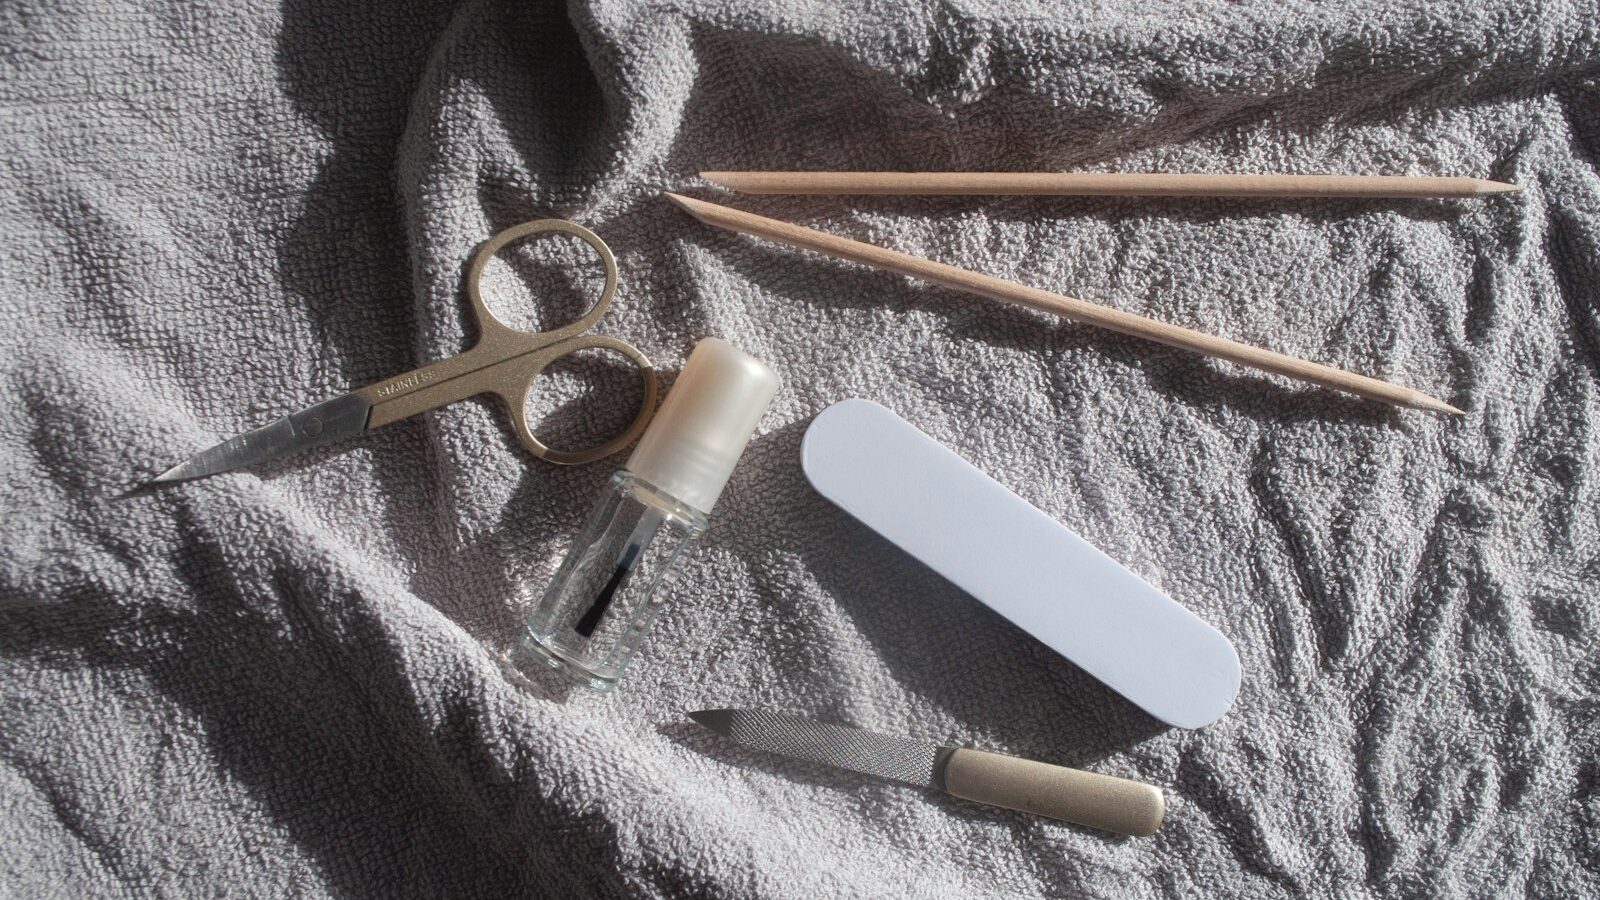
You can keep your kit small. The essentials are a gentle nail file, a buffer, cuticle oil or cream, a hand cream and, optionally, polish with a base and top coat. A pair of small, clean nail scissors or clippers helps if your nails are long, and an orange stick or rubber-tipped cuticle pusher lets you tidy the base of the nail without metal scraping.
Two things matter more than the brand of anything. First, hygiene: your tools touch the delicate skin around the nail, so they must be clean. Wash metal tools with soap and water, wipe them with rubbing alcohol, and let files and buffers dry fully before storing them, since our humidity encourages mould and bacteria on damp foam. Never share tools without disinfecting them between people. Second, good light and a steady surface, because most home-manicure mishaps come from rushing in poor light.
Set out everything before you begin so you are not hunting for the top coat with wet polish on one hand. A small towel under your hands keeps the table tidy and gives you something to rest against.
The Step-by-Step At-Home Manicure
Work through these in order and do not skip the drying and shaping steps, as they are what separate a neat result from a rushed one.
- Remove old polish. Use an acetone or acetone-free remover on a cotton pad, pressing and holding rather than scrubbing. Acetone is faster on gel or glitter but more drying, so follow with oil later.
- Shape the nails dry. File in one direction rather than sawing back and forth, which frays the nail edge. Choose a shape that suits your fingers: squoval (a soft square) is hard-wearing and flattering on most hands, while rounded edges snag less.
- Soften, do not soak for ages. A brief warm soak of a couple of minutes loosens grime, but long soaking waterlogs the nail and makes polish chip sooner. Skip it if you plan to paint.
- Tend the cuticles. Apply cuticle oil or cream, then gently push the cuticle back with a rubber-tipped pusher or orange stick. Do not cut living cuticle; it is a seal that protects against infection. Only nip away an obvious loose hangnail with clean tools.
- Buff lightly. A few passes with a fine buffer smooth ridges and add shine. Go gently, since over-buffing thins the nail plate.
- Clean and dry the nail. Wipe each nail with a little remover so no oil is left, or polish will not grip.
- Polish, if you wish. Thin base coat, two thin colour coats, then top coat, sealing the free edge of each nail by swiping the brush along the tip.
Between colour coats, wait a couple of minutes. Thin layers dry faster and chip less than one thick, gummy coat.
Making a Manicure Last in the Humidity
Chipping is the eternal frustration, and Singapore’s climate does not help. Constant handwashing, sanitiser, sweat and the swing between humid streets and cold aircon all lift polish early. A few habits stretch the life of your work.
Always seal the free edge with both base and top coat, as that thin strip at the tip is where chips begin. Reapply a fresh layer of top coat every two or three days to renew the shine and shield the colour. Wear gloves for washing up and cleaning, since hot water and detergent are hard on both polish and nails. Keep a small tube of cuticle oil by your desk and use it daily: well-oiled nails and cuticles flex instead of cracking, and the whole manicure ages more gracefully.
If you struggle with staining under bright colours, a clear base coat prevents the yellow tinge that reds and dark shades can leave. And resist using your nails as tools to peel labels or pry lids, which is the single fastest way to undo a manicure.
Gel vs Regular Polish at Home
Many people wonder whether to try at-home gel kits. Both have a place; the right choice depends on how much wear you want against how much effort and care removal takes. Here is a plain comparison.
| Factor | Regular polish | At-home gel |
|---|---|---|
| Wear time | A few days to a week | Two weeks or more |
| Drying | Air-dries; can smudge | Cured under a UV or LED lamp; set instantly |
| Removal | Simple wipe with remover | Requires soaking in acetone; more drying |
| Kit needed | Minimal | Lamp, gel base, colour and top coat |
| Nail stress | Low | Higher if peeled off or over-filed |
The biggest caution with gel is removal. Peeling or picking gel off takes layers of the natural nail with it, leaving it thin and weak. Always soak gel off properly and give nails an occasional break. If you use a UV or LED lamp, apply a little sunscreen to the backs of your hands or wear fingerless gloves, since the lamp emits UV. Whichever you choose, patch test any new product on one nail first if you have sensitive skin around the nails.
When to See a Professional
An at-home manicure is for tidy, healthy nails, not for treating problems. See a doctor, pharmacist or podiatrist rather than pressing on at home if you notice signs of infection around the nail such as redness, swelling, warmth, pus or throbbing pain, especially after a nip or a torn hangnail. Persistent changes also deserve proper attention: nails that are thickening, crumbling, lifting from the bed, or turning white, yellow or green can point to a fungal or other condition that home care will not fix and may worsen.
People with diabetes, poor circulation or a weakened immune system should be especially careful with cutting and pushing, and are often better off letting a professional handle nail care. If in doubt, keep tools away from broken skin, keep everything clean, and get advice. A manicure should leave your hands feeling good, and there is no shame in booking a trained manicurist or seeing a doctor when something does not look right.
Explore More
Healthy nails start with healthy hands, so pair this routine with our guide to hand care and preventing dry hands in the aircon. If your nails tend to bend, split or flake, read strengthening weak and peeling nails for practical fixes. And for more grooming and self-care ideas, browse the rest of our Beauty and Wellness guides.