
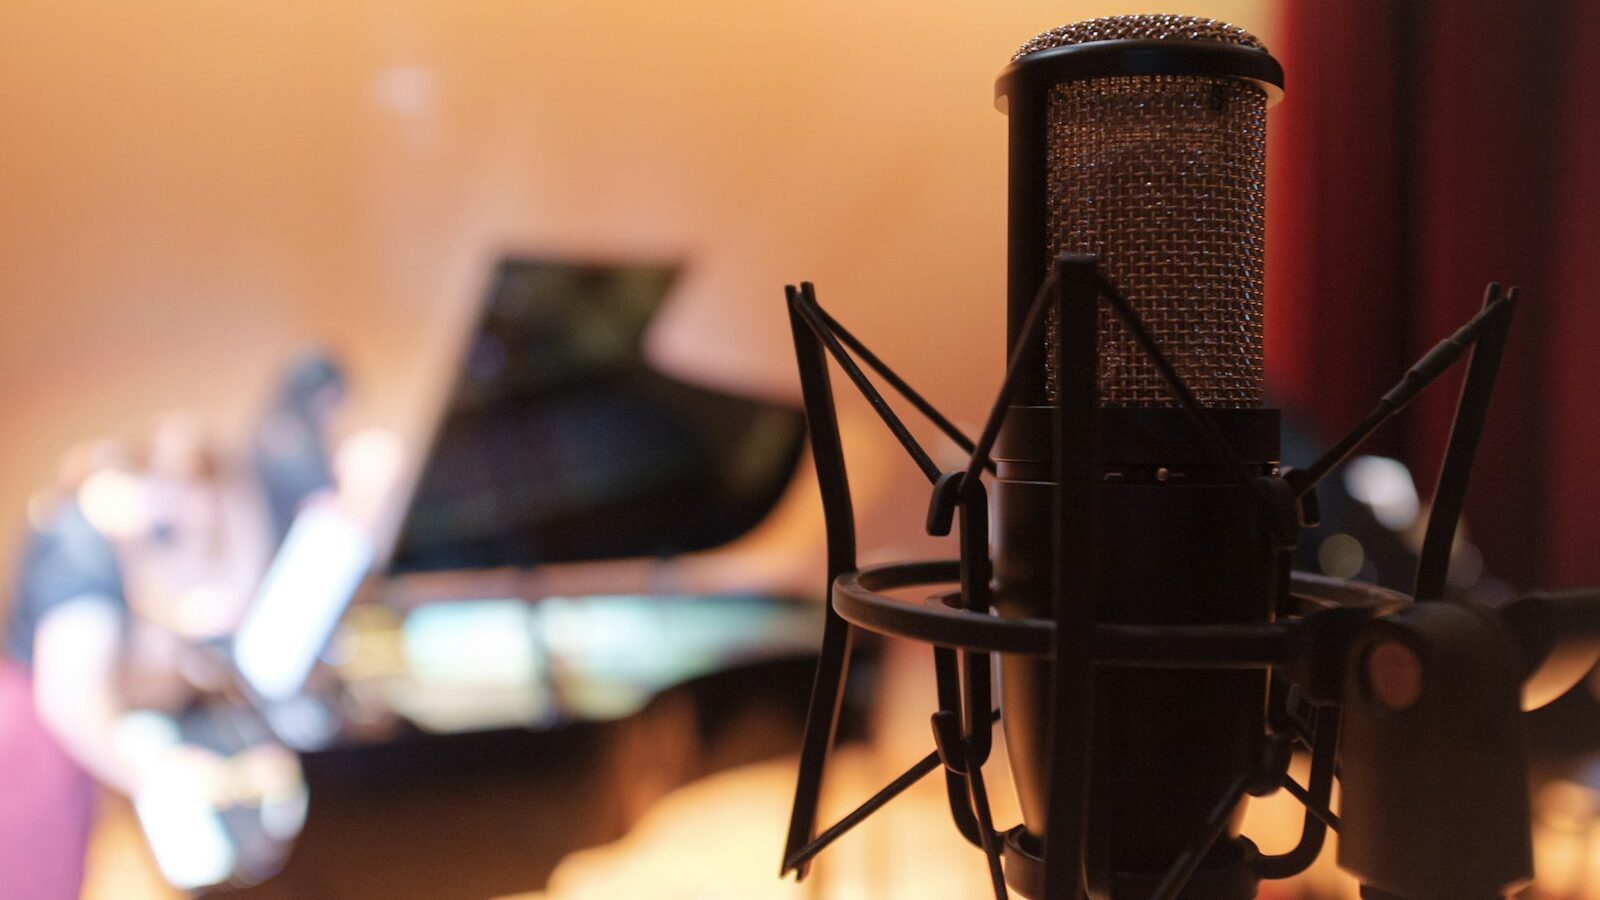
Recording vocals at home used to mean a proper studio and a big budget. Today a modest setup in your bedroom can capture a clean, expressive vocal that sits happily in a song. The voice is the part listeners connect with most, so it is worth getting right, and the good news is that careful technique matters far more than pricey gear. This guide takes a complete beginner through the whole process, from choosing a microphone to capturing a take you are proud of, with the realities of an HDB flat kept firmly in mind.
You do not need a soundproof booth or a wall of equipment. You need a decent microphone, a way to get it into your computer, a quiet moment and a little know-how. We will explain every term as it appears.
The gear you actually need
The core chain is short: a microphone, an audio interface, headphones and your music software. An audio interface is a small box that connects a proper microphone to your computer and converts the sound into something the software can record. Most laptops cannot plug in a studio mic directly, which is why the interface matters.
For the microphone itself, there are two common types. A dynamic mic is rugged and rejects a lot of background sound, which suits a noisy or untreated room. A condenser mic is more sensitive and detailed, which flatters many voices but also picks up every fan, lift and neighbour. In a quiet, treated corner a condenser shines; in a lively flat a dynamic can be the more forgiving choice. Prices and models change all the time, so compare current options at a local music shop rather than trusting any figure you read.
A few small extras punch above their weight:
- A pop filter, the mesh screen you put between your mouth and the mic, softens the puffs of air on “p” and “b” sounds.
- A mic stand keeps the mic steady and stops handling noise.
- Closed-back headphones, which seal around your ears, let you hear the backing track without it bleeding into the mic.
Taming the room in an HDB flat
Your room shapes the sound more than beginners expect. Bare walls and hard floors create echo that makes a recording sound distant and boxy. You cannot rebuild your flat, but you can tame a corner cheaply. Record facing into soft furnishings: a wardrobe of clothes, a bookshelf, a bed piled with cushions, or a heavy curtain. Hanging a thick blanket behind you and to the sides absorbs reflections surprisingly well.
Background noise is the other HDB reality. Switch off fans and air-conditioning during a take if you can bear the heat for a few minutes, close the windows against traffic and the wet-market bustle, and pick a quieter time of day. Early morning or late evening often has fewer lifts running and less corridor chatter. If a plane or a passing lorry ruins a line, just record it again; nobody nails every take.
Be considerate too. Singing at full volume late at night can carry through walls, so save your loudest, most dramatic takes for reasonable hours and keep the backing track in your headphones rather than on speakers.
Setting levels and positioning the mic
Getting the level right means recording loud enough to be clear but not so loud that it distorts. In your software, watch the input meter while you sing your loudest line. Aim for the meter to peak comfortably below the top, leaving headroom, which is spare space before the sound clips into ugly crackle. If it hits the red, turn the interface gain (the input volume knob) down and try again.
Position matters just as much. Sing about a hand’s width from the microphone, with the pop filter in between. Too close and you get an unnatural boom; too far and the room creeps in. Keep a steady distance so your volume does not lurch around. For louder passages, lean back slightly; for soft, intimate lines, move in a touch. This is a technique singers call working the mic, and it takes only a little practice.
Here is a quick guide to common problems and the simple fix for each.
| Problem you hear | Likely cause | Simple fix |
|---|---|---|
| Harsh popping on “p” sounds | Air hitting the mic | Add a pop filter, angle the mic slightly off-centre |
| Crackly, distorted sound | Level set too high | Lower the interface gain, leave more headroom |
| Echoey, distant tone | Untreated, reflective room | Record into soft furnishings, hang blankets |
| Hiss or hum in the background | Fans, aircon or interference | Turn appliances off, check cables and USB ports |
Capturing a great take
With levels set, focus on the performance, because emotion and timing carry a vocal more than any gadget. Warm up your voice first with a few gentle hums and scales; cold vocal cords sound tight. Have a glass of water nearby and stand rather than slouch, as good posture opens up your breathing.
Record several full takes rather than stopping at the first mistake. Singing the whole line keeps your phrasing natural, and you can pick the best moments later. Many people also record a few extra passes of the chorus to layer up for a fuller sound. Listen back on your headphones between takes and note which lines felt right. Do not over-analyse in the moment; capture plenty of material and judge it with fresh ears afterwards.
If nerves are the issue, dim the lights, close your eyes and imagine you are singing to one person rather than a crowd. A relaxed singer records a better vocal every time.
Simple edits to finish
Once you have your takes, a little light editing goes a long way. Comping means choosing the best bits from different takes and stitching them into one strong performance; most music software makes this straightforward. Trim silence and stray breaths at the start and end, and smooth any awkward joins with a tiny fade so there is no click.
Resist the urge to fix everything with software effects. A clean, well-performed, well-positioned recording needs very little afterwards. Get the capture right and the polishing stage becomes quick and enjoyable rather than a rescue mission. From here, balancing your vocal against the music is a separate craft worth learning next, and it will bring the whole song together.
Recording vocals at home is a skill that grows fast with practice. Your first session will teach you more than any article can, so set up a quiet corner, hit record and start singing.
Explore more
- /choosing-a-microphone-for-recording/
- /choosing-an-audio-interface/
- /setting-up-a-home-studio-in-an-hdb-flat/
- /home-recording-for-beginners/
- /mixing-basics-for-beginners/